Setting the slave clock – Acroprint ES900 User Manual
Page 42
40
20. SETTING THE SLAVE CLOCK
42
40
1
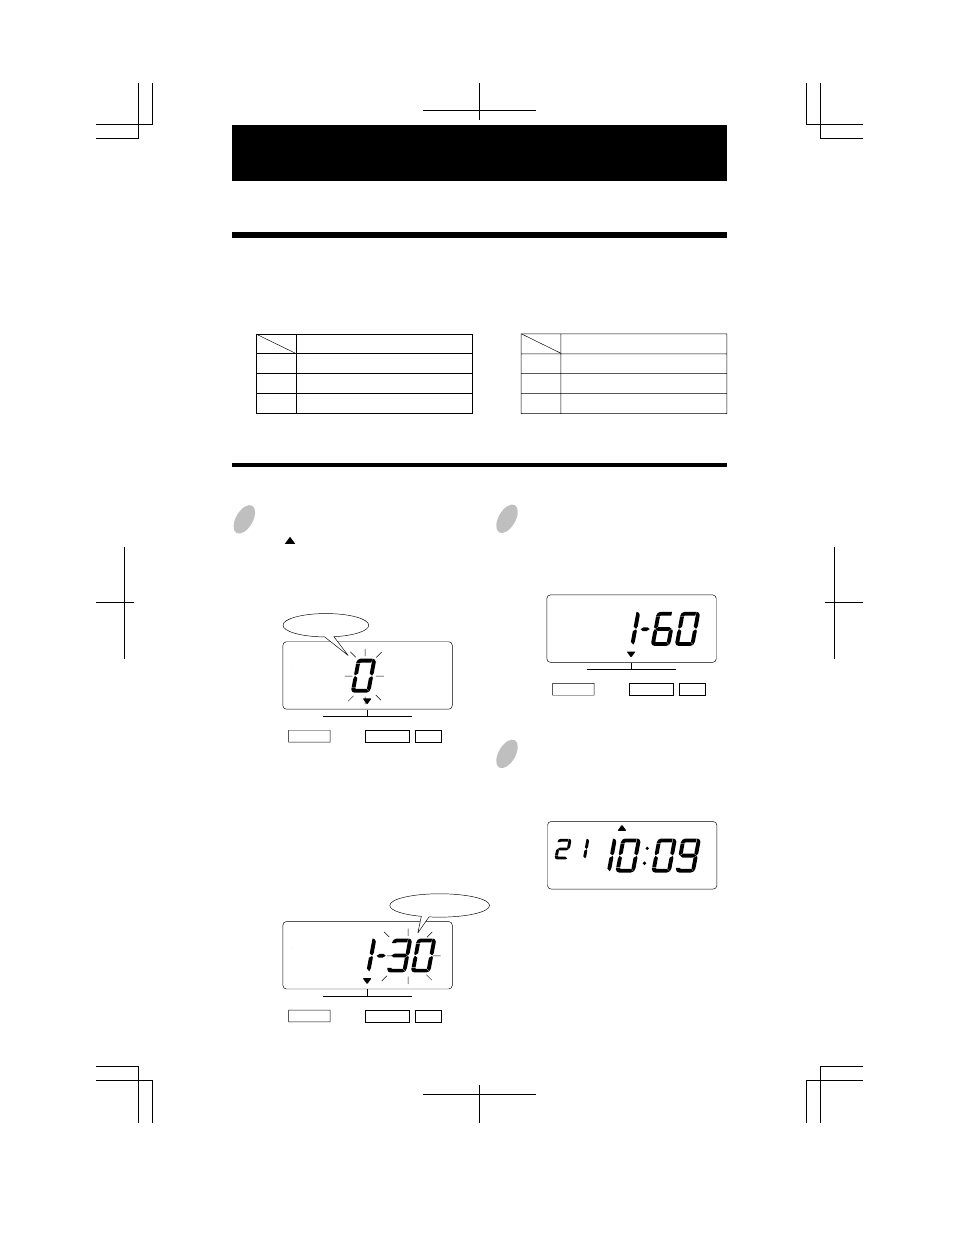
Press the [SELECT] button and position
the " "up the "SLAVE CLOCK" mark.
At that moment, the flashing digit
indicates "Clock Options".
(The flashing means it can be changed.)
2
Set the "Clock Options".
In case of the example, press the
[CHANGE] button to set at "1".
And then press the [SET] button.
At that moment, the flashing changes
from the "Clock Options" to "Signal
Options".
Set the "Signal Options".
In case of the example, press the
[CHANGE] button to set at "60".
And then press the [SET] button.
3
After you finish setting the slave
clock, press the [SET] button once
again.
Now the slave clock setting has been
completed. Replace the cover and
lock.
Important: Printing will not occur
unless Step 3 is completed.
In this setup, you can select the Slave Clock.
Note: For this feature to be functional, the optional board must be installed in the Time
Recorder.
0.
1.
2.
Clock Options
Disabled
Slave Clock
N/A
30.
60.
59.
Signal Options (for Slave Clock)
30-second reversal
60-second reversal
59-minute impulse
Setting the Slave Clock
Example: Set the Slave Clock and 60-second reversal.
SELECT
CHANGE
SET
SLAVE CLOCK
Clock Options
SELECT
CHANGE
SET
SLAVE CLOCK
SELECT
CHANGE
SET
SLAVE CLOCK
MO
TU
WE
TH
FR
SA
SU
Signal Options