Setting the number – Acroprint ES900 User Manual
Page 31
16. SETTING THE NUMBER
31
29
27
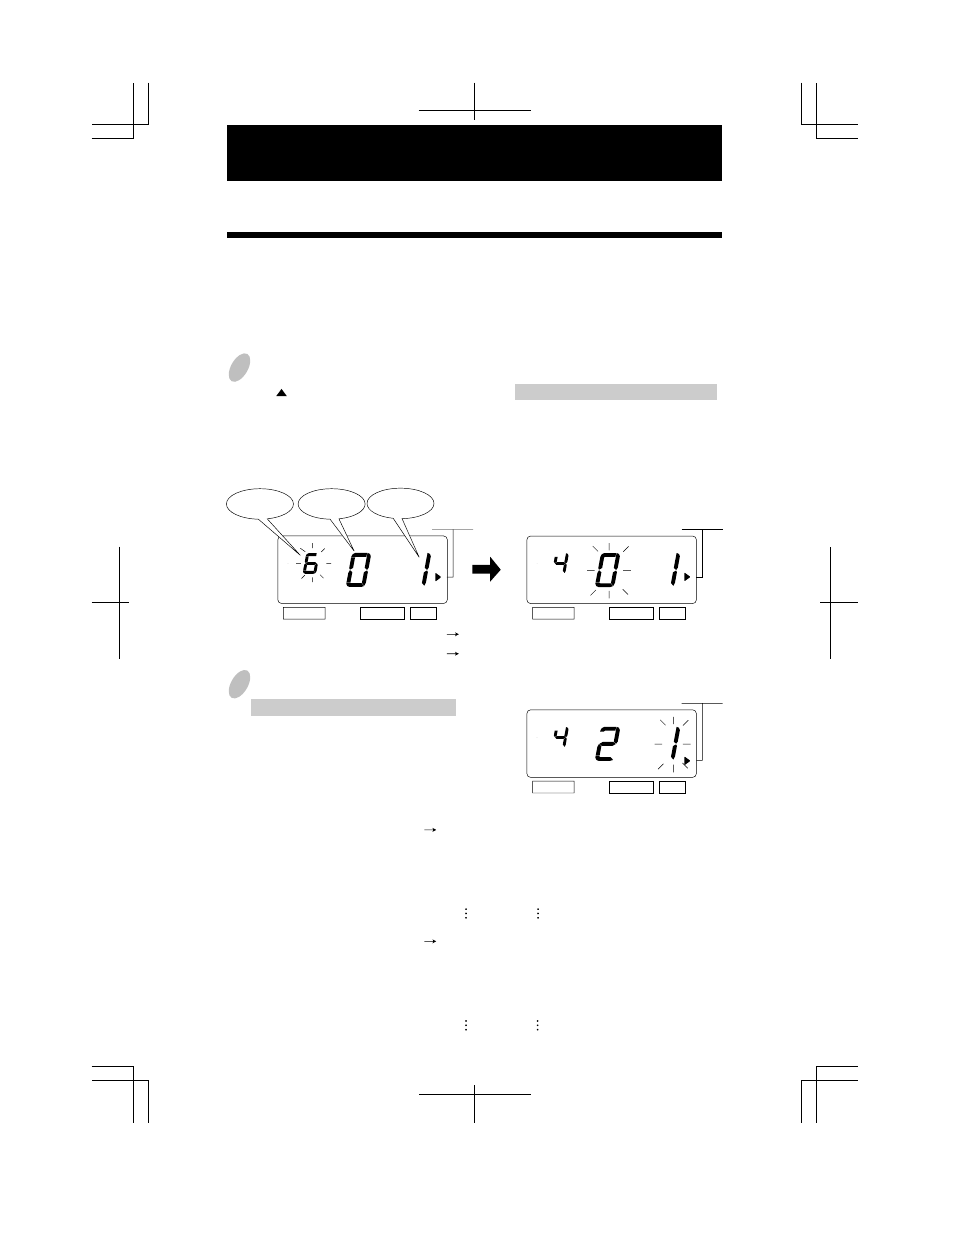
1
Press the [SELECT] button and position
the " "next to the "NUMBER" mark.
At that moment, the flashing digit
indicates "Number Digit".
(The flashing means it can be changed.)
2
Change the "Repeat Times".
The Repeat Times can be set to 0 to 9.
In case of the example, press the
[CHANGE] button to set at "2". And
then press the [SET] button.
At that moment, the flashing changes
from "Repeat Times" to "Reset
Options".
Change the "Number Digit".
The Number Digit can be set to 1 to 8.
In case of the example, press the
[CHANGE] button to set at "4". And
then press the [SET] button.
At that moment, the flashing changes
from the "Number Digit" to "Repeat
Times".
In this setup, you can select digits of printed number, the Repeat Times of number, and type
of Number Reset .
Example: Change the Number Digit to 4 digits and the Repeat Times to 2 times, and the
Reset to 0.
SELECT
CHANGE
SET
SELECT
CHANGE
SET
Repeat
Times
Number
Digit
Reset
Options
NUMBER
NUMBER
SELECT
CHANGE
SET
NUMBER
Print Example: 6 Digits of Number
123456 JAN 31 '03
4 Digits of Number
1234 JAN 31 '03
Print Example: 0 time repeat
Note: If the recorder is set to
repeat 0 times, the number will
not advance.
2 times repeat
(1st time)
(2nd time)
(3rd time)
(4th time)
(5th time)
(1st time)
(2nd time)
(3rd time)
(4th time)
(5th time)
123456 JAN 31 '03
123456 JAN 31 '03
123456 JAN 31 '03
123456 JAN 31 '03
123456 JAN 31 '03
123456 JAN 31 '03
123456 JAN 31 '03
123457 JAN 31 '03
123457 JAN 31 '03
123458 JAN 31 '03