Fantasea Line S Series-F67 EyeDaptor User Manual
Page 6
6
Canon S90 & S95 Lens Accessories Instruction Manual 2011017
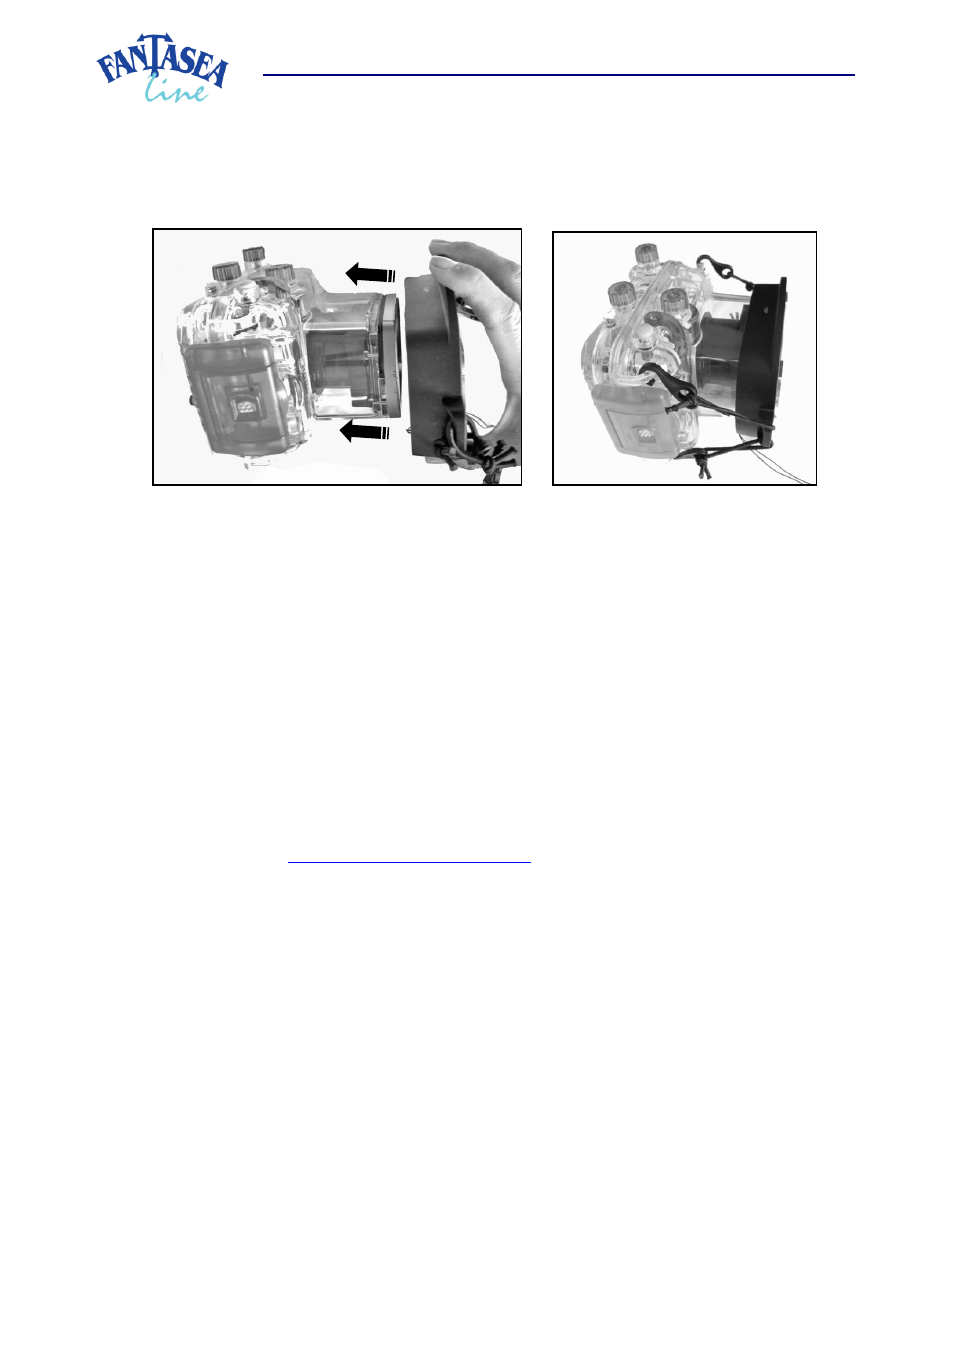
c. Please note that the bungee cords are essential in order to keep the lens accessory in place.
d. Make sure that the lens accessory is properly mounted on the lens port by gently trying to pull it out.
If properly installed, the lens accessory should not easily come off the lens port.
e. Attach the secure line to the lens accessory and the housing, in order to prevent losing it during the
dive. If making use of an arm in the system, the secure line can be secured to the arm rather than to
the housing.
f. The lens accessory can be removed and installed repeatedly throughout the course of the dive.
Make sure that there are no air bubbles trapped between the housing lens port and lens accessory
before taking images.
g. In order to remove the lens accessory from the lens port, start by detaching the bungee cords from
the housing and follow by removing the lens accessory from the lens port.
h. When removing the lens accessory from the housing lens port, it can be conveniently stored by
mounting it on the EyeGrabber Canon G Series
(Cat. No. 4054)
. This lens holder attaches to any
standard Flex or Ball & Joint arm and enables safely securing Canon S90 & S95 lens accessories
during the dive, making them easily available for future use. For further information, please visit
our website at
i. When mounting any of these lens accessories on the WP-DC38 Housing, which lacks a plastic loop on
the bottom left side of the housing, please follow the steps below:
i. At the bottom left corner of the housing, where no loop is found, you will notice a hollow
plastic rod, which is located at the back of the hinge connecting the front and the back
doors of the housing (images #16 and 17 on the following page).
ii. Insert a durable, flexible rubber cord, such as the cords the bungees are made of, through
the hollow rod. Tie the cord around itself in order to make a loop (images #18 and 19 on the
following page). If you have a spare bungee cord, you can use the bungee’s rubber cord in
order to create this loop. If not, any other durable rubber cord would do.
iii. Use the loop you have created in order to secure the lens accessory to the housing. Simply
hook the bottom left bungee cord of the accessory lens to this rubber cord loop as you hook
the other accessory lens’s bungee cords to the housing loops (images #20 and 21 on the
following page).
Image #14
Image #15