Removing the system cage – HP ProLiant DL580 G4 Server User Manual
Page 28
Server operations 28
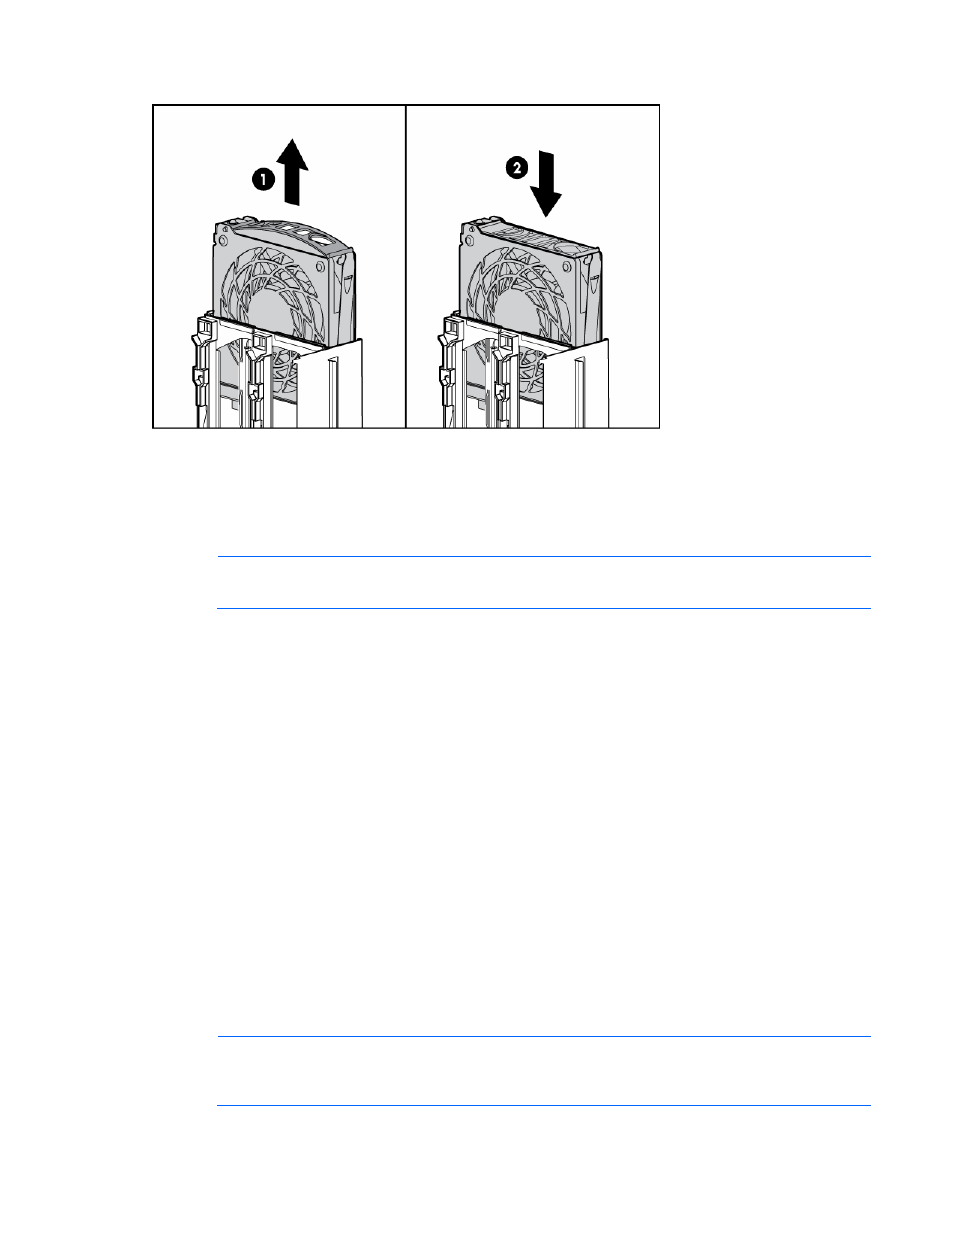
4.
Install the replacement fan.
5.
Repeat to replace additional fans as needed.
6.
Observe the LED on each installed fan to be sure it is illuminated green ("
page
7.
Observe the internal system health LED on the front panel to be sure it is illuminated green ("
NOTE:
If the front panel internal system health LED is not green after you install hot-plug fans,
reseat the hot-plug fan or refer to the troubleshooting section.
Removing the system cage
Installing or accessing some options in the server might require removing the system cage. See the
instructions for each individual option to determine if removing the system cage is necessary.
To remove the system cage:
1.
Power down the server (on page
2.
Extend the server from the rack, if applicable ("
Extending the server from the rack
3.
Remove the access panel ("
4.
Remove all hot-plug power supplies.
5.
Remove all system fans ("
" on page
6.
Remove all expansion boards ("
Removing a PCI-X Hot Plug expansion board
" on page
7.
Remove the expansion slot cover.
8.
Remove the PCI-X Hot Plug basket, if installed.
9.
Remove the PCI-X Hot Plug mezzanine or the PCI Express mezzanine, if applicable.
10.
Loosen the thumbscrews, and lift the system cage from the server.
NOTE:
The T-15 Torx screwdriver can be used to loosen the thumbscrews. The T-15 Torx
screwdriver is shipped with the server and can be located on the rear panel ("
" on page