Test the dimm installation, Remove a dimm, Test the dimm installation remove a dimm – HP LaserJet P2015 User Manual
Page 127
5.
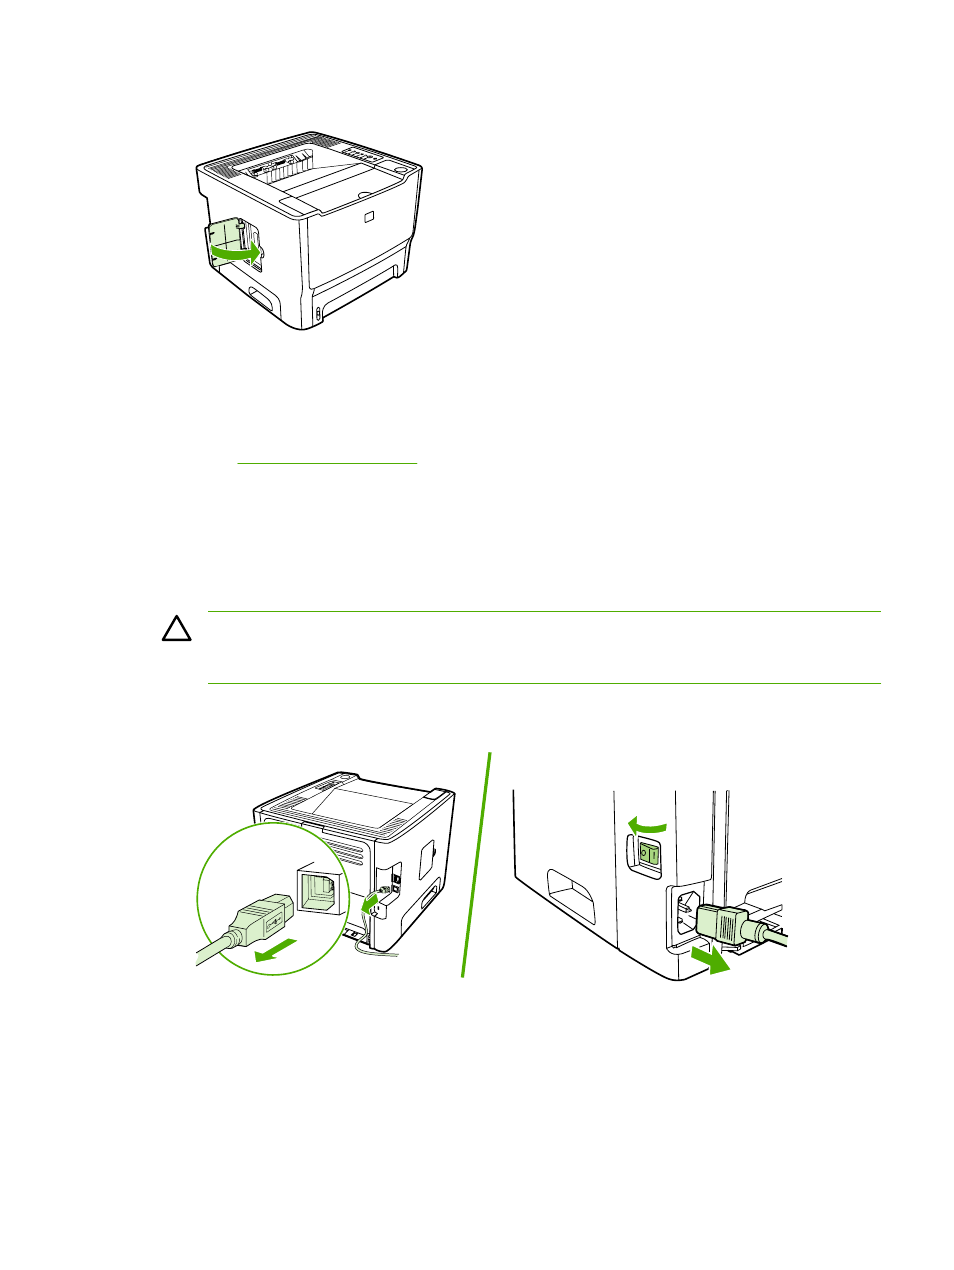
Close the DIMM door.
6.
Reconnect all printer cables and cords, and then use the power switch to turn on the printer.
Test the DIMM installation
To test the DIMM installation, print a configuration page, and check the Total Memory specified on the
page. See
for more information.
If all lights on the control panel are blinking, the DIMM installation was unsuccessful. Remove the DIMM
and reinstall it.
Remove a DIMM
To remove a DIMM, follow the instructions below:
CAUTION
Handling a DIMM (memory) without wearing a grounded, antistatic device might
damage the DIMM. Touch any metal part of the printer or other grounded metal before touching
the DIMM.
1.
Use the power switch to turn off the printer, and then unplug all of the cables and cords connected
to the printer.
ENWW
DIMMs (memory or font)
117