Install the access panel, Remove the dimm baffle, Install the dimm baffle – HP ProLiant BL685c Server-Blade User Manual
Page 15: 15 install the dimm baffle
Operations 15
Install the access panel
1.
Place the access panel on top of the server blade with the hood latch open. Allow the panel to
extend past the rear of the server blade approximately 0.8 cm (0.2 in).
2.
Engage the anchoring pin with the corresponding hole in the latch.
3.
Push down on the hood latch. The access panel slides to a closed position.
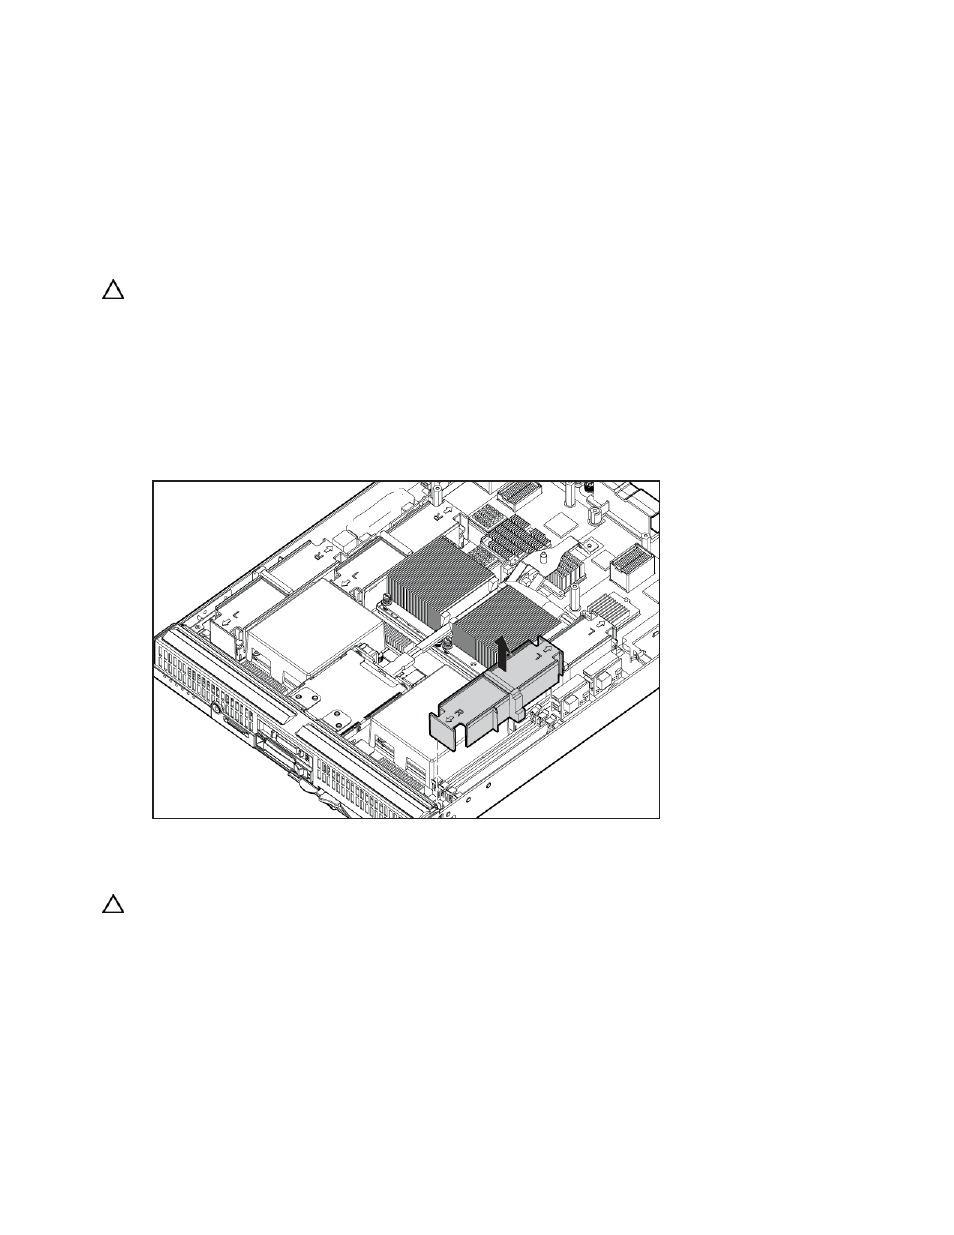
Remove the DIMM baffle
CAUTION: To avoid damage to the server blade and the enclosure, install all DIMM baffles in the proper
location after adding or replacing DIMMs. DIMM baffles that are missing or installed incorrectly can
compromise server blade and enclosure cooling.
To remove the component:
1.
Power down the server blade (on page
2.
Remove the server blade (on page
3.
Remove the access panel (on page
4.
Remove the DIMM baffle.
Install the DIMM baffle
CAUTION: To avoid damage to the server blade and the enclosure, install all DIMM baffles in the proper
location after adding or replacing DIMMs. DIMM baffles that are missing or installed incorrectly can
compromise server blade and enclosure cooling.
DIMM baffles for processor 1 and 2 memory banks have a single top gasket. DIMM baffles for processors
3 and 4 memory banks have a top and a side gasket.
1.
Install the DIMM baffles:
•
Install DIMM baffles for processor 1 and 3 memory banks with the R toward the front of the
server blade.
•
Install DIMM baffles for processor 2 and 4 memory banks with the L toward the front of the
server blade.