Using an esata device, Connecting an esata device, Stopping and removing an esata device – HP ProBook 4320s Notebook-PC User Manual
Page 117
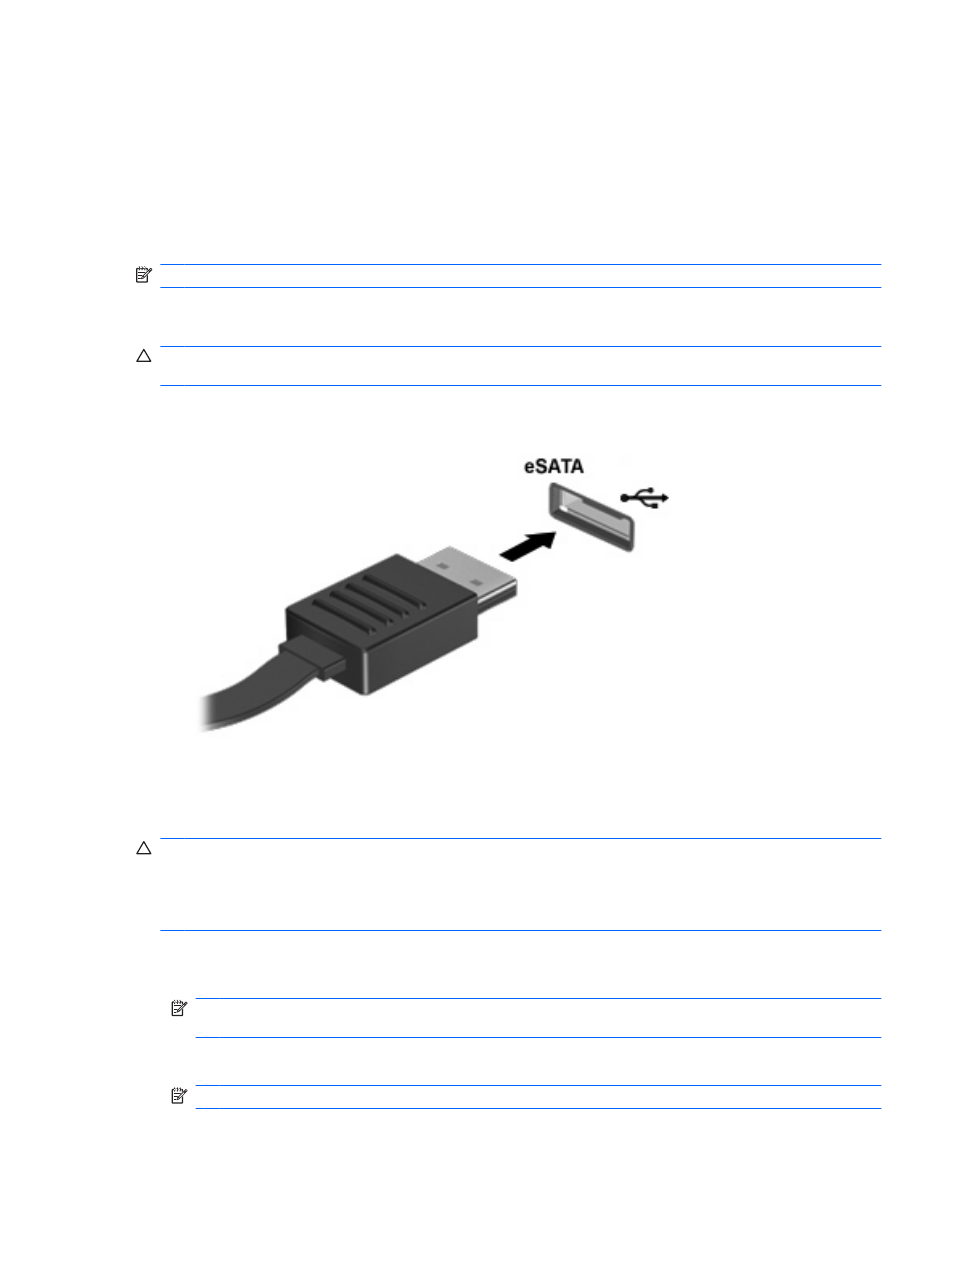
Using an eSATA device
An eSATA port connects an optional high-performance eSATA component, such as an eSATA external
hard drive.
Some eSATA devices may require additional support software, which is usually included with the device.
For more information about device-specific software, refer to the software manufacturer’s instructions.
These instructions may be provided with the software, on disc, or on the manufacturer’s Web site.
NOTE:
The eSATA port also supports an optional USB device.
Connecting an eSATA device
CAUTION:
To prevent damage to an eSATA port connector, use minimal force to connect an eSATA
device.
▲
To connect an eSATA device to the computer, connect the eSATA cable for the device to the
eSATA port.
You will hear a sound when the device has been detected.
Stopping and removing an eSATA device
CAUTION:
To prevent loss of information or an unresponsive system, stop the eSATA device before
removing it.
CAUTION:
To prevent damage to an eSATA connector, do not pull on the cable to remove the eSATA
device.
1.
Double-click the Safely Remove Hardware icon in the notification area, at the far right of the
taskbar.
NOTE:
To display the Safely Remove Hardware icon, click the Show Hidden Icons icon
(< or <<) in the notification area.
2.
Click the name of the device in the list.
NOTE:
If the device is not displayed, you do not have to stop the device before you remove it.
Using an eSATA device 105