Using the on-screen display – HP Notebook Projection Companion User Manual
Page 15
Using the on-screen display
Use the 4-way button to navigate to a menu or menu items. Press up, down, left, or right to highlight
your choices through the various menus. Then, press the ENTER button to select a menu item. When
an item is selected, it changes to dark blue.
To return to the main menu, press the MENU button.
To exit the on-screen display, use the 4-way button to select Exit or Return, and then press the
ENTER button.
Select
To do this
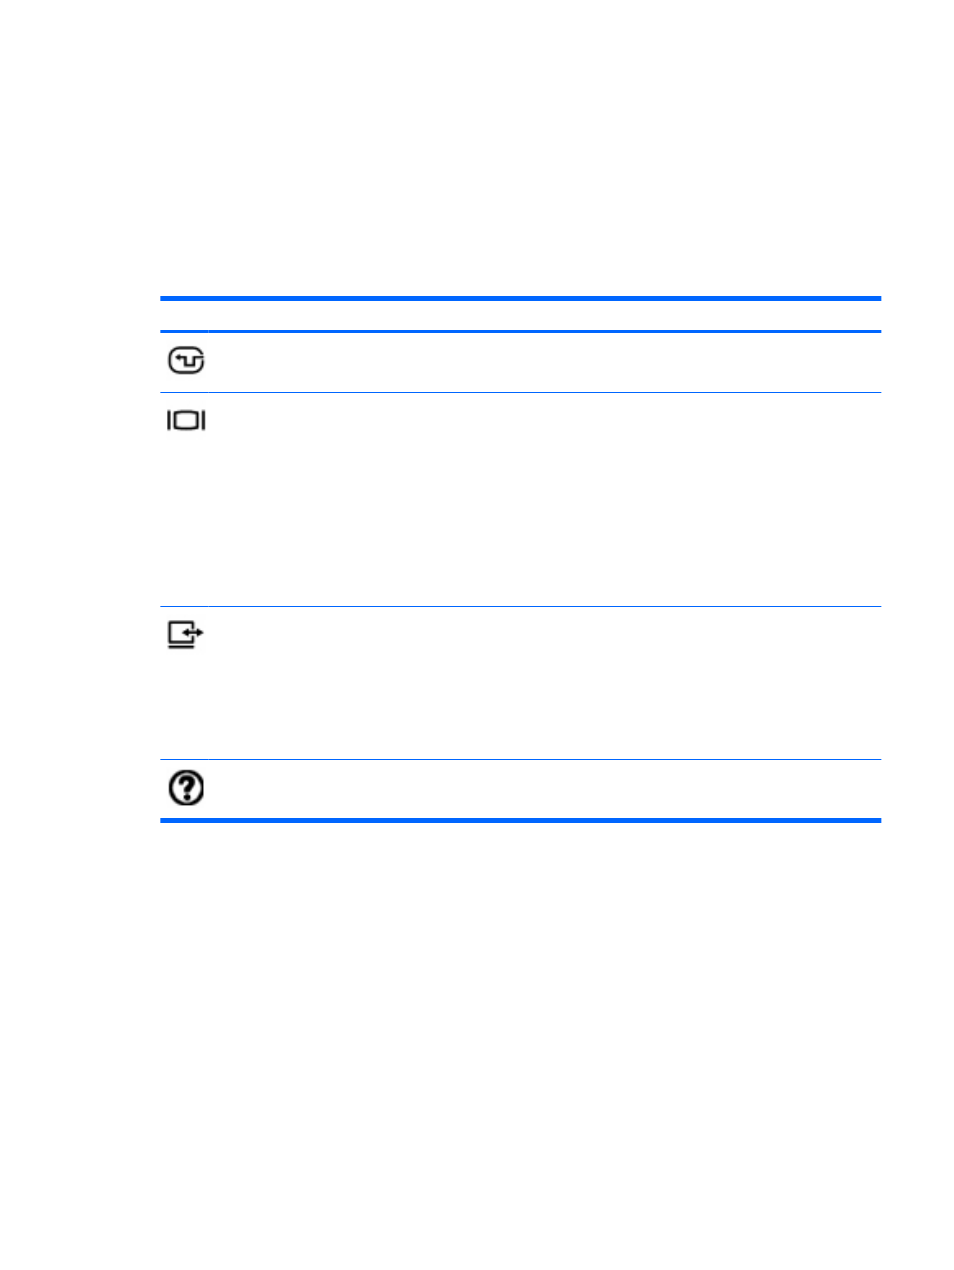
Input
●
Select the input source, such as VGA or composite.
●
Scan input signals.
Picture
Adjust the on-screen display settings:
●
Color settings, such as brightness, contrast, sharpness, color
saturation, and tint
●
VGA settings, such as auto-sync, frequency, tracking, vertical
offset, and horizontal offset
●
Picture mode
●
Picture enhancement
●
White intensity
Setup
●
Select a language for the on-screen display.
●
Reset all settings for the projector.
●
Use auto keystone and keystone to adjust image distortion by
tilting the projector.
●
Adjust advanced options, such as the projector's position (or
location), aspect ratio, and power timeout.
Help
Get information about the projector, such as the on-screen display
version number and the number of hours the lamp has been used.
Using the on-screen display
11