Overedge stitching – Brother XT37 User Manual
Page 35
34
—
—
—
—
—
—
—
—
—
—
—
—
—
—
—
—
—
—
—
—
—
—
—
—
—
—
—
—
—
—
—
—
—
—
—
—
—
—
—
—
—
—
—
—
—
—
—
—
—
—
—
—
—
—
—
—
—
—
—
—
—
—
—
—
—
—
—
—
—
—
—
—
—
—
—
—
—
—
—
—
—
—
—
—
—
—
—
—
—
—
—
—
—
—
—
—
—
—
—
—
—
—
—
—
—
—
—
—
—
—
—
—
—
—
—
—
—
—
—
—
—
—
—
—
—
—
—
—
—
—
—
—
—
—
—
—
—
—
—
—
—
—
—
—
—
—
—
—
—
—
—
—
—
—
—
—
—
—
—
—
—
—
—
—
—
—
—
—
—
—
—
—
—
—
—
—
—
—
—
—
—
—
—
—
—
—
—
—
—
—
—
—
—
—
—
—
—
—
—
—
—
—
—
—
—
—
—
—
—
—
—
—
—
—
—
—
—
—
—
—
—
—
—
—
—
—
—
—
—
—
—
—
—
—
—
—
—
—
—
—
—
—
—
—
—
—
—
—
—
—
—
—
—
—
—
—
—
—
—
—
—
—
—
—
—
—
—
—
—
—
—
—
—
—
—
—
3
4
Sew with the center of the presser foot
aligned along the center of the two pieces
of fabric.
5
After sewing is finished, remove the paper
and the basting stitches.
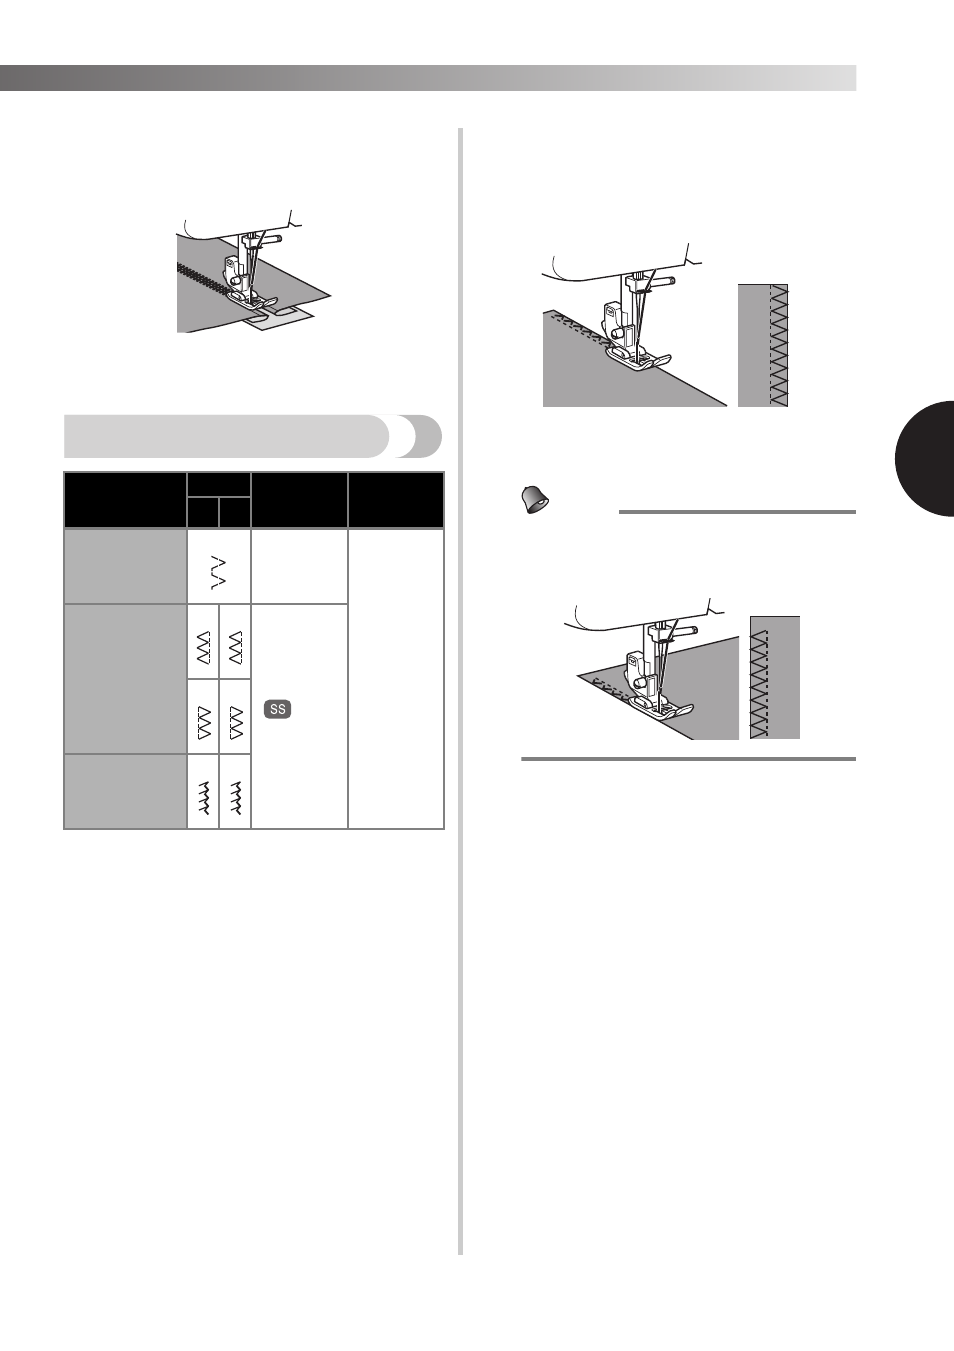
Overedge stitching
These stitches are used to join together seams and finish
them in one operation. Elastic Overlock Stitch: for
sewing stretch materials.
1
Put the fabric under the presser foot so
that the seamline (or arrowhead point) is
approximately 3 mm (1/8 inch) to the left
of the center of the presser foot.
• If the seam allowance is wider than the stitch
pattern, trim away any excess fabric after
stitching.
Memo
● When sewing the Elastic Overlock Stitch,
position the fabric so that its edge is on the
left of the needle.
Stitch Name
Pattern
Stitch
Length
[mm (inch)]
Stitch
Width
[mm (inch)]
37 27
Elastic Shell
Tuck Stitch
F-3
(1/64-1/8)
3-6.5
(1/8-1/4)
Elastic Overlock
Stitch
Fixed
2.5 (3/32)
Comb Stitch
12
22
17
23
18
25
20