6 set the date and time, 7 wireless setup (if needed), Set the date and time – Brother DCP-J152W User Manual
Page 7: Wireless setup (if needed)
7
6
Set the date and time
The LCD displays the date and time. In addition,
setting the date and time allows the machine to clean
the print head regularly and maintain optimum print
quality.
a
To enter the last two digits of the year, press a,
b
, d or c to select the first number, and then
press OK. Repeat for the second number.
To save the two-digit year, press a, b, d or c to
select
, and then press OK.
b
Enter the two-digit month. Select
and
press OK to save.
c
Enter the two-digit day. Select
and press
OK to save.
d
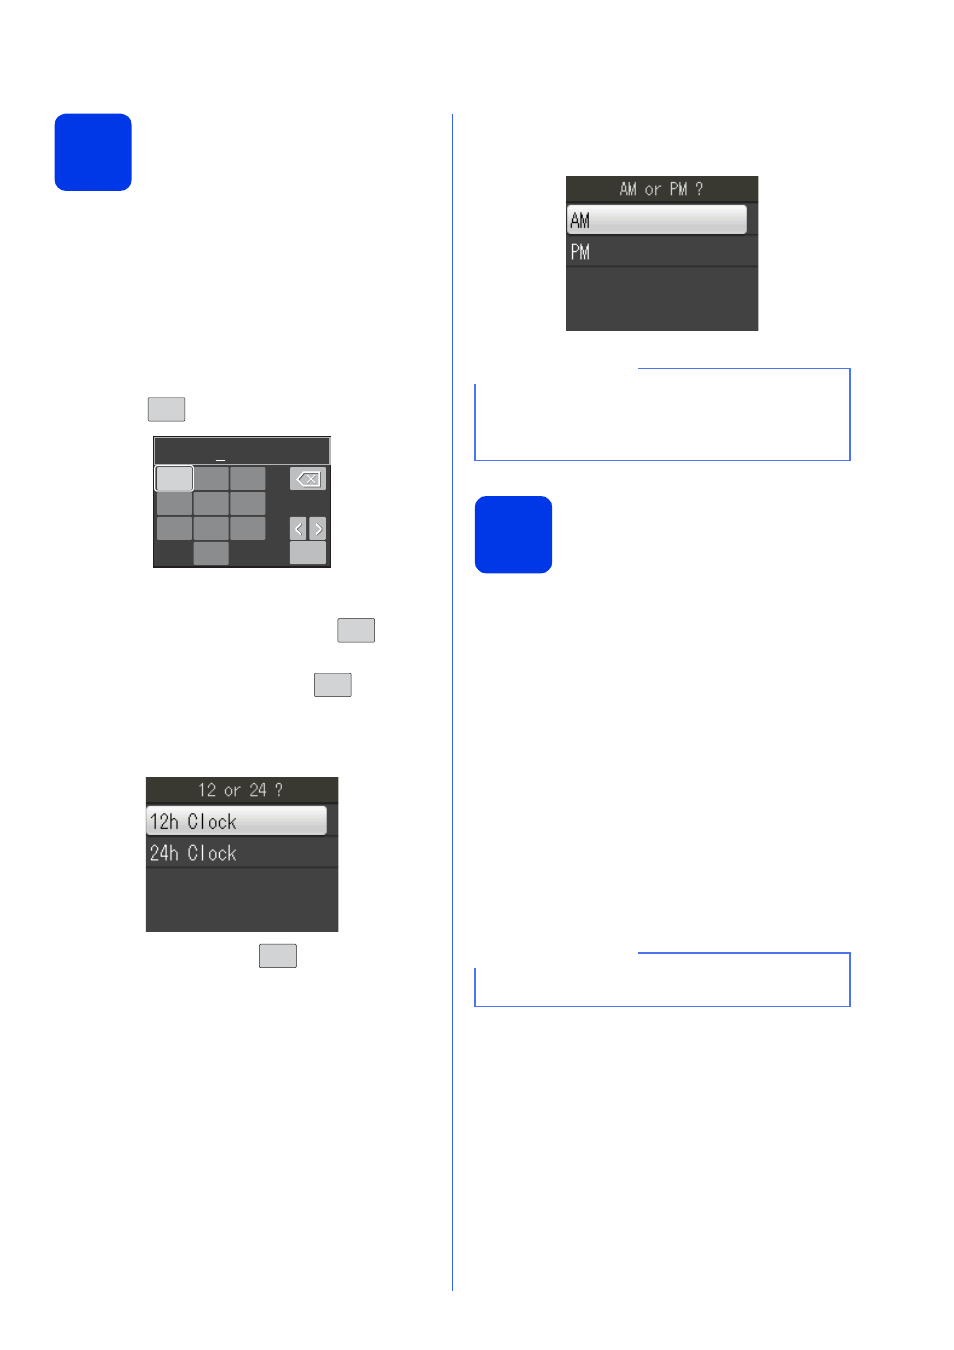
Press a or b to choose 12h Clock or 24h
Clock, and then press OK.
e
Enter the time. Select
and press OK to
save.
f
For 12h Clock only:
Press a or b to choose AM or PM, and then
press OK.
7
Wireless setup
(if needed)
When the Wi-Fi setup will start. message
appears on the LCD, read the message, and then
press OK to continue.
For wireless setup using a mobile device, go to
a.
For Windows
®
and Macintosh users, go to
b.
a
Press a or b to choose Yes.
Press OK.
Go to step
10 on page 15 to continue with the
wireless setup.
b
Press a or b to choose No.
Press OK.
Wireless setup instructions for Windows
®
and
Macintosh users will be covered later, starting
on page 15.
(e.g. Enter 1 3 for 2013.)
OK
OK
OK
OK
0
1
2
3
4
5
6
7
8
9
Year:2013
OK
OK
OK
OK
OK
OK
NOTE
You can change date, time, or clock type (12h or
24h) at any time. For more information, see
Setting the date and time in the Basic User’s
Guide.
NOTE
If a prompt message appears on the LCD, read it
and press OK to continue.