Programming, Installation, Saving – ProMariner ProNauticP User Manual
Page 13: Optional remote installation, Pre-setup mode overview, Remote panel “scrolling” menu options, Remote shortcuts, Energy
Programming
3. The Voltage and Amperage displays will show “FAC” “DEF” for factory default.
4. Press the SETUP/ENTER button to confirm selection, the charger will re-boot.
SELECTING THE POWER SUPPLY MODE
1. Initiate self-test by repowering unit or by pressing the SETUP/ENTER and
&
buttons simultaneously for 5 second
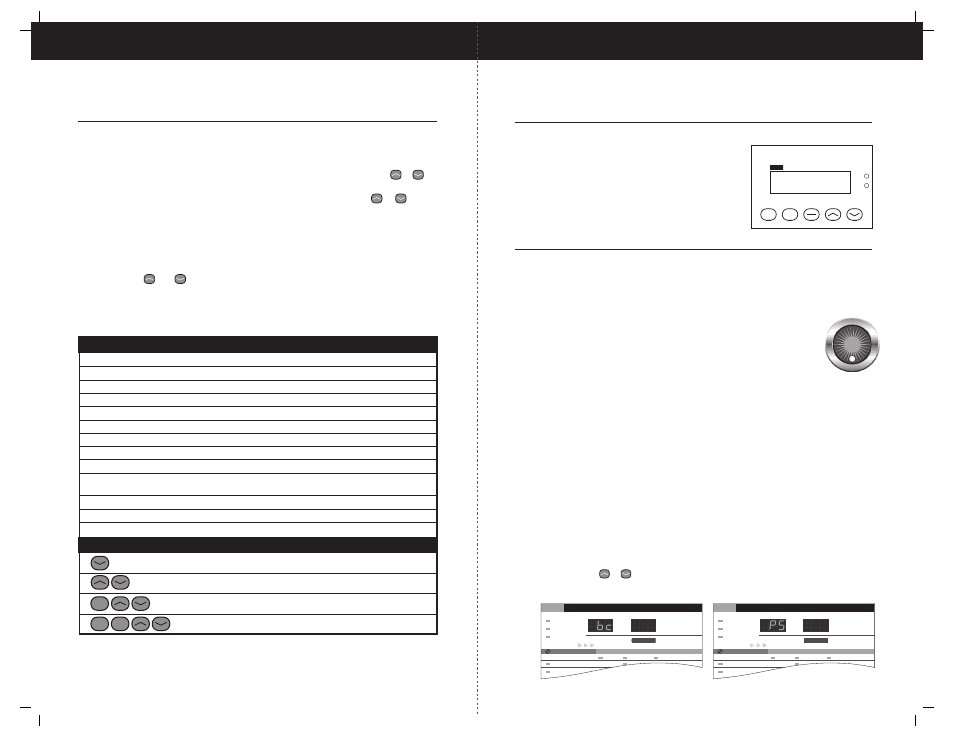
2. While the digital display is indicating either “bc” or “PS” push either
or
to toggle the selection between “bc” and “PS”
3. While the display reads “PS” press SETUP/ENTER
The unit will remain in this mode unit it is reprogrammed.
PROGRAMMING USING THE OPTIONAL REMOTE
1. Pressing SETUP/ENTER displays “SCROLLING”
2. Using the
and
(directional) keys scroll through the below menu items,
3. Pressing SETUP/ENTER will activate each mode,
4. Using the directional keys again will display additional options to be selected,
press SETUP/ENTER when done
19
12
Installation
Remote Panel “Scrolling” Menu Options
1. Charger Name
Displays charger model
2. Charger Status
Displays Charging/Conditioning/Auto Maintain
3. Battery Type Selection
Displays selected battery type
4. Time to Absorption
Displays time left in Absorption mode.
5. Run time
Displays units total run-time
6. Power Level
Displays current power level, allows selection.
7. Battery Temperature
Displays battery temperature
8. Charger Temperature
Displays charger temperature
9. Transformer Temperature
Displays transformer (AC side) temperature
10. Faults
Displays “No Faults Detected” OR allows scrolling through faults,
if present, once SETUP/ENTER is pressed, see the Troubleshooting section.
11. Company Information
Displays Professional Mariner information
12. Total Run Time
Displays log of total run time
13. Software revision
Displays the current software version
Remote Shortcuts
Press and hold for 10 seconds to force into Auto Maintain mode
Press and hold for 15 seconds for direct access to power level mode
Press and hold for 5 seconds to initiate Self Test
Press and hold for 3 seconds, restores Factory Default
NOTES:
*All remote modes/functions are identical to those described by using the on-charger controls.
*10 seconds of inactivity will cause the remote to revert to the previous setting.
A remote panel is available for your ProNauticP Charger.
The remote is provided with a cable and a network-type plug
connector. Pay careful attention to the routing of the cable.
Avoid sources of heat and possible chafe when routing.
With the charger powered down, connect the cable
to the Helm Remote port on the ProNauticP.
Optional Remote Installation
Setup
Enter
Alarm
Setup
Enter
Pre-Setup Mode Overview
bc (Battery Charger) Default Operation Overview:
This ProNauticP is now constructed with the most power efficient technology available for a battery
charger providing both charging and maintaining capability.This overall design and efficiency will
reduce the overall operating cost of the unit by conserving AC power when it is not needed, while
providing perfect battery maintenance and overall superior DC system performance.
The combination of sophisticated hardware and software includes the detection
of the presence of one or more batteries connected to the ProNautic.
NOTE: If there is no battery connected, the battery charger will not operate.
See PS (Power Supply) mode selection below.
PS (Power Supply) Selectable Mode Operation Overview:
In the event you would like to use your ProNauticP as a power supply without a battery in the system
you may do so simply by selecting the Power Supply (PS) mode during the initial startup phase.
This mode will allow the ProNauticP to power 12 Volt or 24 Volt (model specific) devices directly
without a battery connected.
Selecting PS (Power Supply) Mode Operation During AC Power On Start Up Overview :
When AC power is applied or when the Self Test function is initiated the numerical displays will
first display “888” to indicate all segments of the displays are working, and then the display will
indicate either “bc” (Battery Charger) or “PS” (Power Supply) for 7 seconds. After 7 Seconds
the ProNauticP will default to its “bc” (Battery Charger) mode of operation or the previously
programmed function.
Note: The ProNauticP Charger will default to the Sealed Battery Type Charge profile (for both “bc”
and “PS” modes of operation). You may also select any of the other battery type profiles in this
mode. See Selecting Battery Type in the programming section of this manual.
If during the AC Power start-up you would like to select the “PS” (Power Supply) mode of operation
you may do so during the 7 seconds window while the display is indicating “bc” by:
1. Push either the or
key to toggle between “bc” and “PS”
2. While the display reads “PS” press SETUP/ENTER
1
2
3
Battery Profiles
Charger Conditions
Charger Mode
Auto Maintain
Conditioning
Charging
AC Power
Auto Temp Control
Active PFC
Amps
Volts
SYSTEM DC OUTPUT LEVELS
Variable Speed Cooling
Self Test
Fault
OK
Standby
AUTO CONSERVATION MODES
100%
0%
Battery Health Program
Equalization
Charger Output
Digital
ProMar
Performance Charging
Power
Fault
Backlight
Alarm
Setup
Enter
Digital
ProMar
Performance Charging
ProMa r i ne r
™
P
R
O
M
A R D I G I T
A
L
C
E C
L I S T E
D
BC
saving
energy
technology