0 maintenance & repair, 1 start up – Detcon 610-N4X-SA User Manual
Page 10
Model 610-N4X-SA
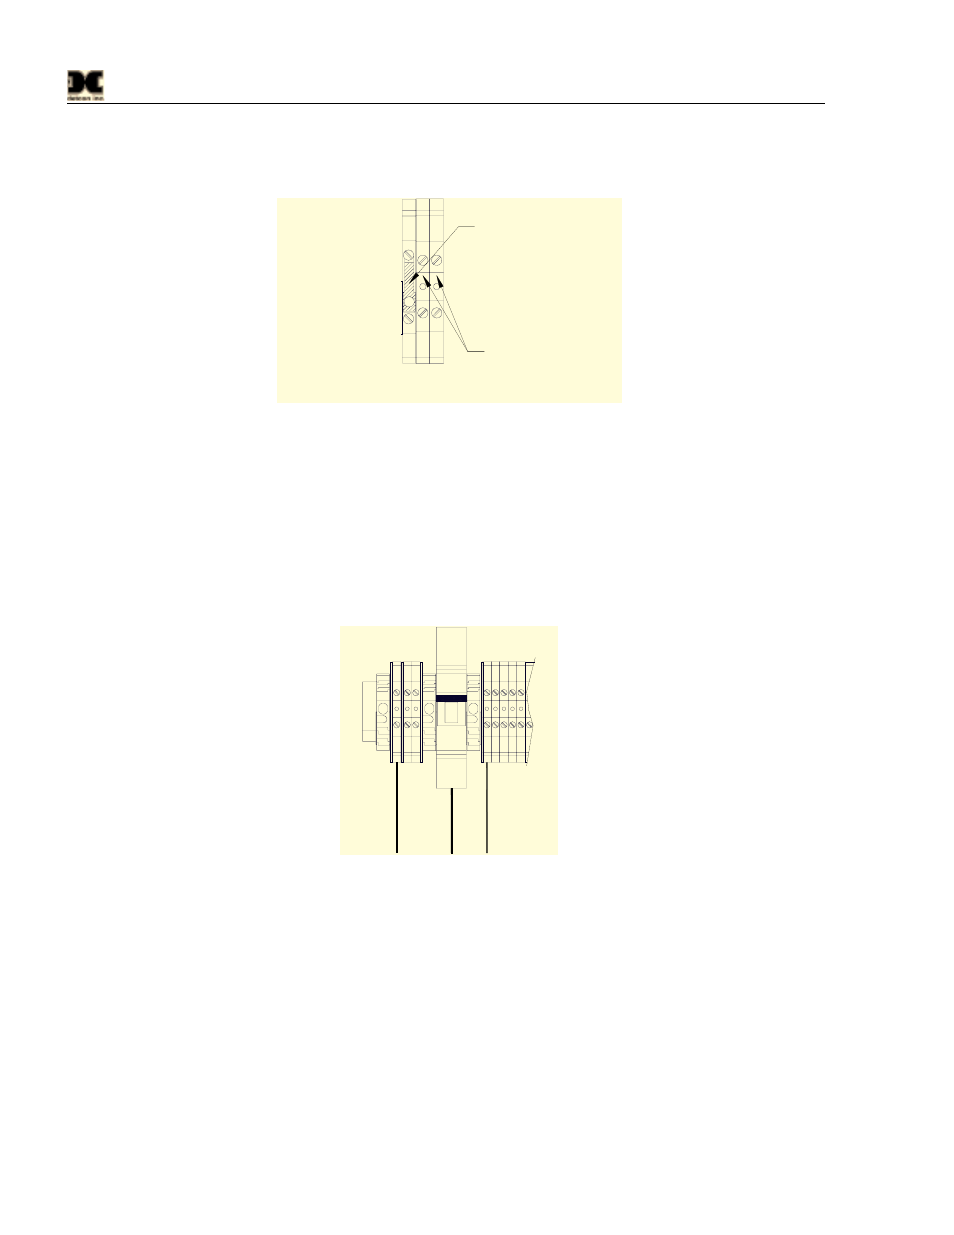
6. Each alarm has an associated set of dry contacts from the Alarm/Fault relay’s (Figure 3 and Figure 5).
These dry contact terminals consist of a Common relay connection through a terminal disconnect, and
the NC and NO Contacts via through terminals (Figure 4).
24 25 26
CO
M
NC
NO
Disconnect Terminal Block
Through Terminal Block
COM - Common
NC - Normally Closed
NO - Normally Open
Figure 5 Typical Dry Contact Connections
7. If applicable, connect a 24VDC source or standby battery to the terminal strip labeled “VDC IN” (+
and –) on the Motherboard (Figure 2).
8. Connect 117VAC input to the Circuit Breaker labeled “VAC IN” in the lower left of the enclosure
(Figure 3 and L1, N, EARTH in Figure 6). If applicable, connect 220VAC. The power supply will
accept both voltages.
9. Connect Earth Ground to Terminal TB1-1, and Neutral to terminal TB1-5 (Figure 6).
7
8
9
5
6
1
2
3
G
rou
nd
/
Ear
th
V
A
C
In
pu
t /
L1
Ne
ut
ra
l /
N
20Amp
Brkr
4
ON
Figure 6 Input Power Connections
2.1 Start
Up
Upon completion of all field wiring: Apply power to the 610-N4X-SA by turning the 20Amp Circuit Breaker
ON. Note that each Model 10 controller digital display illuminates. Note; varying readings may occur during
sensor warm-up. A 10 second alarm delay will occur on power up. Refer to the applicable Sensor Instruction
Manual for additional sensor start-up details.
3.0 Maintenance & Repair
The Detcon Model 610-N4X-SA’s modular design allows for minimum ‘down-time’ during maintenance
and/or repair.
610-N4X-SA Instruction Manual
Rev. 0.1
Page 6 of 8