Zero – DeFelsko PosiTector PC v.1.1 User Manual
Page 7

6
Verification of Accuracy
Before first use on a new powder and periodically thereafter, the user
should perform an accuracy check. This ensures the gage is working
properly by comparing predicted thickness values with actual cured
thickness values.
1. Zero the probe (pg. 6).
2. Electrostatically spray powder onto a flat, smooth metal sample.
3. Measure the uncured powder with the PosiTector PC.
4. Cure the powder.
5. Measure cured thickness with a magnetic or eddy current coating
thickness gage such as the PosiTector 6000. Compare results.
A successful verification requires that the average of a series of
measurements by both instruments be within their combined tolerances.
If not, adjust the PosiTector PC using one of the methods described on
page 8.
For best accuracy, perform a Zero at the beginning of every shift to
compensate for temperature and humidity changes. It is also required
after a Reset (pg. 13).
Zero Menu Option
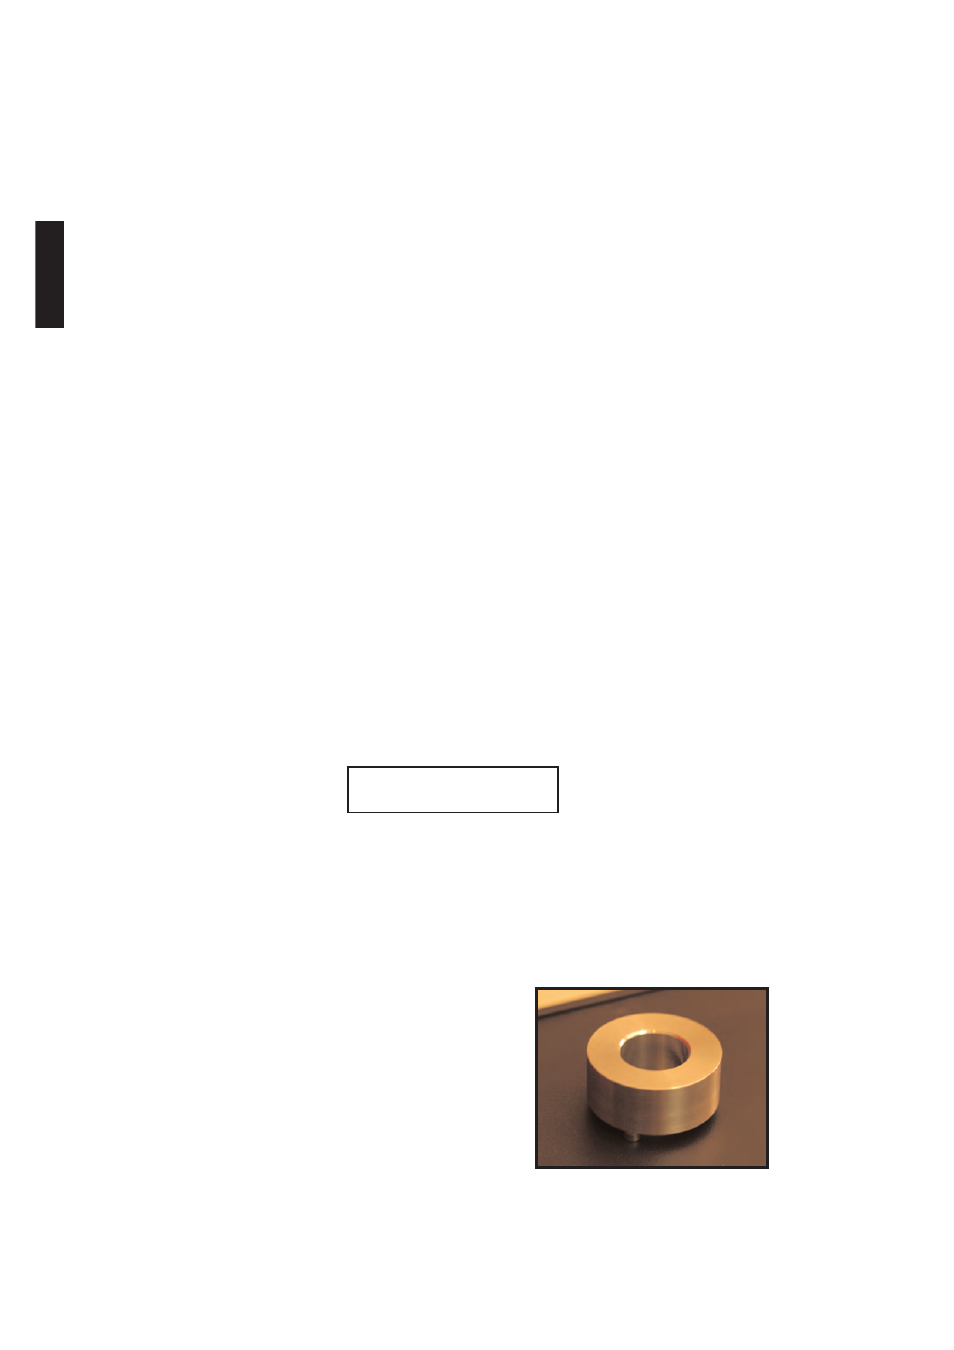
1. Place the included Powder Probe Fixture onto a hard, flat,
smooth surface (i.e. glass or metal).
2. Place the measuring end of the probe into the Fixture.
3. Power-up both units.
4. On the base unit select the Zero
menu option. The zero process
can take up to 30 seconds.
Zero
