WEN 3914 14 inch band saw User Manual
Page 12
Assembly
CAUTION: Do not attempt assembly if parts are missing.Use this manual to order replacement
parts.
WARNING: To avoid injury, do not attempt to run oruse this machine until all parts are
assembled and workingproperly.
Assembly stand
Note: Hand-tighten all hardware during assembly. Do notcompletely tighten hardware until
assembly is complete.
Refer to Exploded View and Parts List, Page 26.
1. Place base (Item 6) on flat surface. Attach right and left panels (Item 1 and 5) to base using
four socket head bolts, washers and hex nuts (Item 14, 10 and 13).
2. Attach rear panel (Item 3) to the side panels using four hex head bolts and flat washers (Item
10 and 11).
3. Attach the two braces (Item 2) to the top front and bottom front of the side panels using four
hex head bolts and flat washers.
4. Attach the shelf (Item 4) to the center of the side panels using four hex head bolts and flat
washers.
5. Attach the door assembly (Item 7) to the left panel using two pan head screws and flat
washers (Item 8 and 9).
6. Secure all hardware.
7. Place band saw on top of stand and secure in position using four flat head screws, washers,
and hex nuts (Item 12, 10 and 13).
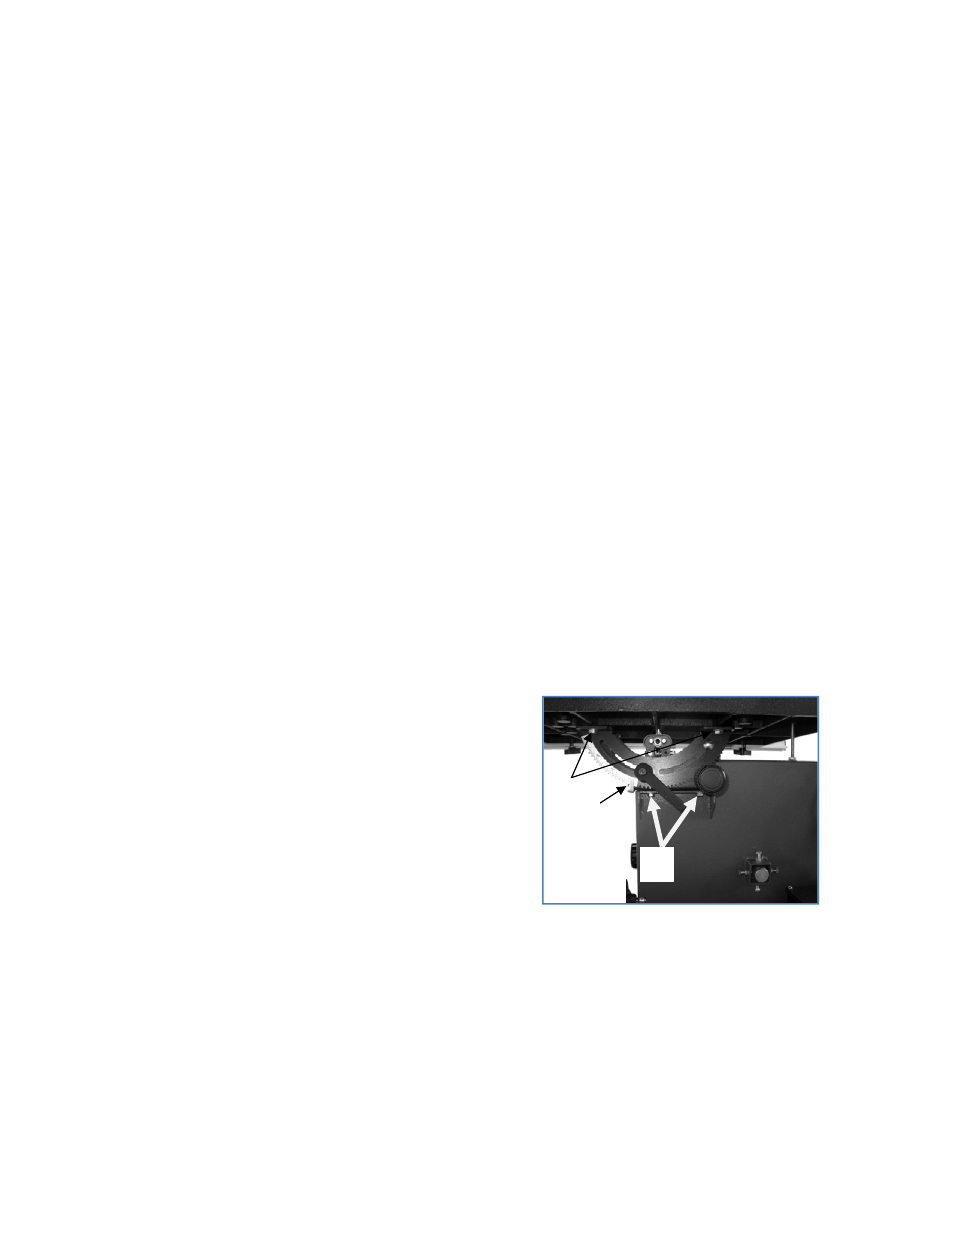
Attach table to trunnion
1. Place the table on the trunnion. Use caution when
passing the saw blade through the slot of the table
(See Figure 1).
Figure 1
3
1
2
2. Locate four M6 x 16 hex bolts and four M6 flat
washers from the bag of loose parts. Mount the
table to the upper table trunnion and install a bolt
with a washer in each hole. Tighten with adjustable
wrench.
1- Bolt Attach Table
2- Indicator
3- Adjusting Bolts
12