Mounting instructions – SnowEx SP-9500X User Manual
Page 20
20
© TrynEx International 2013 (REV C) F50734
Mounting Instructions
1. If installing on dump body, remove tailgate. If using flatbed, remove stake sides.
2. Load spreader onto truck bed.
3. Install Rear Stop Bracket onto Auger Extension Weldment. using provided hardware as described in diagram on previous page.
4. Slide Spreader forward until Stop Bracket touches the rear of the truck body.
5. Center side-to-side on the truck bed. The spreader must be centered for the safety of the vehicle, its driver and those nearby.
6. You will notice there are four holes in the bottom flange of each sideframe. These holes are on the bottom and will be used to mount the
spreader to the truck body. There are also two holes in the rear stop bracket. Mark all of these holes with a paint/permanent marker, an
oil pencil or similar device.
7. Look underneath the truck body to be sure there is clearance for the holes to be drilled. If there are interferences, the holes can be relo-
cated in the spreader frame. If the holes need to be relocated, make sure there is adequate fastening at the front and back.
8. Drill the holes in the marked locations using a 9/16 drill bit. (You may need to slide the spreader side-to-side in order to drill the holes
without climbing underneath the truck.
9. Slide the spreader back into position over top of the holes just drilled. Install bolts through spreader frame and truck body with washer
and nut below. Tighten all fasteners.
10. Attach Ratchet Straps using provided hardware as in diagram on previous page. Tighten the fasteners. Hook Ratchet Strap’s other end to
truck body. Tighten the Straps.
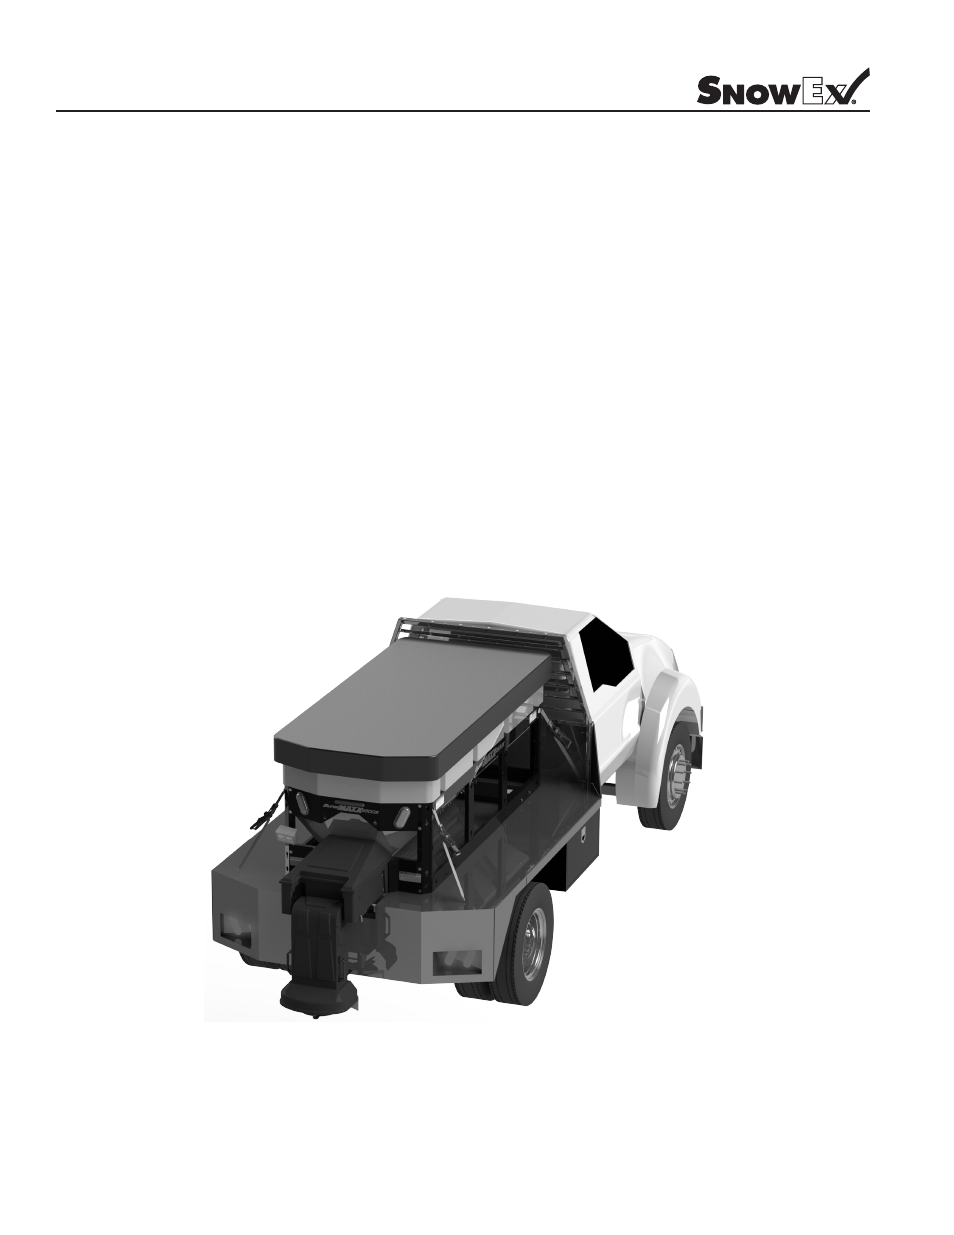
Spreader Mounted on Truck