Wiring instructions – SnowEx SP-9500X User Manual
Page 12
12
© TrynEx International 2013 (REV C) F50734
Wiring Instructions
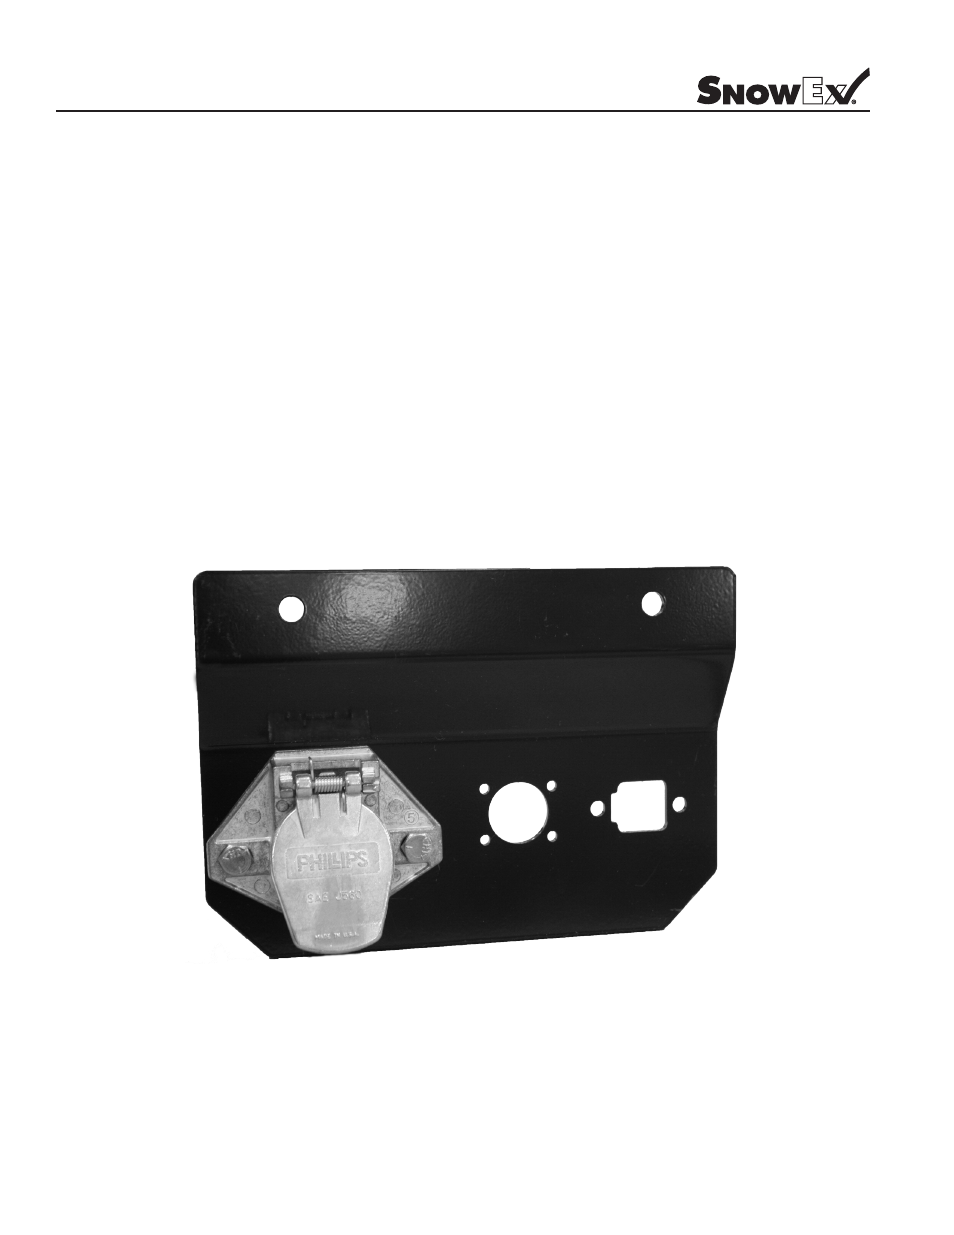
1. Mount rear plug bracket on back of vehicle using supplied bolts. Locate toward center of bumper as it will reduce the amount of debris
that gets onto the plug.
2. Mount vehicle harness plugs to bumper bracket that was just installed. [The Power Harness Plug will need to be removed and mounted to
the bracket, then re-connected to the wires.] Apply dielectric grease to plugs.
3. Route wires from back to front using ty-wraps or clamps (not supplied). Do not secure to brake lines, fuel lines, or near exhaust, engine or
moving parts. Use the heavy-duty ty-wraps along frame and the lighter duty ty-wraps everywhere else.
4. Drill a 7/8” hole in the firewall near steering column. Be sure to check for wires and components in the way (both sides of firewall) before
drilling the hole.
5. Run the Data Cable into cab. Zip-tie wire under dash so it does not get in the way of brake or accelerator pedal. Leave enough of the Data
Cable outside of the dash so operator can hold control pendant in hand. Install the Pendant Mounting Base and Bracket. Stick hook/loop
fastener to the Pendant and Pendant Base.
6. Splice the short wire on the Vehicle Data Cable into the Third Brake Light Circuit of the vehicle.
7. Route power wires over to battery. Install circuit breaker and connect to battery.
View of Vehicle Power Harness Plug Attached
to Bumper Bracket.