RIKON Power Tools 50-112 User Manual
Page 9
9
Operation
Installing and Adjusting the Sanding Belt
1.
Turn power switch to the OFF position and disconnect power cord from the main elec
tricity supply.
2.
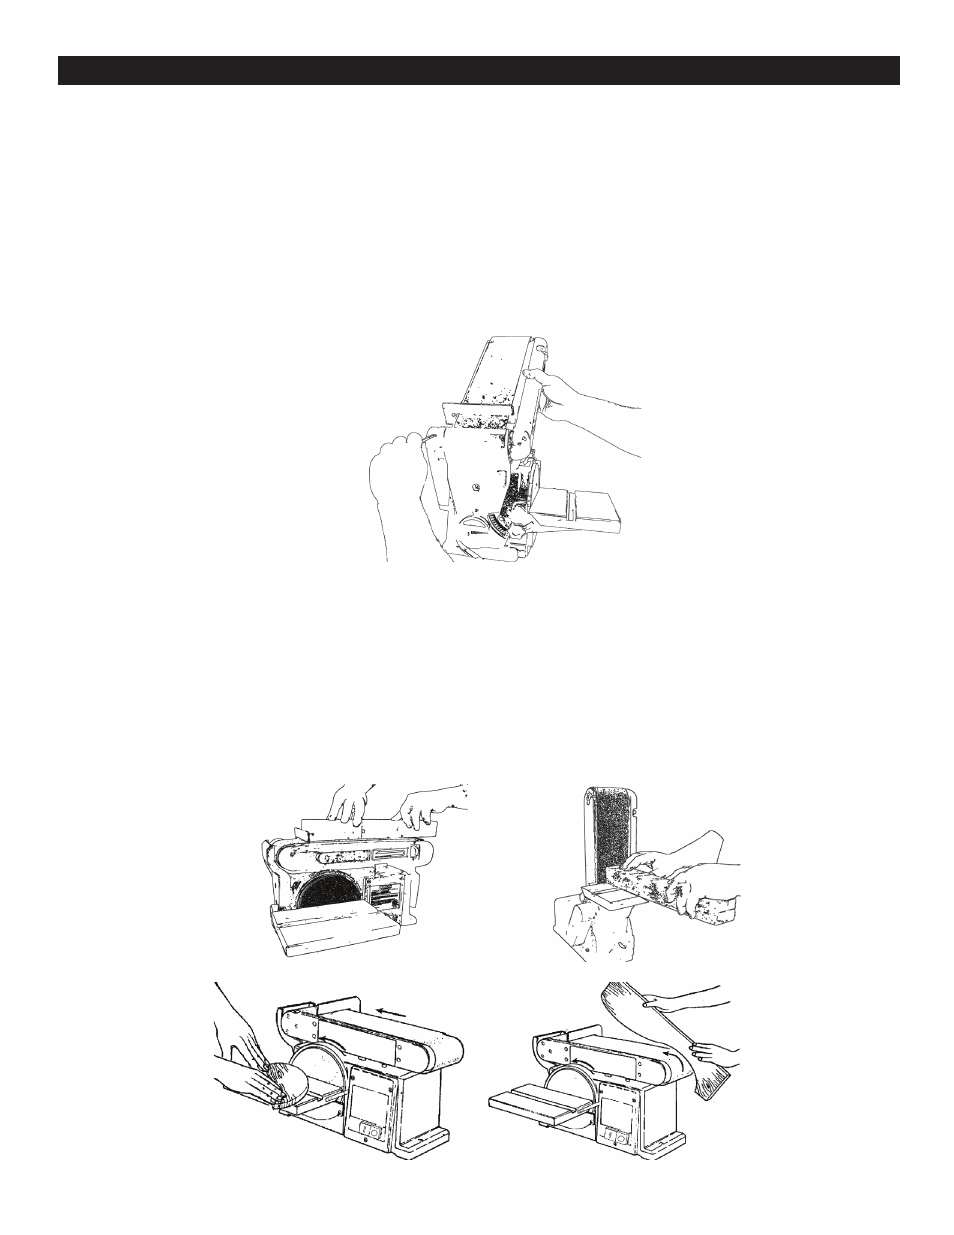
Move tension lever (66) to the right to release the sanding belt tension (10). .
3.
Place the sanding belt over the drive and idler drums (13 and 65), making sure that the
inside direction arrow points down, towards the drive drum (13) as shown in illustration..
4.
Centre belt on both drums.
5.
Slide tension lever (66) to the left to tighten belt tension.
6.
Tighten hex. socket screw (56) when bed (4) is in desired working position.
7.
Reconnect the power cord to the main electricity supply. Turn the no-volt release switch
(21) ON, then OFF, while viewing the belt movement. If the belt looks like it was going
to slide off either drum, the belt tracking needs to be adjusted (described in the next
step).
8.
If the sanding belt (87) moves towards the sanding pad (7) when turned ON, turn the
tracking knob (55) clockwise ¼ turn, and test again.
9. If the sanding belt moves away from the sanding pad when it was turned ON, turn he
tracking knob counterclockwise ¼ turn, and test again.
Surface Sanding on Sanding Belt
End Sanding on Sanding Belt
Sanding Curved Edges