Ramsey Winch QM-8000 User Manual
Page 5
Installation
The Quick Mount is solely and exclusively designed for vehicle
mounted, non-industrial applications. All other applications will
void warranty.
The Quick Mount must be front mounted with a front receiver
hitch available from Ramsey for selected vehicles. For rear
mounting of the QM, a SurePull Class III rear receiver or equiv-
alent with a 5,000 lb. minimum weight carrying rating must be
used.
For normal self recovery work, your existing electrical system is
adequate. Your battery must be kept in good condition. A fully
charged battery and proper connections are essential.
For front mounting, route quick connect battery power lead
through grille, leaving connector on outside and connect red
cable to positive(+) terminal and black cable to negative(-) ter-
minal of battery. Secure cable under hood with cable ties.
For rear mounting connect battery power lead as instructed
above. Secure cables under vehicle away from moving parts
and exhaust system. Terminate routing near the center of the
vehicle at the rear. BE SURE BATTERY CABLES ARE NOT
DRAWN TAUT ACROSS ANY SURFACES WHICH COULD POS-
SIBLY DAMAGE THEM.
Secure Quick Mount in the receiver with the Ramsey locking
pin. Connect quick disconnect from Quick Mount winch to bat-
tery power lead. Plug remote switch into receptacle on
solenoid assembly.
Clutch Operation
The winch clutch allows rapid unspooling of the cable for hook-
ing onto the load or anchor point. The clutch is operated by the
shifter tab located on the gear housing end of the winch.
Disengage the clutch (move the clutch shifter tab to the "OUT"
position). Free spool some cable off the drum. Engage the
clutch (move the clutch shifter tab to the "IN" position).
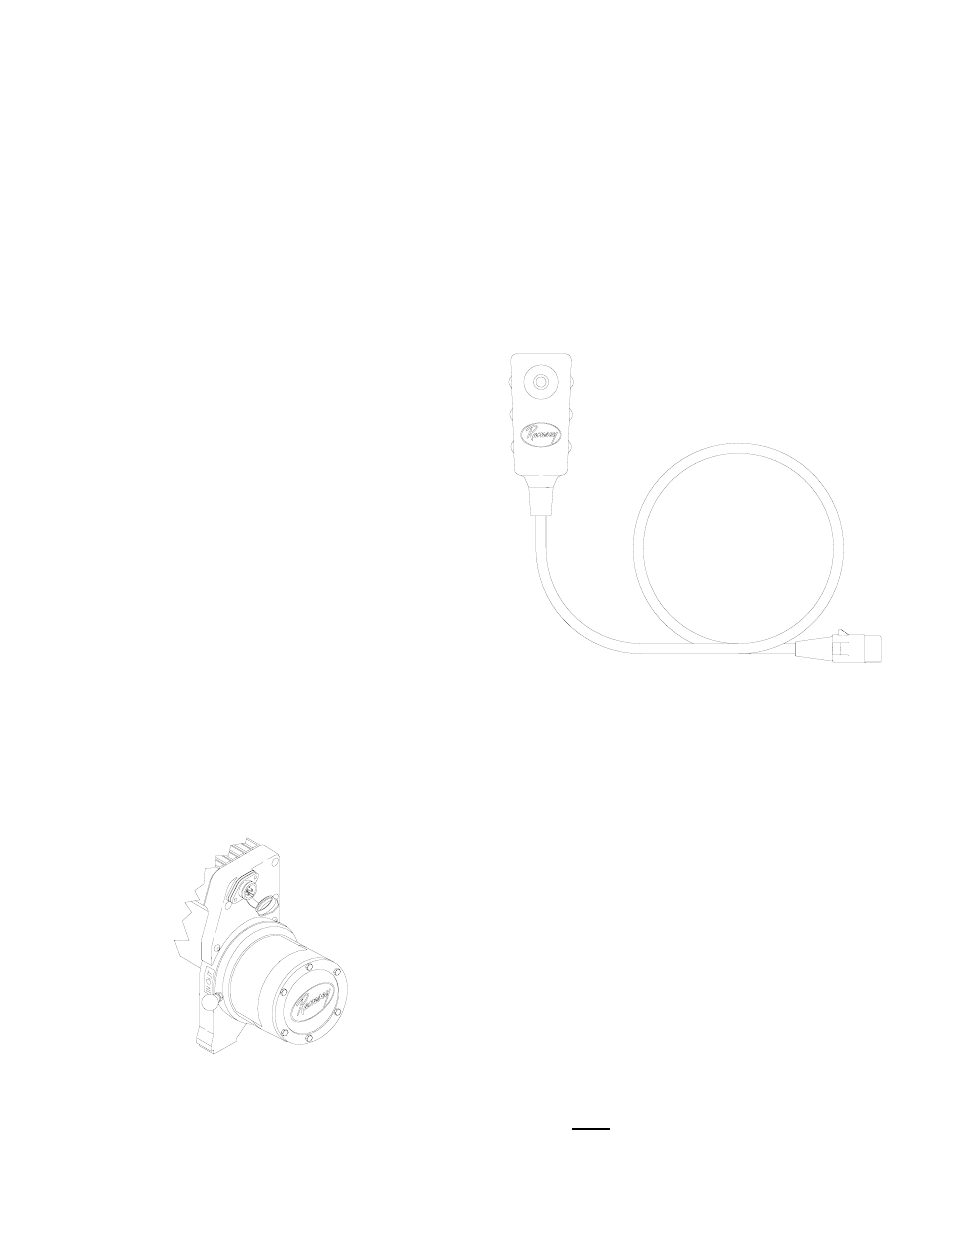
Remote Control Switch Operation
The remote control switch is waterproof and has push button
stations on either side. It is designed this way to prevent quick
winch reversals which lead to premature solenoid failure. The
switch is also color coded to aid you in not having to guess at
the direction your winch willl run. Make sure the motor has
stopped fully before reversing. Run the winch forward and
reverse to check connections. Snap appropriate plastic disc
into proper thumb button cavity on remote switch after deter-
mining direction of rotation for winch drum.
DO NOT LEAVE SWITCH PLUGGED IN WHEN WINCH IS NOT IN
USE.
Maintenance
Corrosion on electrical connections will reduce performance or
may cause a short. Clean all connections, especially in remote
control switch and receptacle. In salty environments use a sil-
icone sealer to protect from corrosion.
All moving parts in the winch are permanently lubricated with
high temperature lithium grease at the time of assembly. Under
normal conditions, factory lubrication will suffice.
Lubricate the cable periodically using light penetrating oil. If the
cable becomes worn or damaged it must be replaced. Inspect
for broken strands and replace if necessary (see the next sec-
tion for cable replacement instructions).
To minimize corrosion of the internal motor components that
may occur due to condensation, power the winch in or out peri-
odically. Energizing the motor will generate heat, which will help
dissipate any moisture buildup in the motor. This should be per-
formed at periodic intervals. (such as with each oil change to
your vehicle. Note: Refer to Troubleshooting Guide if motor has
been submerged.
5