Qualcraft End Rail User Manual
Page 10
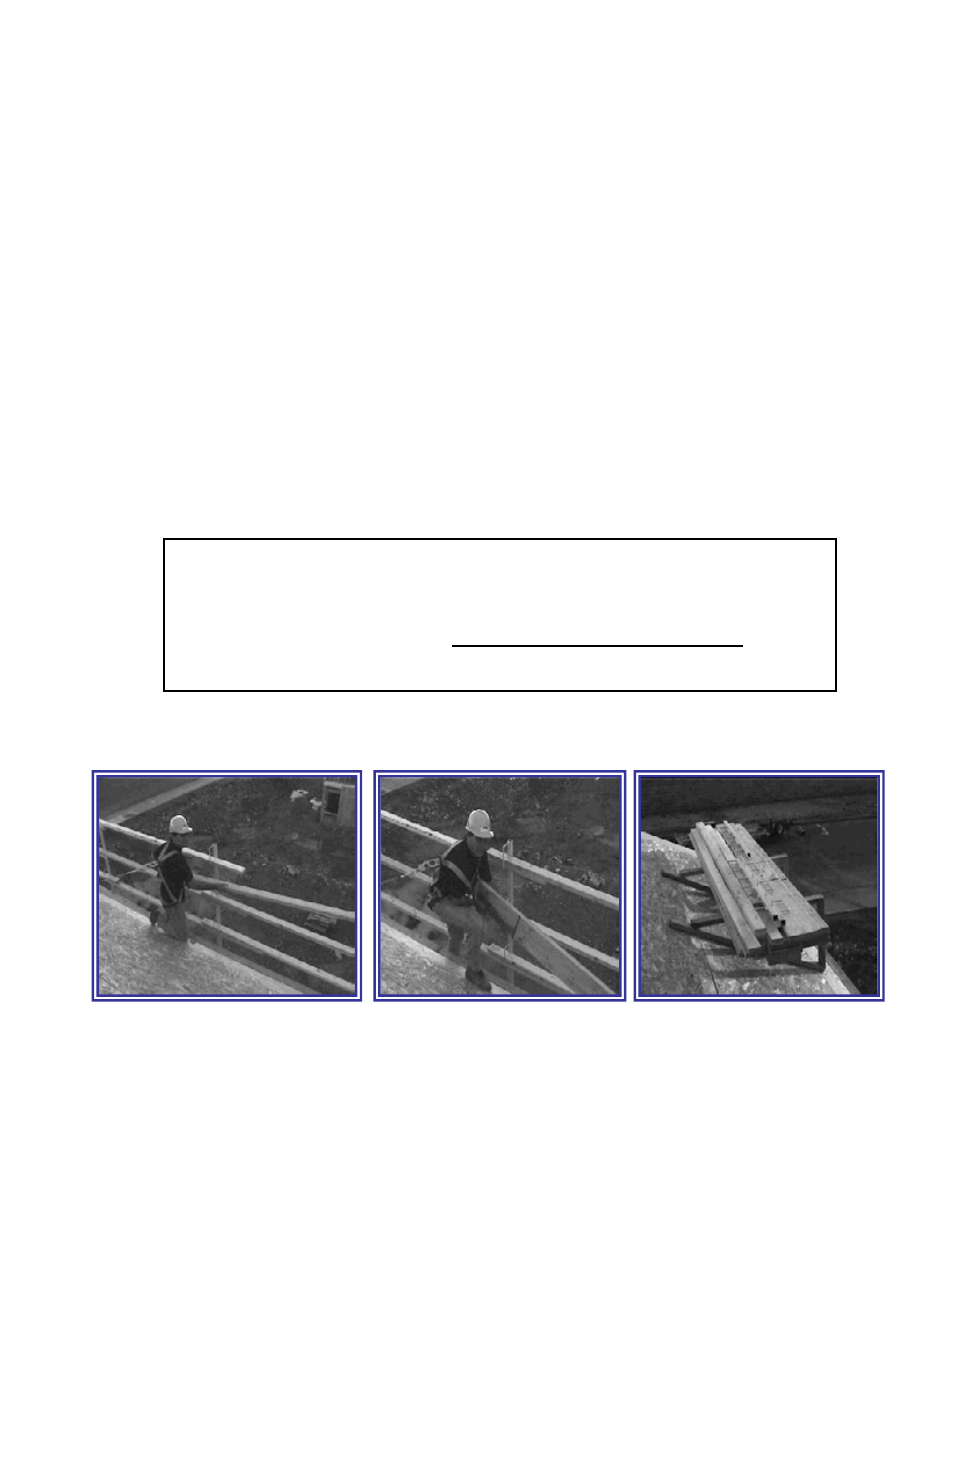
Stage #4: Removal
Note: Before removal, verify that caution tape is still in place around
the entire building and have a Safety Monitor present at all times.
Safety Equipment Required (Must meet OSHA regs.)
�
Full body safety harness (follow mfg. Instructions)
�
Self-retracting life line (follow mfg. Instructions)
�
Nail on roof anchors
Removal of Bracket System
1. Remove rails, uprights, and planks while working in reverse
direction of installation.
2. Stack material on roof jacks, or lower to the ground.
Dismantling Bracket System
1. At shear wall areas, attach the previously installed lowering
strap to a rope or strap. While your assistant holds the strap,
loosen the eyebolt and remove the top clamp. Then lower the
bracket down using the strap or rope.
2. On walls without shear, remove the 36” 2x4, loosen the hex
bolt, remove the top clamp, and bring bracket in between the
studs.
3.
Use a Safety Monitor to assure that lowering material does not
injure someone.
Page 9
Working from secured ladder (See page 11 for “Ladder Safety”)
3. Hang bracket over top plate at layout location
4. Using a ratchet handle, tighten the eyebolt at least 2 full turns
past finger tight.
5. Install attached safety pin EVERY
TIME.
6. Install guard rail post, with loops to the
outside
7. Complete installing all brackets from a
ladder, adding end rails as necessary.
8. At sheer wall areas, the optional strap should be looped through
the bracket with the free end over the top of the wall for future
use.
SAFETY NOTE
Each Stacker Bracket� must have a plumb and line brace within one foot of
bracket. (Please note that perpendicular walls are acceptable as a brace.)
Page 6
SAFETY NOTE
Roof jacks must be properly made and secured
.
CAUTION ! DO NOT overload jacks.