Installation, Warning – Lincoln Electric IM10119 IDEALARC AC-1200 User Manual
Page 9
A-2
INSTALLATION
IDEALARC
®
AC-1200
A-2
LOCATION
Install the welder in a dry location where there is free
circulation of air in through the louvers in front and out
through the louvers in the back of the case. A location
which minimizes the amount of smoke and dirt drawn
into the machine reduces the chance of dirt accumula-
tion that can block air passages and cause overheat-
ing.
INPUT WIRING
Failure to fuse the input lines per the specifications
in this manual will constitute customer abuse and
void the warranty.
-----------------------------------------------------------------------------
Have a qualified electrician make the complete input
connection in accordance with the National Electrical
Code, all local codes and the connection diagram
located inside the machine.
Be sure the voltage, phase and frequency of the input
power is as specified on the welder nameplate.
For most installations, connect the AC-1200 to single
phase power or to one phase of a three phase line.
Unbalanced line conditions can be easily avoided by
properly balancing the AC-1200 with other machinery
on the lines.
When installing two or four Scott connected AC-1200
machines for AC-AC tandem arc welding, three phase
input power must be used. The terminals for connec-
tions to provide an output phase angle less than or
greater than the usual 90º phase angle are included
on the input panel.
The AC-1200 does not have an input contactor.
Therefore, include an external starter or disconnect
switch when planning the input circuit.
Remove the right side panel of the AC-1200 and bring the
input power lines through the hole in the back of the case.
See the table below for reccomended sizing of input leads
and overcurrent protection.
The frame of the welder must be grounded, A stud marked
with the symbol located on the welder case back
hole in the back of the case is provided for this purpose.
See the National Electrical Code for details on proper
grounding methods.
OUTPUT CONNECTIONS
1. Wire Feeder Connection
Turn the input power to the welder off. Remove the
screw and lift the hinged door on the front of the control
panel to expose the terminal strips. Connect the leads of
the wire feeder input control cable to the terminal strips
exactly as specified in the appropriate connection diagram.
The AC-1200 to NA-4 connection diagrams are included
in the NA-4 Operating Manual IM-278. Attach the control
cables to the panel at the right of the terminal strip using
the clamps provided.
If connecting the AC-1200 to an older NA-4 with the tog-
gle switch type “Current Control” (below code 7532), a K-
775 “Remote Control” must be purchased and installed in
accordance with the connection diagram S-15667 on page
5. The “Remote Control” cord can be lengthened to any
length by properly splicing a four conductor cord to the
standard 25ʼ cord before connecting to the AC-1200 ter-
minal strip.
If connecting the AC-1200 to an LAF-4 or the AC con-
trols of the LT-34 tractor, the AC-1200 must be ordered
with the required “–NL” optional circuit installed. This kit
includes the K-775 “Remote Control”. Connect in accor-
dance with diagram S-15666 on page 5.
To connect the AC-1200 to any other wire feeder, write to
the factory for instructions giving complete nameplate infor-
mation for the specific equipment.
When connection to the terminal strips are completed,
close the door and replace the screw.
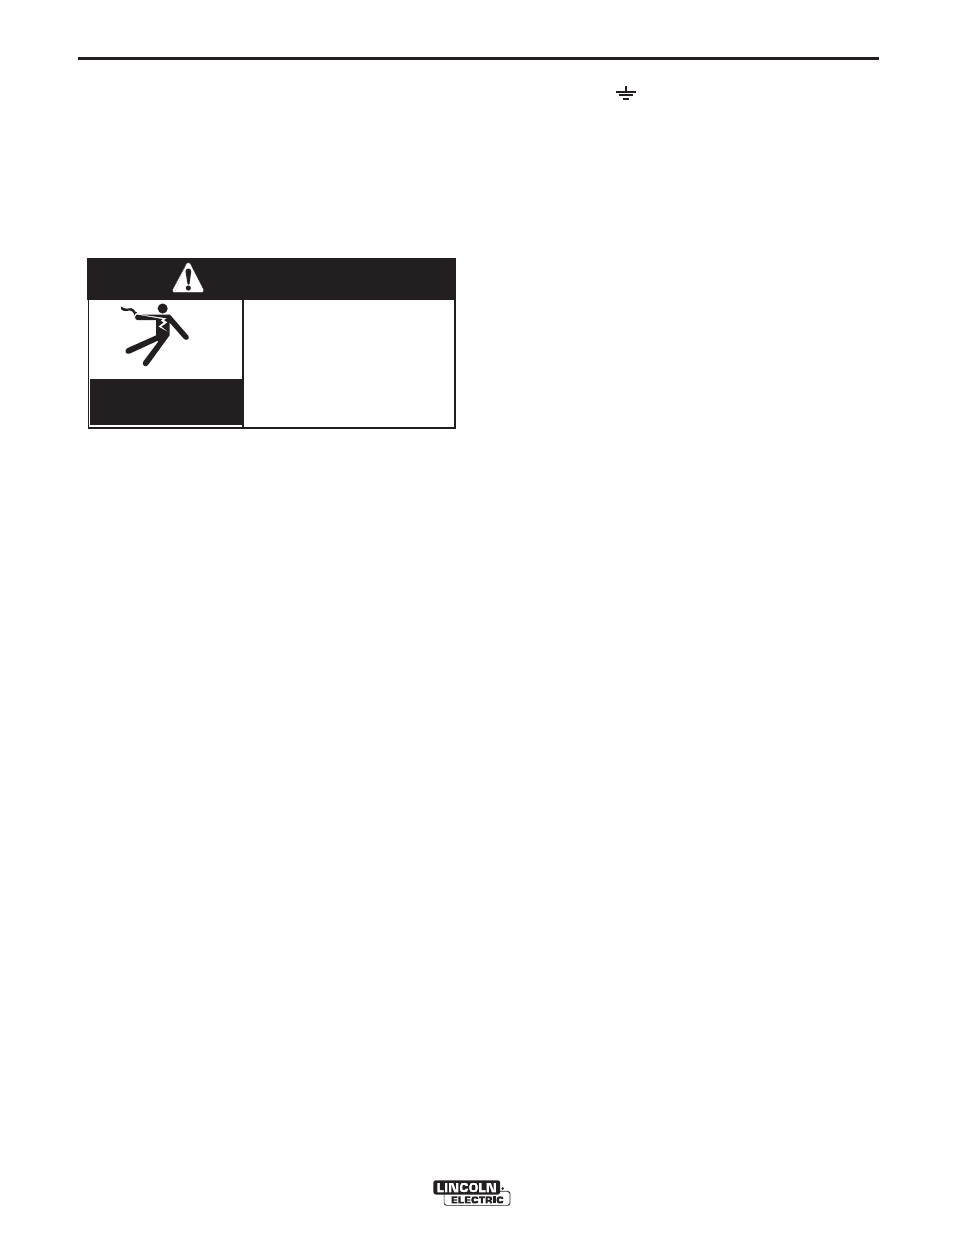
WARNING
ELECTRIC SHOCK
can kill.
• Have an electrician install
and service this equip-
ment.
• Turn the input power off at
the fuse box before work-
ing on equipment.
• Do not touch electrically
hot parts.