TIF ZX Heated Pentode Refrigerant Detector User Manual
Page 16
14
As described in the Operating Features section, the unit’s circuit automatically
diagnoses and indicates the sensor’s status .
If an Old Sensor Indication is received, obtain a new sensor as soon as possible .
Refer to the Replacement Parts section
.
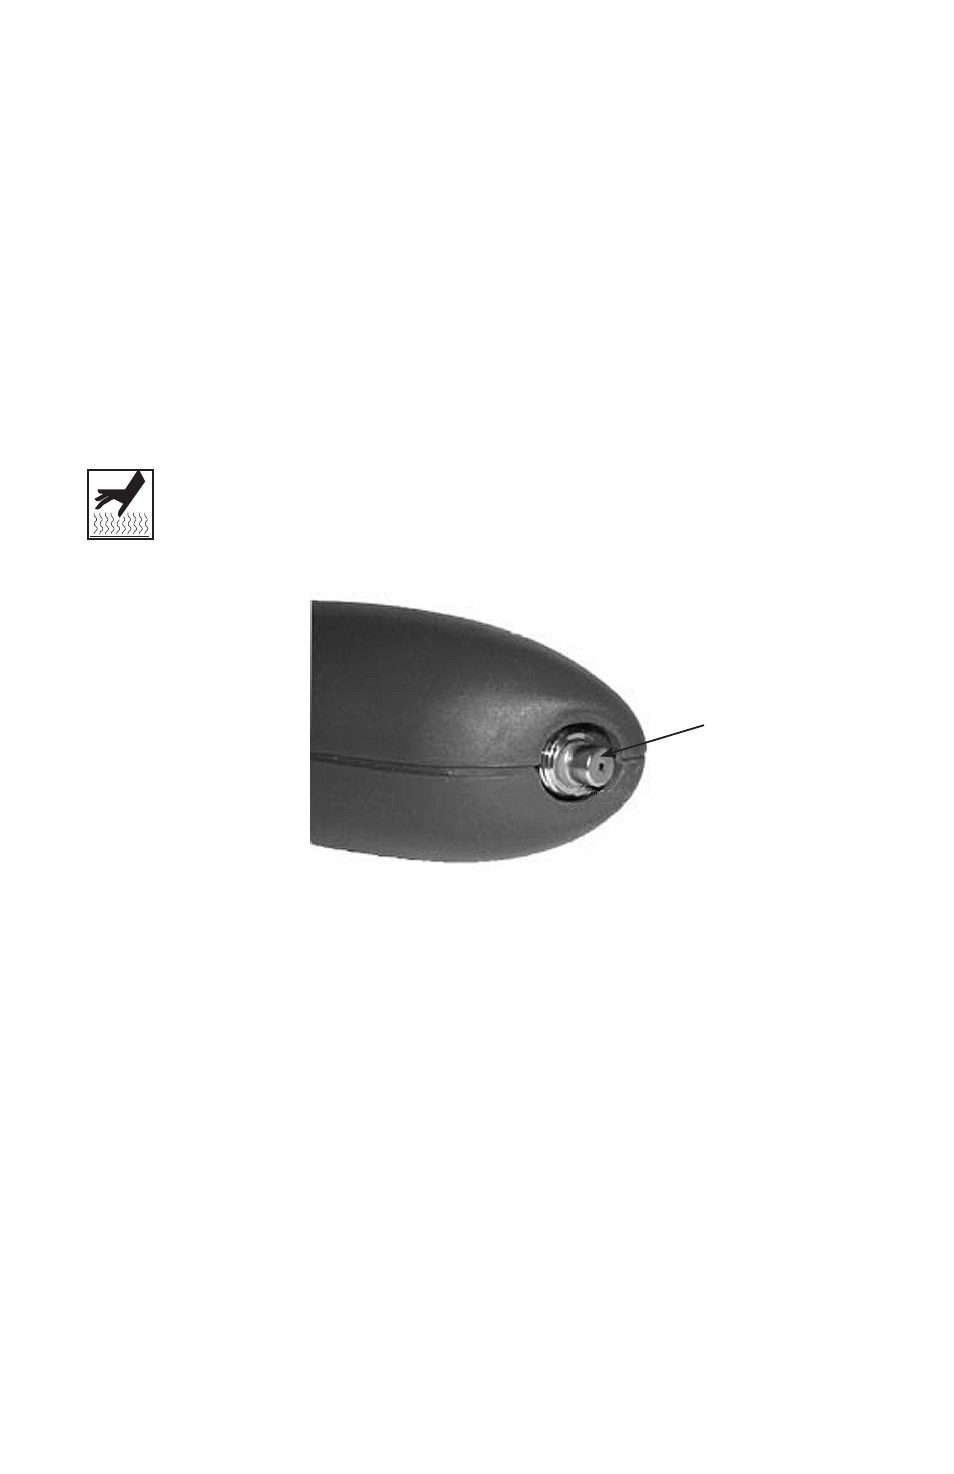
If a Failed (or missing) Sensor Indication is received:
1 . Remove the flexible probe by firmly grasping it and rotating it counterclockwise . This
exposes the sensor in the end of the unit (see Fig . 7) . Verify the sensor is installed .
A . If a sensor is present, proceed to step 2 .
B . If no sensor is present, skip ahead to step 3 .
caution: to prevent personal injury, power off the unit and let it cool
for at least five (5) minutes before removing the sensor. the sensor is
heated to high internal temperatures during operation and the sensor
case becomes hot.
Fig . 7
2 . Remove the old sensor by firmly grasping it under the flange and pulling it straight
away from the unit . Discard the old sensor .
3 . The new sensor comes packaged in a sealed foil bag . Open the bag and remove
the sensor .
4 . Hold the unit with the front end facing you, and note the sensor connection inside
the threaded bushing on the end of the unit . There are five (5) holes corresponding
to the five (5) pins on the sensor – three (3) on the left and two (2) on the right (refer
to Fig . 8) .
5 . Align the pins in the sensor with the corresponding holes in the threaded bushing .
When correctly aligned, firmly push the sensor into the bushing until it stops .
Sensor