Pkb setup instructions, Danger – King Electric Model PKB User Manual
Page 2
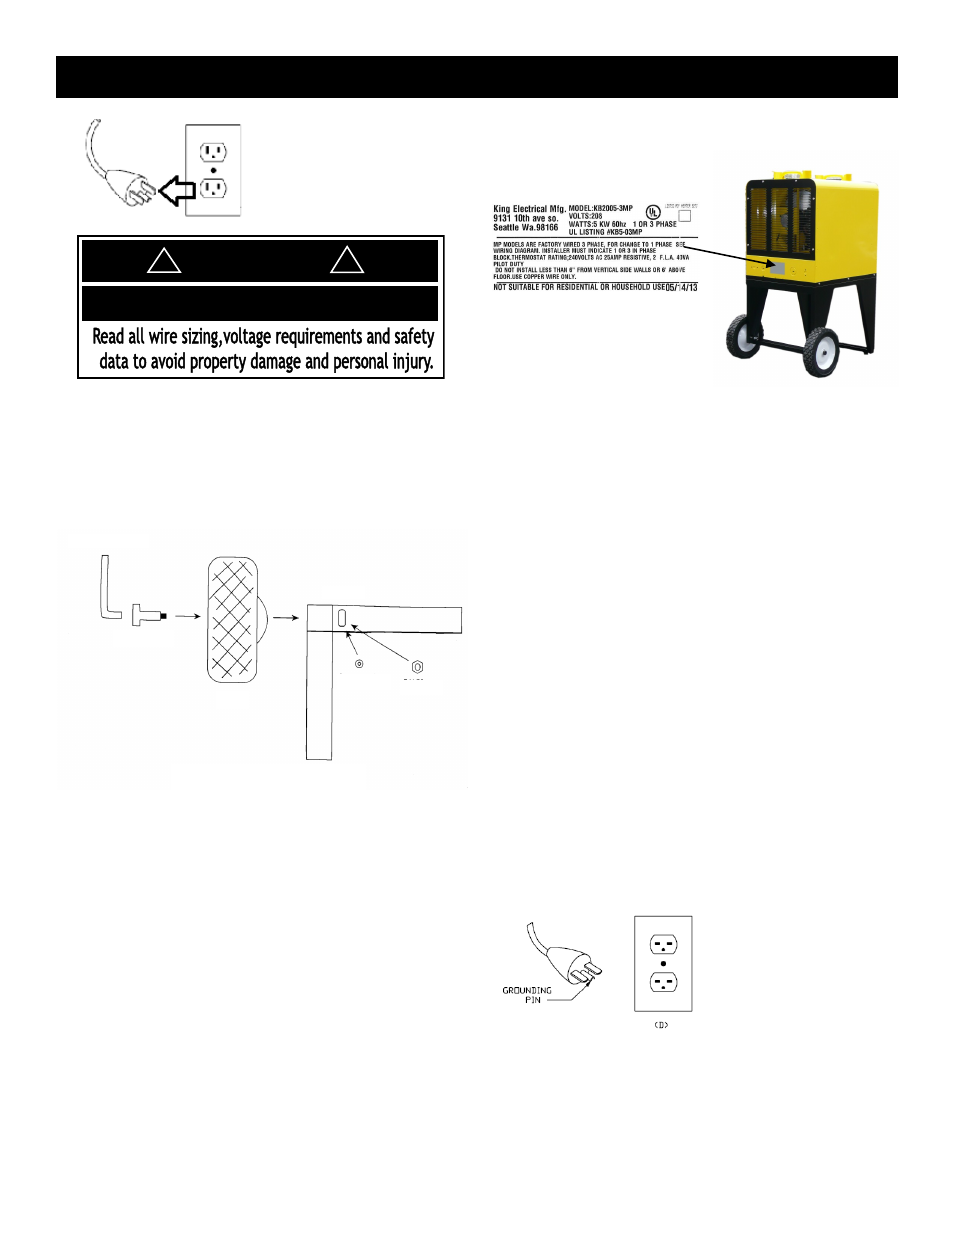
Figure 3
PKB SETUP INSTRUCTIONS
CAUTION!
Remove power by un-
plugging the Heater while
setting up or placing.
Rating Label Location
1. Setting up Your Heater:
2. Unpack and inspect your heater for any damage. Any
damage discard heater or return to authorized
service facility immediately.
3. Place heater at least 6" (15cm) away from vertical
surfaces and keep the intake clear of obstructions.
Keep all combustible materials, such as furniture,
papers, clothes, drapes, and curtains at least 3 feet
(0.9 m) from the front of the heater and keep them
away from the sides and rear.
4. Route power cord away from traffic areas to avoid
tripping. NEVER rout power cord under carpets,
rugs, drops furniture or other equipment.
5. Plug power cord into a grounded wall outlet only DO
NOT use an extension cord or power strip.
6. Wiring diagram located in wiring housing.
7. Adjust the louvers to the
desired
position. The louvers are designed so the cannot be
completely closed. Do not attempt this feature this
may damage the heater.
8. WARNING: This heater is floor ONLY and should not
be tipped on side, placed upside down, mounted on
or inserted into a wall. A tip over auto disconnect
switch will activate when tipped more then 30°.
9. DO NOT use heater in areas where gasoline, paint,
or other flammable liquids are used.
10. DO NOT use heater outdoors or in wet or moist
indoor areas such as bath or laundry rooms.
11. Store unplugged and in a dry indoor location.
12. This heater is for use on 240 (or 208) volts. The cord
has a plug as shown in D in Figure 65.1. No adapter
is available for this blade configuration, and none
should be used. The type outlet is a 240 (or 208) volt
grounding outlet. When properly installed, it
provides a ground
connection through the
cord to the heater to
protect the operator from
electric shock.
ELECTRIC SHOCK OR FIRE HAZARD
DANGER
!
!
Figure 4
2
Wheel install Diagram
1/4" Hex Driver
Shoulder Bolt
Wheel
Weld Nut
Lock Washer
9/16" Nut
Figure 2
Figure 5
Figure 6