General Tools and Instruments 880 User Manual
Page 2
A CUTTING GUIDE FOR CROWN MOLDINGS
The yellow angle insert can also be used as an
installation guide; hold the insert against the wall
to check 38◦ and 45◦ angles, or against the ceil-
ing to check 52◦ angles.
Clamping is optional but not required.
Measuring the test cut – (Rear view)
2. BASIC MITRE CUTTING
3. MOLDING INSTALLATION
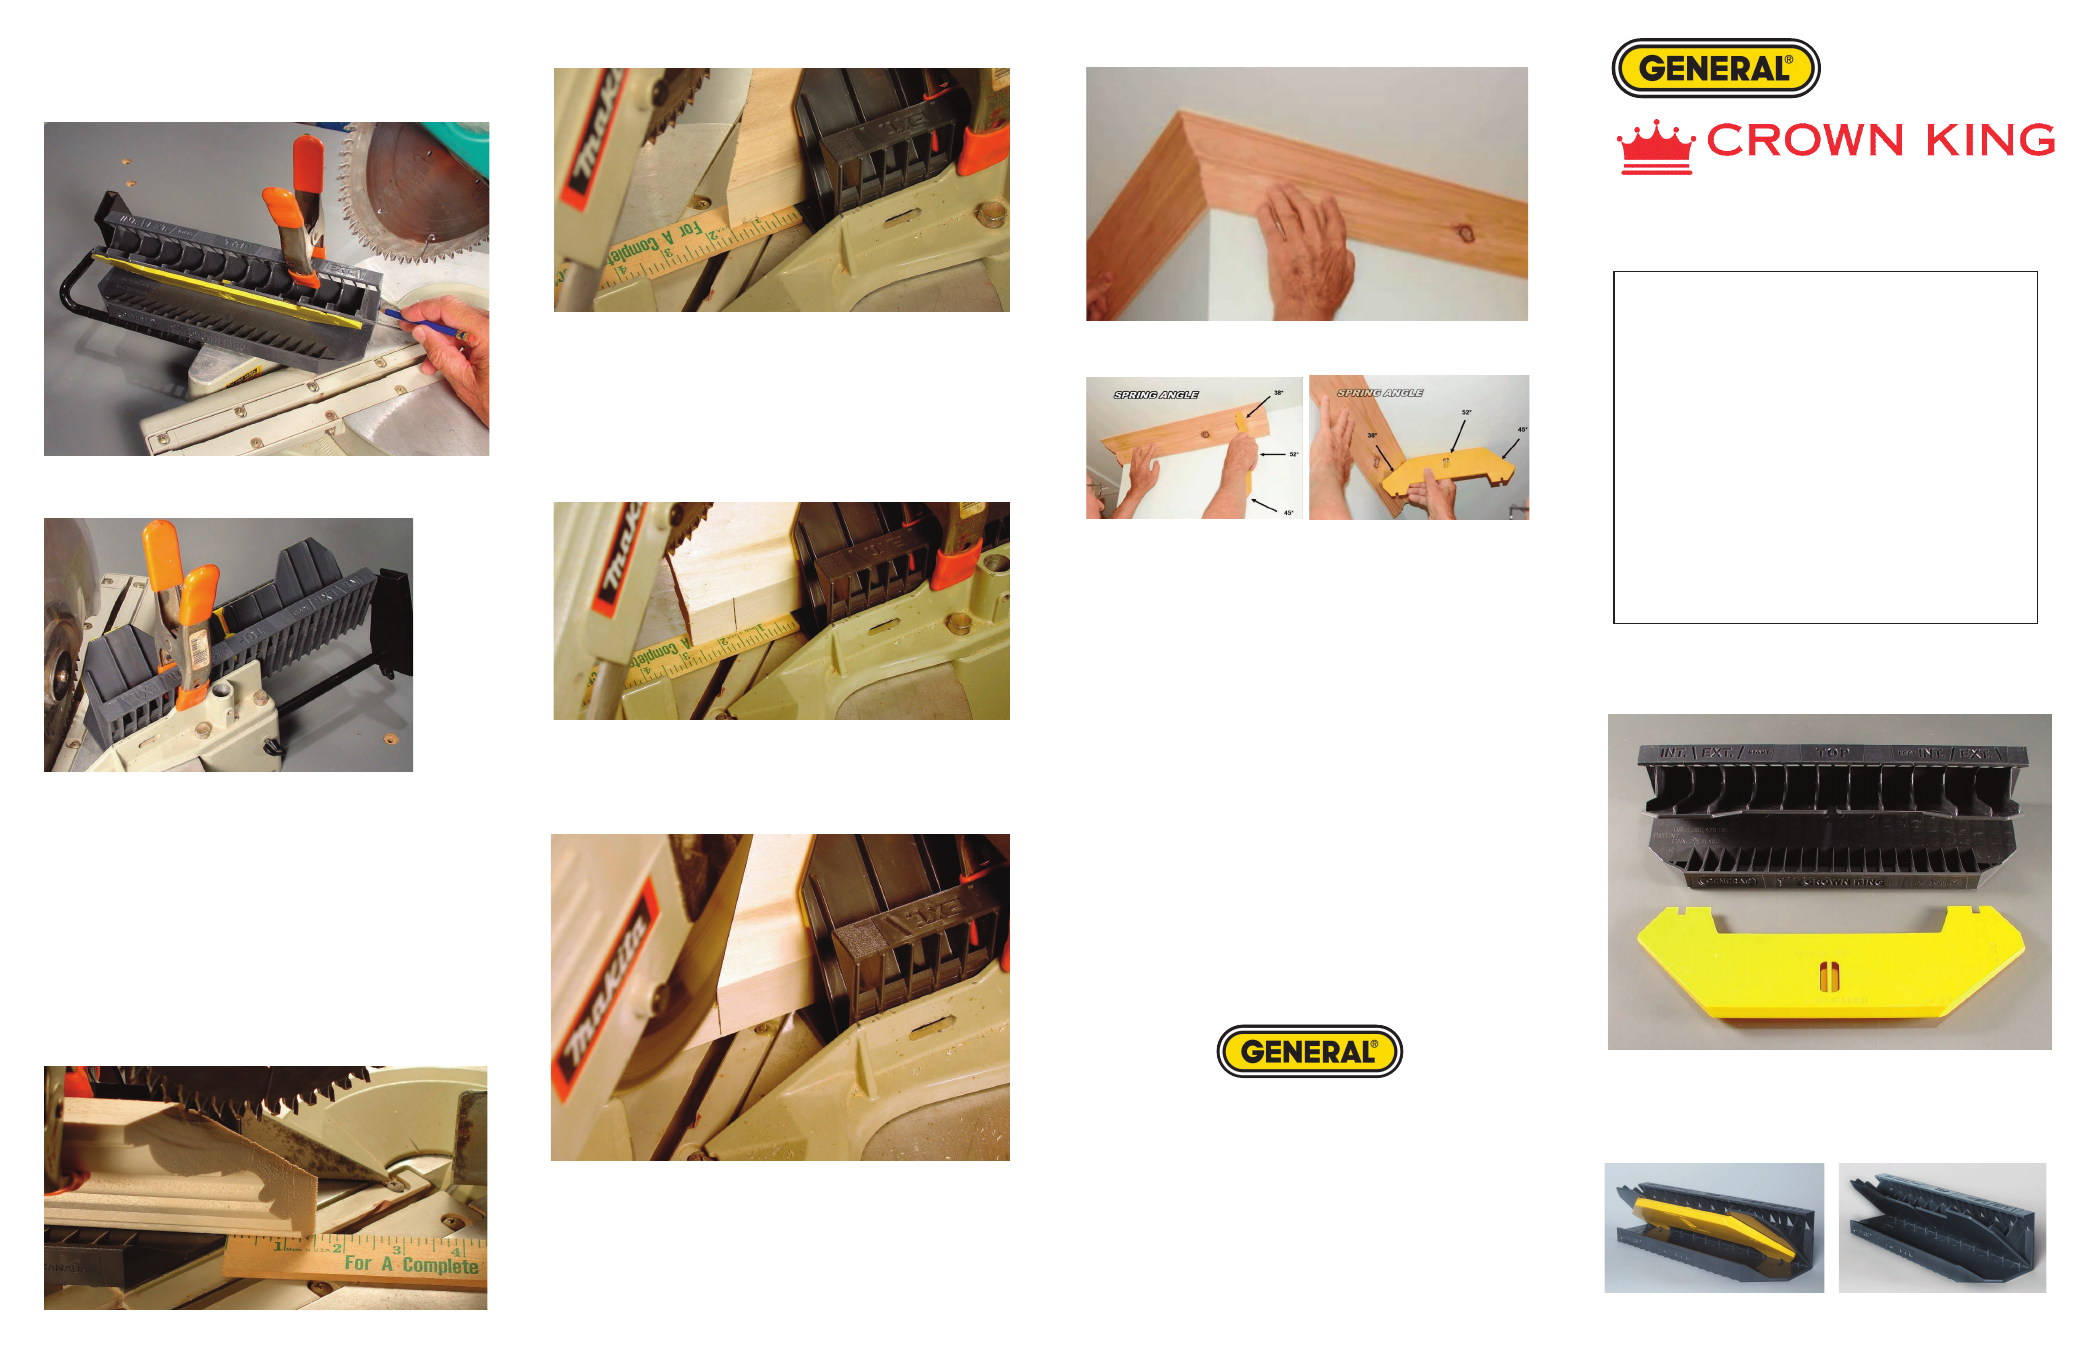
GENERAL TOOLS & INSTRUMENTS
80 White Street New York, NY 10013-3567
PHONE (212) 431-6100 FAX (212) 431-6499
TOLL FREE (800) 697-8665
www.generaltools.com
880 User’s Manual 03/01/2013
©2013 GENERAL TOOLS & INSTRUMENTS
The jig consists of two pieces:
A. the gray jig molded at a 45◦ spring angle
B. a versatile and reconfigurable yellow insert
for 38◦ and 52◦ spring angles.
1. BASIC DESCRIPTION
Professionally Cut Crown Molding...
Easily and Precisely
A
B
TABLE OF CONTENTS
A. UNDERSTANDING THE PRODUCT
1. BASIC DESCRIPTION
2. BASICS OF CROWN MOLDING
3. CROWN KING PRODUCT OVERVIEW
4. INSERT POSITIONING
5. JIG ALIGNMENT
B. FABRICATING YOUR CROWN MOLDING
1. MEASURING AND LAYOUT
2. BASIC MITER CUTTING
3. MOLDING INSTALLATION
Mark the location of the jig on the fence for future
reference.Then either clamp the jig, set the rail
end stop or hand hold the workpiece for cutting.
To easily obtain an accurate miter cut length, first
set your saw at the proper angle for your cut
(right or left) and set the Crown King jig on the
saw table, at the mark you previously made.
Place a piece of scrap molding into the jig and
make a test cut. With the piece still in the jig,
measure from the bottom of the jig to the cut
edge. This is the measurement you will need
to offset your final cuts.
Measuring the test cut – (Front view)
When making final cuts, extend your molding
(wall length) mark beyond the jig by this same
distance and cut the molding as shown. Repeat
the procedure when making cuts on the opposite
angle.
Then make the cut – (Rear view)
Set work piece at same measured distance –
(Rear view)
After cutting, test-fit moldings in place.
It’s as easy as that!
A. UNDERSTANDING THE PRODUCT