Warning, Safety sign locations, 540 rpm speed range only – Farm Star SRTC-406A User Manual
Page 27: Owner service
17
26
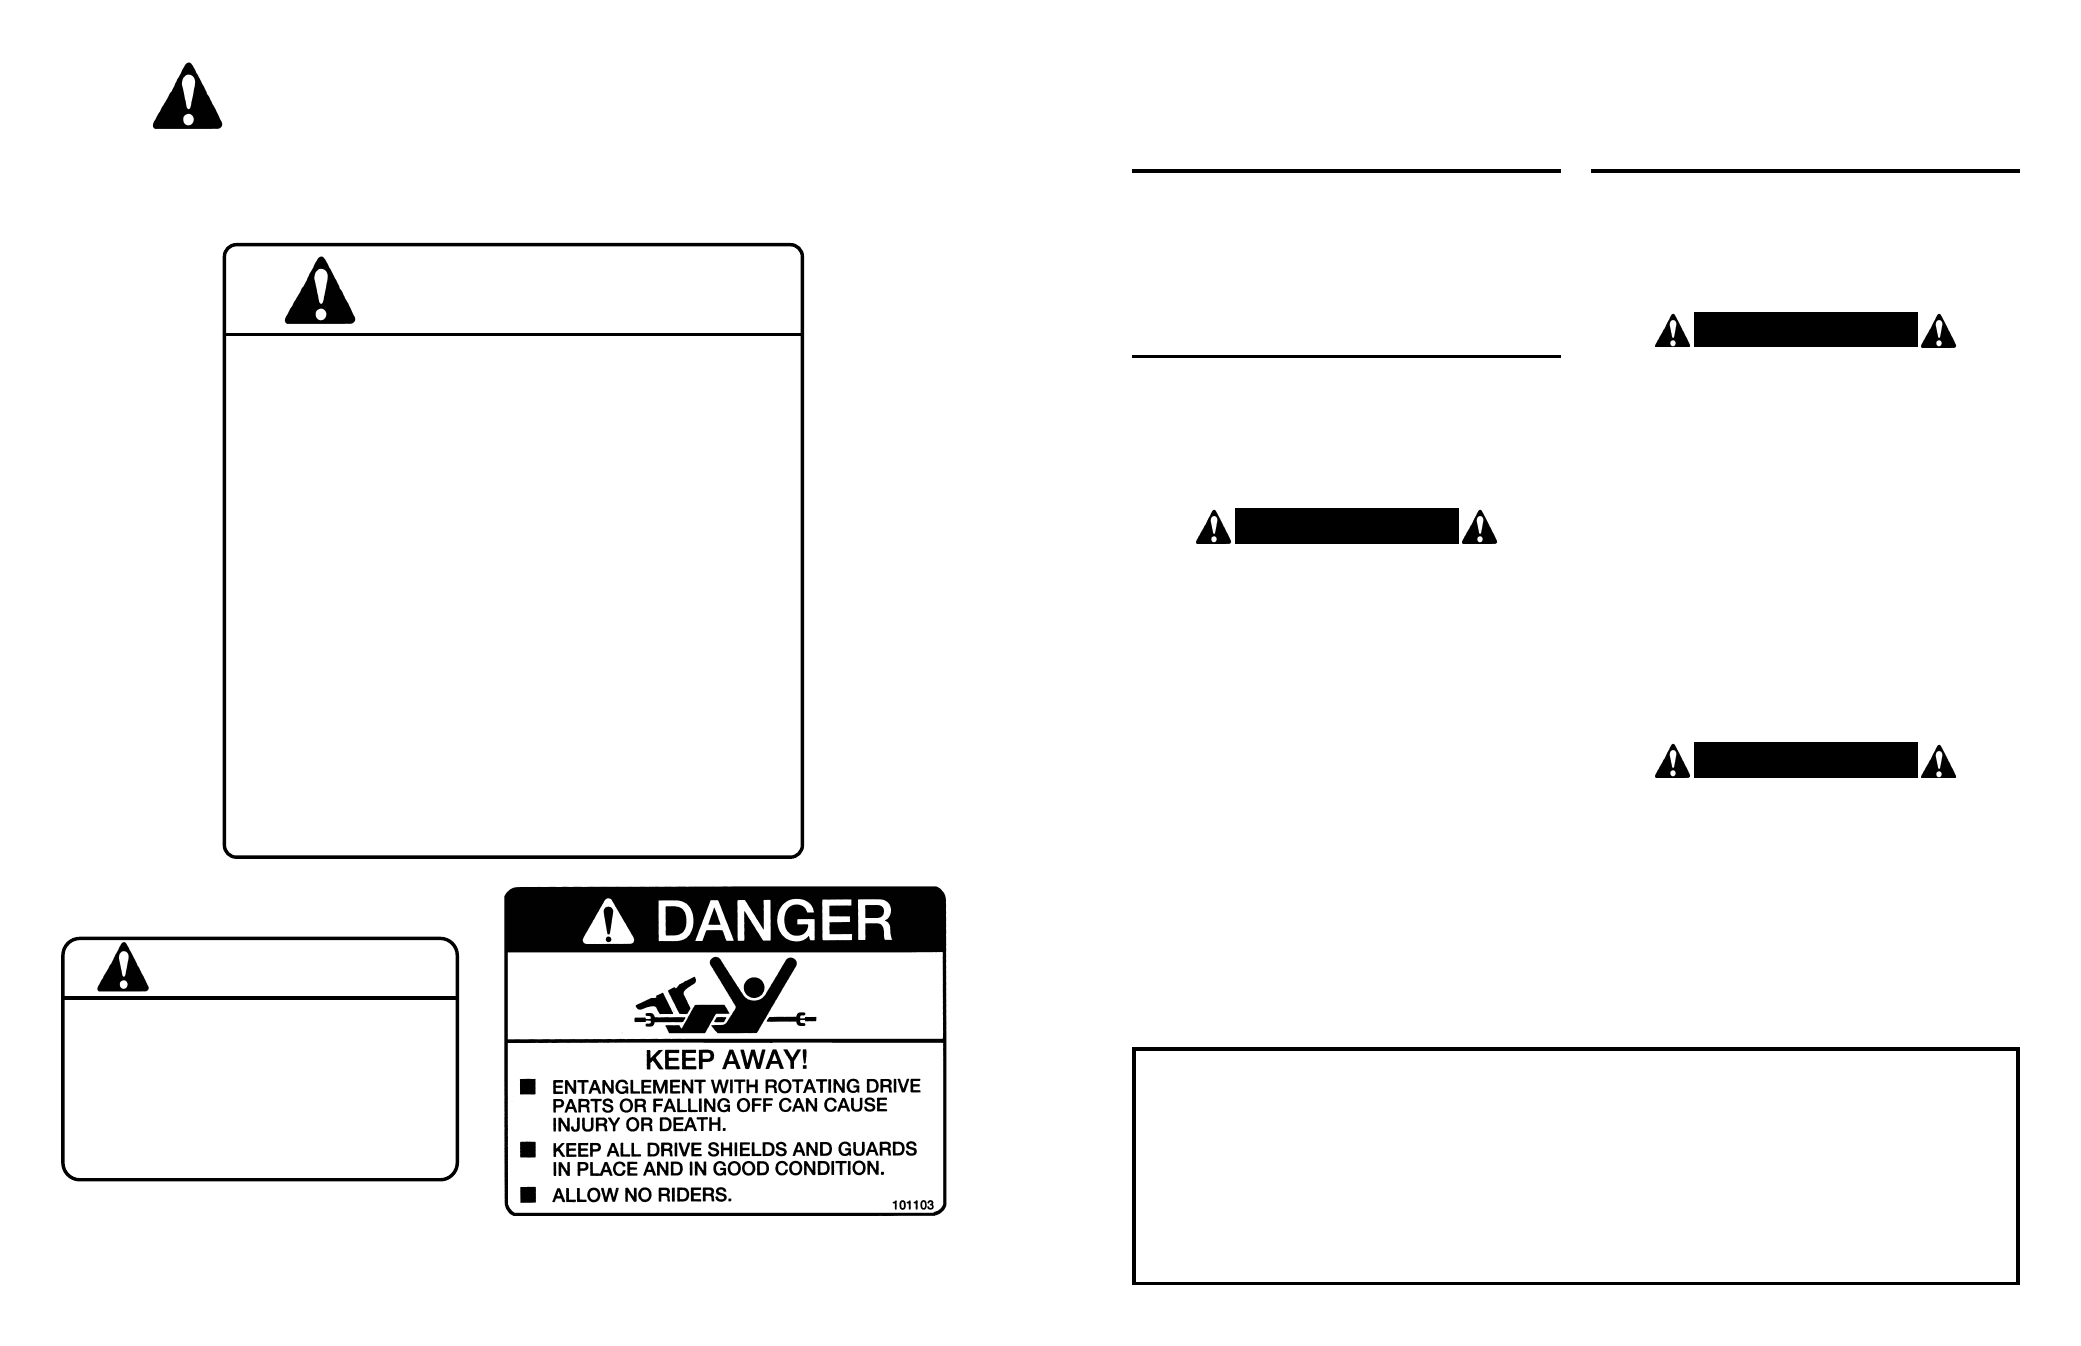
The types of Safety Sign and locations on the equipment are shown in the illustration below. Good safety requires that
you familiarize yourself with the various Safety Signs, the type of warning and the area, or particular function related
to that area, that requires your SAFETY AWARENESS.
REMEMBER: If Safety Signs have been damaged, removed, become illegible or parts replaced without Signs, new
Safety Signs must be applied. New Safety Signs are available from your authorized distributor or factory.
SAFETY SIGN LOCATIONS
(continued)
WARNING
540 RPM SPEED
RANGE ONLY
HIGHER PTO SPEEDS CAN CAUSE
PERSONAL INJURY AND
EQUIPMENT FAILURE
101101
WARNING
To prevent serious injury or death:
Si no lee ingles, pida ayuda a alguien que si lo lea para
que le traduzca las medidas de seguridad.
• Read and understand Operator’s Manual before using.
Review annually.
• Do not permit riders on the tractor or cutter. Never
carry children on tractor seat.
• Do not allow children to operate cutter.
• Operate only with guards installed and in good condition.
• Keep away from moving parts.
• Operate only with tractor equipped with ROPS and
seatbelts.
• Before mowing, clear debris from mowing area.
• Do not operate in the raised position.
• Stop engine, set brake and wait for all moving parts to
stop before dismounting.
• Support cutter securely before working beneath unit.
• Transport with clean reflectors, SMV and working lights
as required by federal, state, and local laws.
M100
BLADE BEAM & GEARBOX
INSTALLATION
A. Raise cutter using tractor 3-point lift. Turn off tractor
engine.
B. BLOCK CUTTER SECURELY INTO POSITION.
C. Remove cotter pin and blade holder retaining nut.
Wear heavy work gloves to protect hands from sharp
edges.
D. Grasp blade holder and pull off shaft. If necessary,
align blade bar with access hole in top of deck and
drive off with hammer and pipe. Care should be taken
not to damage threads on blade bolt.
E. Press all three tabs and slide yoke shield back.
F. Remove shear bolt and retaining clip. Slide yoke off
gearbox input shaft.
G. Remove nuts securing gearbox to deck. Remove
gearbox.
C. Attach gearbox to cutter deck using bolts and nuts.
D. Install blade holder onto gearbox securing with
castellated nut and flat washer. Torque nut to 350
ft./lbs. Wear heavy work gloves to protect hands from
sharp edges.
E. Install cotter pin to retain nut. It may be necessary to
slightly loosen nut to install cotter pin.
F. Slide driveline yoke onto gearbox input shaft. Install
retaining clip and shear bolt.
G. Lock driveline yoke shield securely into place.
H. Fill gearbox with oil to proper level.
OWNER SERVICE
(continued)
REPAIR OF OPTIONAL
CHAIN SHIELDING
Inspect chain shielding each day of operation and
replace any broken or missing chains as required.
BLADE BEAM & GEARBOX
REMOVAL
A. Raise cutter using tractor 3-point lift. Turn off tractor
engine.
B. BLOCK CUTTER SECURELY INTO POSITION.
WARNING!
DO NOT GET UNDER CUTTER UNLESS IT IS
SECURELY BLOCKED IN POSITION. ACCIDENTAL
FALL COULD CAUSE SERIOUS INJURY OR DEATH.
WARNING!
DO NOT GET UNDER CUTTER UNLESS IT IS
SECURELY BLOCKED IN POSITION. ACCIDENTAL
FALL COULD CAUSE SERIOUS INJURY OR DEATH.
WARNING!
FAILURE TO INSTALL RETAINING CLIP WILL
ALLOW DRIVELINE TO SWING FREELY IF BOLT IS
SHEARED CAUSING POSSIBLE INJURY OR DEATH.
✔ Keep children away from danger all day, every day.
✔ Equip tractors with roll-over protection (ROPS) and keep all machinery
guards in place.
✔ Please work, drive, play, and live each day with care and concern for your
safety and that of your family and fellow citizens.