Teledyne LXT-280 User Manual
Page 33
Dissolved Oxygen Transmitter
Calibration
Teledyne Analytical Instruments
23
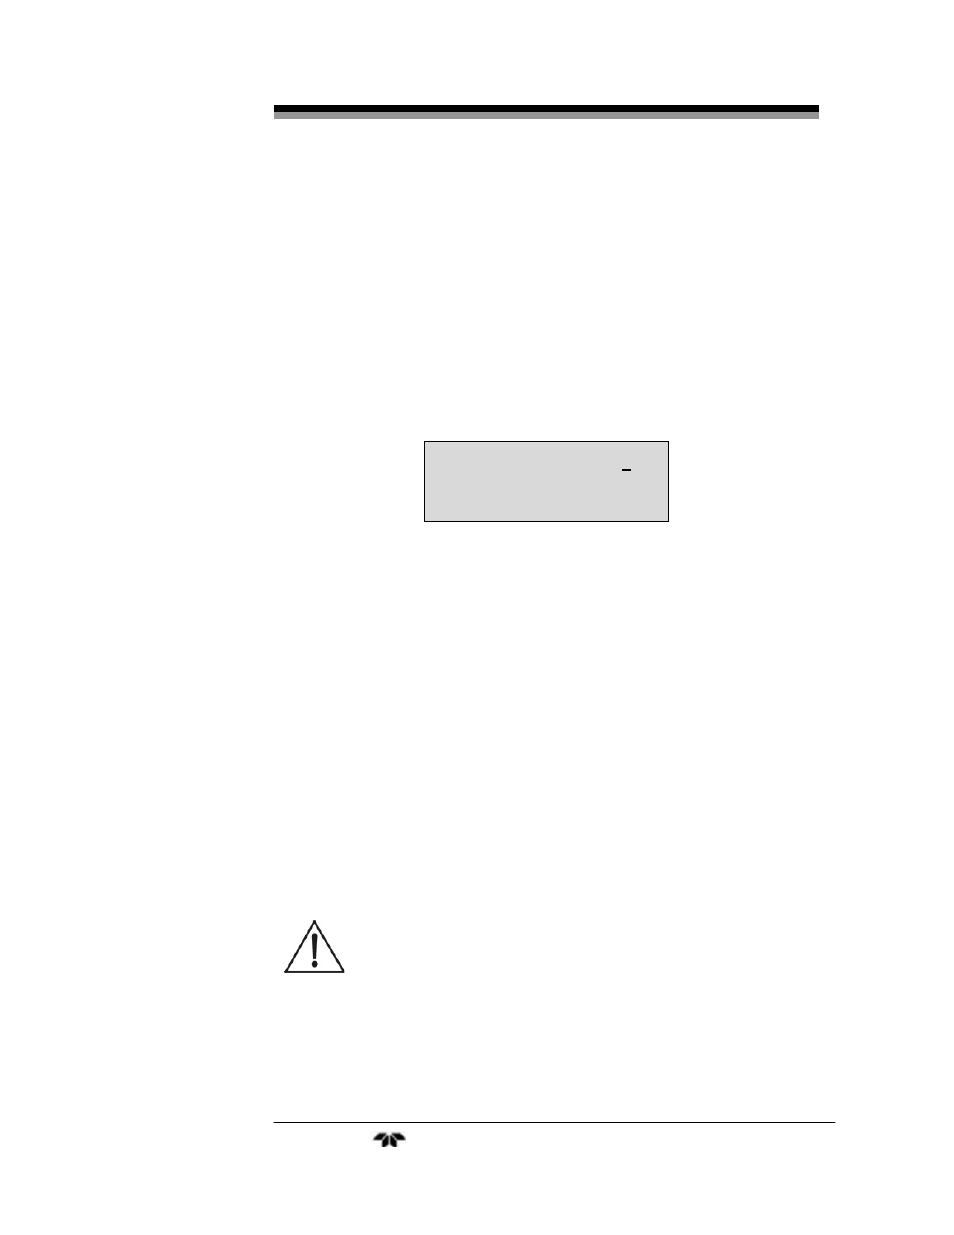
2. Magnetically activate the DOWN VERTICAL ▼ arrow key to
reach the Electrode Span Menu and locate the cursor under the
"2".
3. For diagnostic reasons note the slope values from the prior
calibration.
4. Magnetically activate the RIGHT HORIZONTAL ►arrow key
to enter the calibrate mode. Observe the diagnostic value on the
bottom line change from historical data to a real-time value and
that the term "Cal" has disappeared.
5. To change the buffer point, position the cursor under the desired
digit using the LEFT HORIZONTAL◄ arrow key.
6. Increase or decrease the value by magnetically activating the
appropriate VERTICAL ▲/▼ arrow key.
7. Wait for the real-time mV value to stabilize.
8. To file the calibration and exit the calibrate mode, magnetically
activate the LEFT HORIZONTAL◄ arrow key until the cursor
is all the way to the left and the term “Cal” on the second line
reappears.
A typical DO electrode will indicate a full scale value of –400 mV.
See the equation in Section 3.2.3 for information on determining the
effective range of the electrode.
CAUTION: IF A FLASHING ASTERISK APPEARS DURING OR
AFTER CALIBRATION, THE ELECTRODE MAY
REQUIRE SERVICE, OR THE BUFFER SOLUTION
MAY BE CONTAMINATED. SEE SECTION 4.7.
Comparing the millivolt values before and after the calibration
provides a valuable diagnostic tool in determining the degradation of the
electrode. Minor differences in the full scale value is normal; however,
2 DO
100.0
mv/dec