Display messages, Before using for the fi rst time, Water hardness – Bosch TES50251DE VeroCafe Kaffeevollautomat silber User Manual
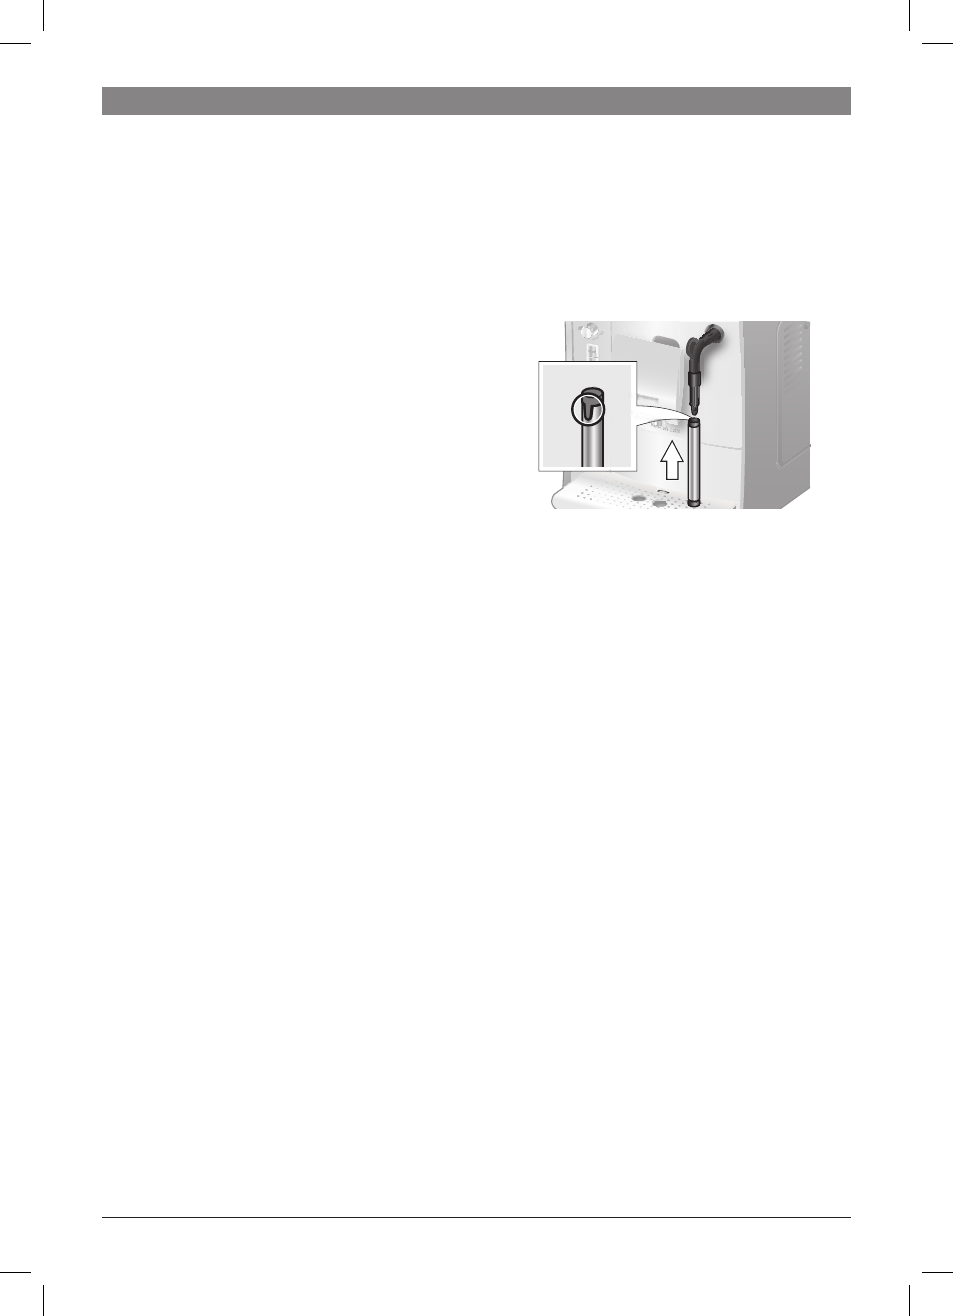
Page 28: Deutsch english français italiano, Pull milk frother, Push milk frother
24
Robert Bosch Hausgeräte GmbH
24
en
Display messages
The display (15) shows not only the current
operating status, but also various mes
sages that give you status information or
let you know when you need to take action.
As soon as you have taken the necessary
action, the message disappears and the
menu for drink selection is displayed again.
Before using for the
fi rst time
General
Fill the water tank with fresh, cold, uncar
bonated water only, and preferably use
only beans for fully automatic coffee and
espresso machines. Do not use coffee
beans that have been glazed, caramelised
or treated with other additives containing
sugar, since they will block the brewing unit.
The water hardness setting can be adjusted
on this appliance. The factory default setting
for the water hardness is 4. Check the
water hardness with the enclosed test strip.
If the check reveals a value other than 4,
change the setting on the appliance accord
ingly after switching on (see “Menu settings”
Water hardness
on page 26).
Switching on the appliance
1. Remove the protective fi lm.
2. Place the fully automatic espresso
machine on a fl at, waterresistant
surface that can take its weight. Make
sure that the machine’s ventilation slots
remain unobstructured.
Important: Only use the appliance in
frostfree rooms. If the appliance has been
transported or stored at temperatures below
0 °C, wait at least 3 hours before operation.
3. Pull the power cord out of the storage
compartment (20) and plug in. Adjust
the length of the cable by pushing it
back in or pulling it out. The easiest way
to do this is to place the appliance so
that its back is fl ush with the edge of the
counter and either pull the cable
down
ward or push it upward.
4. Install the milk frother. Operate the
machine only after the milk frother (6)
has been fully assembled and installed.
5. Lift the lid of the water tank (17).
6. Remove and rinse the water tank (16)
and fi ll it with fresh cold water.
Do not fi ll above the
max mark.
7. Replace the water tank (16) and push it
fi rmly downward into place.
8. Close the lid of the water tank (17)
again.
9. Fill the bean container (1) with coffee
beans. For preparation using ground
coffee, see “Preparation using
ground coffee” on page 28.
10. Press the power switch
O / I (9). The
display (15) shows the menu for setting
the display language.
11. Select the required display language
with the upper rotary knob (14). The
following languages are available:
Deutsch
English
Français
Italiano
12. Press the
start button (10). The
language you selected is saved. The
display shows
Pull milk frother
.
13. Place a receptacle under outlet.
14. Carefully pull out the milk frother (6) to
open it. The appliance rinses out the
milk frother (6) with water. The display
shows
Push milk frother
.
15. Push the milk frother (6) in to close it.
TES502_1DE.indb 24
21.02.2013 13:21:41