Connect batteries, Wiring, Power wiring + connect batteries – Controlled Products Systems Group RSL12V User Manual
Page 14
WIRING
» POWER WIRING + CONNECT BATTERIES
CONNECT BATTERIES
The batteries are charged in the circuit by using the transformer (provided) or an
optional solar panel. Batteries will degrade over time depending on temperature and
usage. For best performance, the batteries should be replaced every 3 years.
Batteries do not perform well in extremely cold temperatures. The operator comes
with one 7AH battery. A second 7AH (29-NP712) battery may be added or one
33AH (A12330SGLPK) may be used in place of the 7AH batteries. NOTE: There may
not be sufficient mounting space for the 33AH battery if a heater is installed.
Always disconnect the batteries BEFORE servicing the operator.
NOTE: Setting the battery on concrete will not have a negative affect on the
charging or battery life.
If the installation is a dual gate, proceed to next page.
Locate the battery plug.
Connect the battery plug to either connector on the control board.
1
Battery
Plug
Connector
2
NOT AVAILABLE
NOT AVAILABLE
1
1
1
2
3
3
2
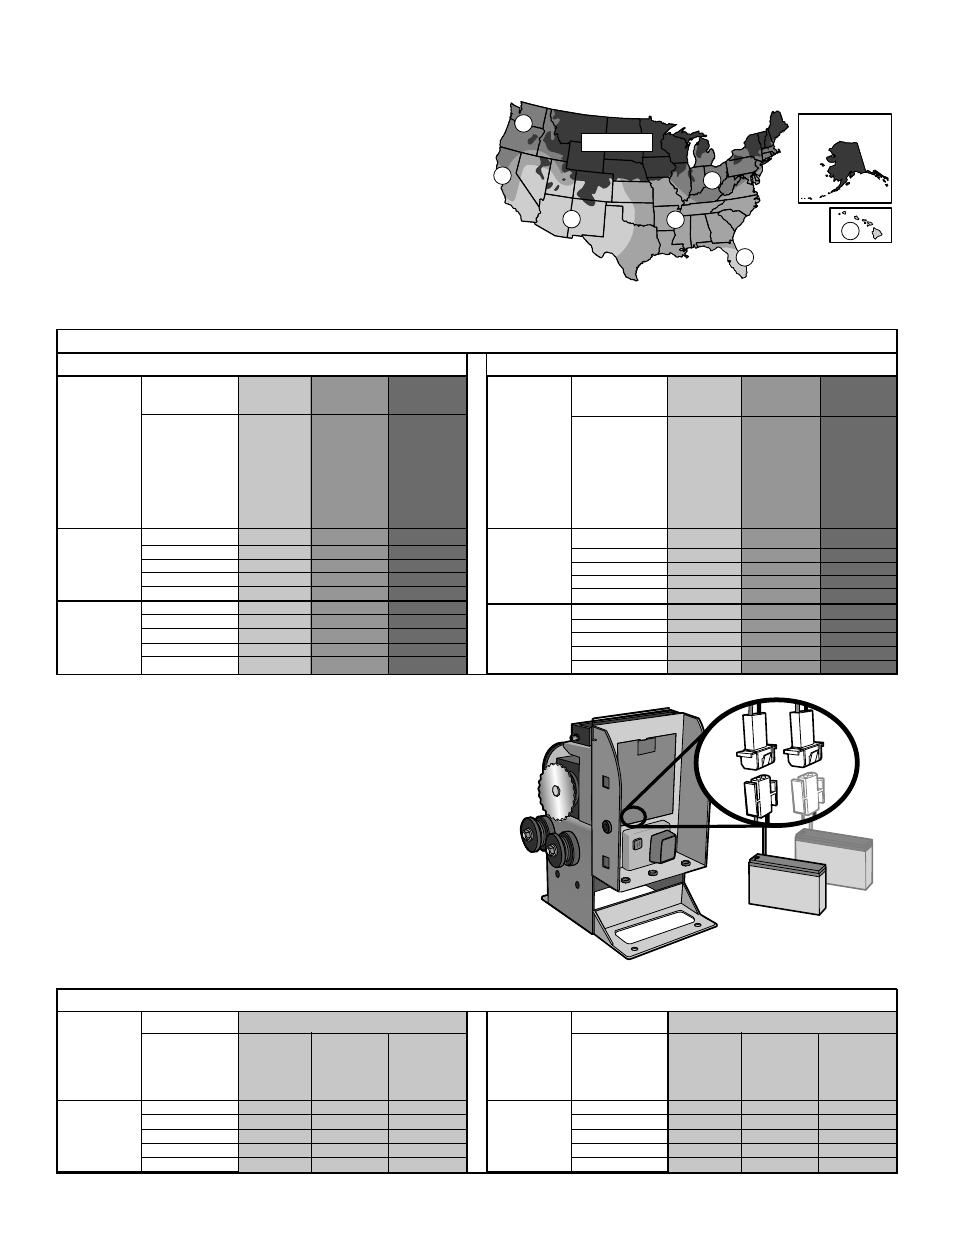
POWER WIRING
SOLAR PANEL (NOT PROVIDED. SEE ACCESSORIES.)
The solar panel(s) must be located in an open area clear of obstructions
and shading for the entire day. The gate operator is not supported in northern
climates where temperatures reach below -4˚F. This is due to cold weather and a
reduced number of hours of sunlight during the winter months. Cycle rate may vary
from solar chart for areas that reach below 32˚F. Solar panels should be cleaned on
a regular basis for best performance to ensure proper operation. For solar
applications, a minimum of 20W solar panels and two 7AH batteries are
recommended. For Zone 3 cold weather sites, one 33AH battery is recommended.
We recommend LiftMaster low power draw accessories to minimize power draw,
refer to accessory page.
Accessories Zone 1
Zone 2
Zone 3
(6 Hrs sunlight/day) (4 Hrs Sunlight/day) (2 Hrs Sunlight/day)
20W
SOLAR
PANEL
30W
SOLAR
PANEL
50 50 38 43 20
✔
48 50 32 36 17
✔
50 50 30 35 12
✔
41 49 21 26 3
✔
1 9 0 0 0
50 50 50 50 31
✔
50 50 48 50 26
✔
50 50 50 50 24
✔
50 50 41 50 15
✔
30 43 1 9 0
NUMBER OF CYCLES PER DAY
Single Gate Installations (16 ft. 650 lb. gate)
Solenoid
Lock
50
mA
100
mA
300
mA
2 7AH
Batteries
(optional)
1 33AH
Battery
(optional)
2 7AH
Batteries
(optional)
1 33AH
Battery
(optional)
1 33AH
Battery
(optional)
25 29 17 19 9
✔
23 27 15 17 8
✔
22 26 13 15 5
✔
18 22 9 12 1
✔
0 4 0 0 0
39 45 25 29 14
✔
35 41 23 27 13
✔
35 41 22 26 10
✔
31 37 18 22 6
✔
13 19 0 4 0
Solenoid
Lock
50
mA
100
mA
300
mA
2 7AH
Batteries
(optional)
1 33AH
Battery
(optional)
2 7AH
Batteries
(optional)
1 33AH
Battery
(optional)
1 33AH
Battery
(optional)
20W
SOLAR
PANEL
30W
SOLAR
PANEL
Dual Gate Installations (16 ft. 650 lb. gate)
Accessories Zone 1
Zone 2
Zone 3
(6 Hrs sunlight/day) (4 Hrs Sunlight/day) (2 Hrs Sunlight/day)
Provided
Optional
(not provided)
Accessories
Single Gate (16 ft. 650 lb. gate)
BATTERY
BACKUP
(BBU)
40 100 275
✔
36 83 228
✔
43 98 269
✔
42 97 267
✔ 41 94 258
Solenoid
Lock
50
mA
100
mA
300
mA
1 7AH
Battery
(standard)
2 7AH
Batteries
(optional)
1 33AH
Battery
(optional)
Accessories
Dual Gate (16 ft. 650 lb. gate)
BATTERY
BACKUP
(BBU)
19 44 121
✔
17 40 111
✔
19 44 121
✔
19 43 120
✔ 19 43 118
Solenoid
Lock
50
mA
100
mA
300
mA
1 7AH
Battery
(standard)
2 7AH
Batteries
(optional)
1 33AH
Battery
(optional)
NUMBER OF CYCLES FOR BATTERY BACKUP
1
2
13