Installing irlinc receiver, Using irlinc receiver, Using the credit card remote – INSTEON IRLinc Receiver (2411R) Manual User Manual
Page 5: Irlinc receiver owner’s manual
IRLinc Receiver Owner’s Manual
Page 5 of 13
Installing IRLinc Receiver
1) Mount the IR sensor where it will be in the line of sight of the IR remote you plan to use. Be sure to mount the
sensor within 6 feet of an outlet, unless you plan to use an extension cord to power IRLinc.
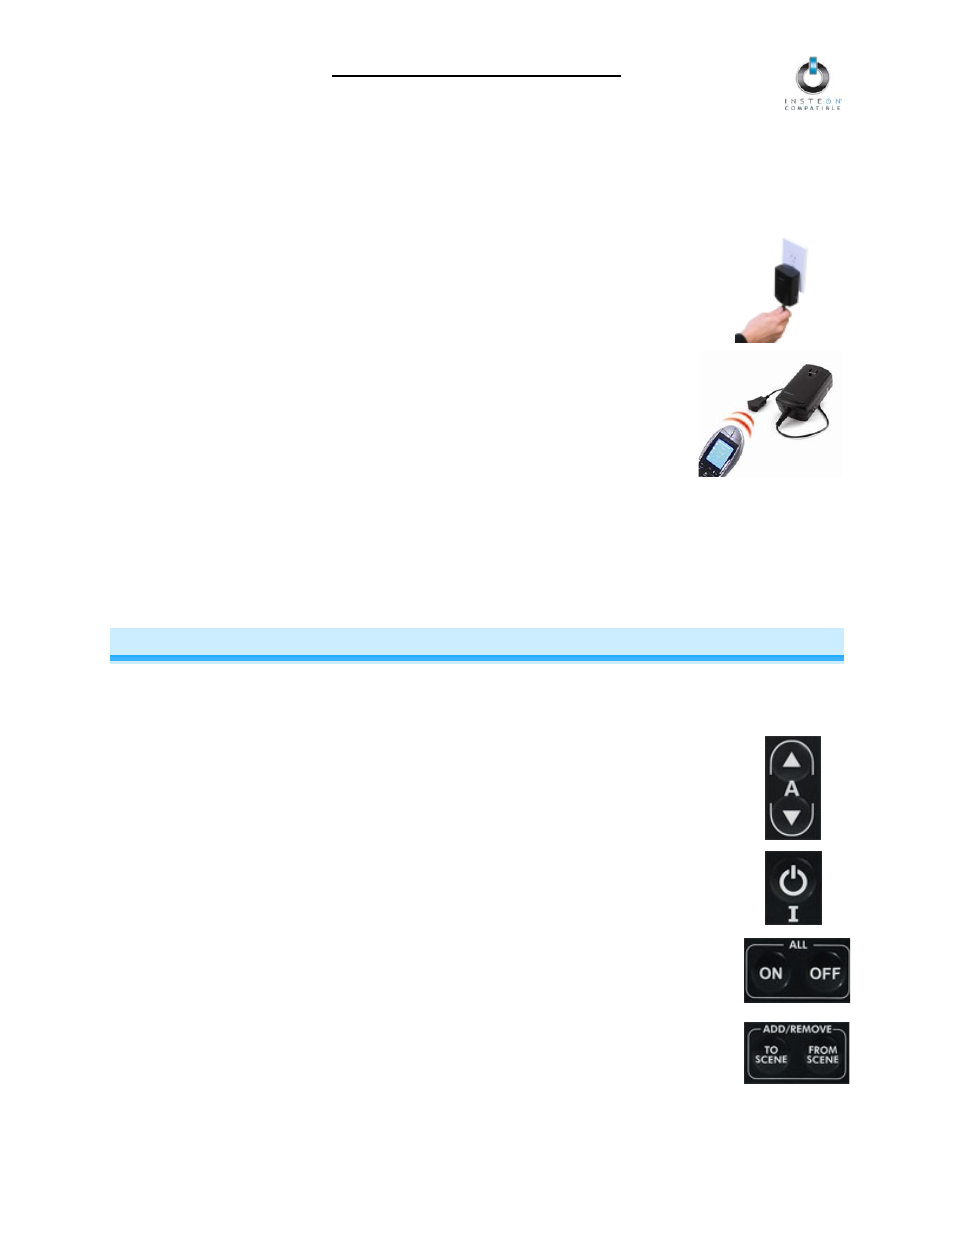
2) Plug IRLinc into an unswitched wall outlet
The IRLinc Status LED will turn on solid
3) Plug the IR sensor’s mini-plug into the jack on the bottom of IRLinc
4) If you are using a universal remote, proceed to step 5.
If you are using the included credit card remote, remove its battery isolation tab and
proceed to Linking IRLinc Receiver to an INSTEON Responder.
5) Program the universal remote:
a) Choose a mode on the remote that you don’t use (e.g., CD, AUX, PVR, etc)
b) Use the remote’s documentation to set this mode to one of the NEC three or four-
digit codes
c) Point the remote at IRLinc from at least 6 inches away and tap the Power button
•
If the green Talk-back LED flashes, the IR code is compatible. Continue to
Linking. See Linking IRLinc Receiver to an INSTEON Responder.
•
If the Talk-back LED does not flash, the IR code from the remote is not
compatible. Start over from step a with another IR code.
6) OPTIONAL: You can use the pass-through outlet on the front of IRLinc as you would an ordinary uncontrolled
wall outlet. However, do not plug another home automation product into this outlet.
USING IRLINC RECEIVER
Using the Credit Card Remote
The included credit card remote is compatible with IRLinc Receiver v1.3+. It is not compatible with X10 devices.
Scene Control Buttons
These buttons are pre-paired with each other, such that when you Link an INSTEON device to the
Up arrow, the Down arrow will also control that device.
•
Tap the Up arrow to activate the scene
•
Tap the Down arrow to deactivate the scene
•
Press & hold the Up arrow to brighten the scene
•
Press & hold the Down arrow to dim the scene
Scene Activation Buttons
These buttons provide smooth and simple scene transitions for when a scene doesn’t need an
OFF command
•
Tap to activate a scene
•
Press & hold to toggle between brightening or dimming the scene
All On/Off Buttons
These buttons automatically control all devices Linked to any scene in IRLinc for quick, whole-
home control
•
Tap the On button to turn on all devices Linked to IRLinc
•
Tap the Off button to turn off all devices Linked to IRLinc
Add/Remove Buttons
These buttons save time by putting IRLinc into Linking / Unlinking Mode without the need to press
& hold the Set button on the unit itself
•
Press & hold the To Scene button for 3 seconds to put IRLinc into Linking Mode
•
Press & hold the From Scene button for 3 seconds to put IRLinc into Unlinking Mode