Section 4 operation, 1 use of the sc controller, 2 sensor data logging – Hach-Lange SONATAX sc User Manual
Page 23: 3 sensor setup, 1 change of the sensor name, 4 sensor status menu, 5 sensor setup menu, 4 sensor status menu 4.5 sensor setup menu
23
Section 4
Operation
4.1 Use of the sc controller
Before using the sensor with an sc controller, make yourself familiar
with the operating method of the controller. Learn to navigate
through the menu and to use the menu functions. Further
information is found in the user manual of the controller.
4.2 Sensor data logging
The sc controller provides one data log and one event log for each
sensor. The data log stores the measurement data at selectable
intervals. The event log stores a large number of events that occur
on the devices, such as configuration changes, alarms and
warnings etc. The data log and the event log can be read out in
CSV format. Refer to the controller user manual for more
information about the log download.
4.3 Sensor setup
During initial sensor setup, select the parameter that corresponds
to the applicable instrument.
4.3.1 Change of the sensor name
When a sensor is installed for the first time, the serial number is
shown as the measurement location (or sensor name). The
measurement location can be changed as follows:
1. From the main menu, select SENSOR SETUP and confirm the
selection.
2. If more than one sensor is connected, mark the required sensor
and confirm the selection.
3. Select CONFIGURE and confirm the selection.
4. Select EDITED NAME and edit the name. Return to the Sensor
Setup menu with confirm or cancel.
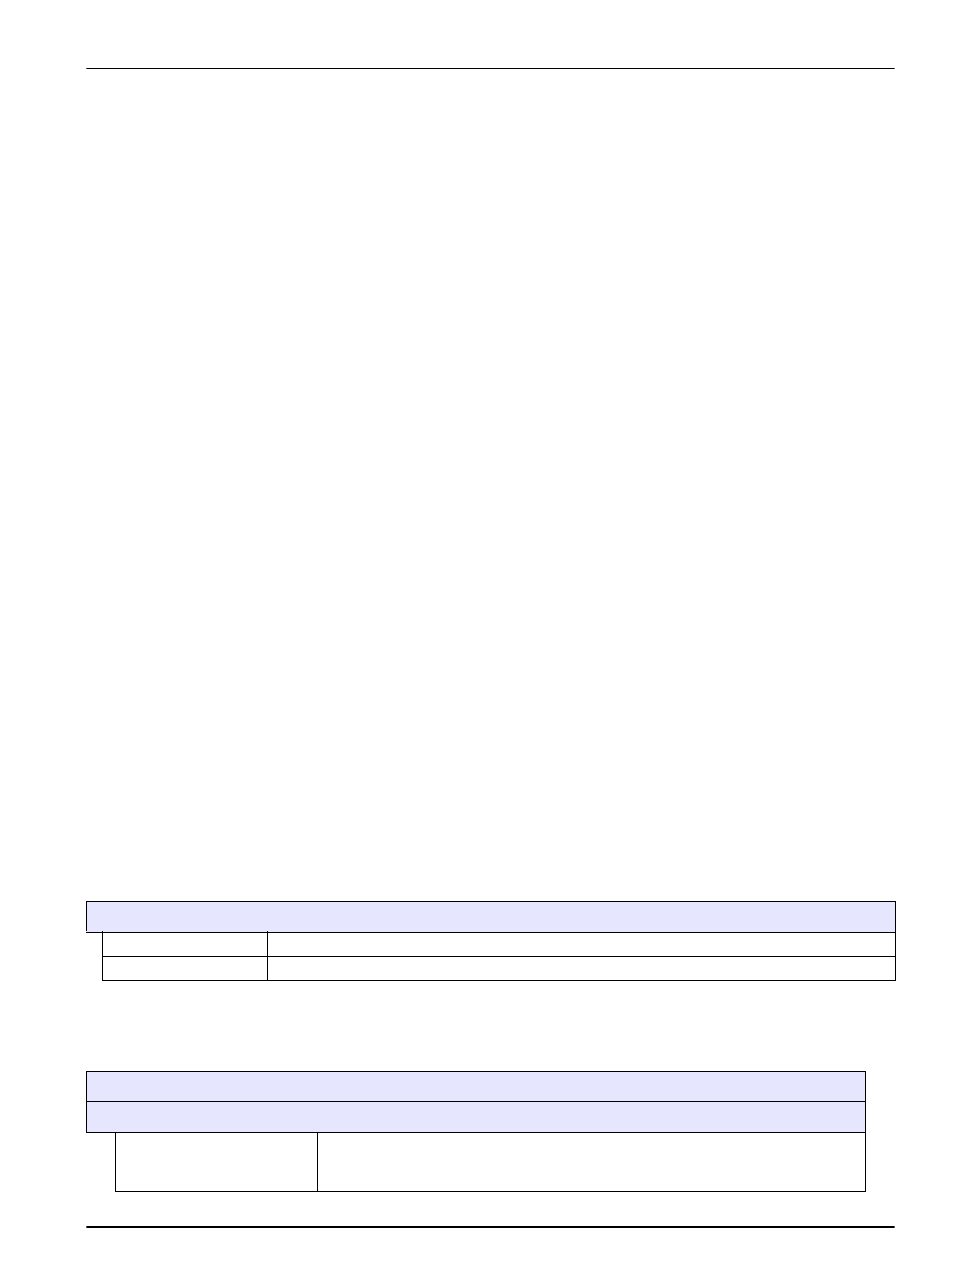
4.4 SENSOR STATUS menu
Select the SONATAX sc (if several sensors are connected)
SONATAX sc
ERRORS
Lists error messages; refer to
WARNINGS
Lists warnings; refer to
4.5 SENSOR SETUP menu
Select the SONATAX sc (if several sensors are connected)
WIPE
CALIBRATE
PLUNGERDEPTH
Plunger depth of the probe underside (refer to
).
Configurable: 0.1 m to 3 m (0.3 ft to 9.8 ft)