5 calibration, 1 verifying, Operation – Hach-Lange UVAS sc User Manual
Page 22

22
Operation
4.5 Calibration
The instrument has been carefully calibrated before delivery and the calibration
will not change for a long time.
It is recommended to regularly check the calibration (
with a test glass. In case of large deviations, first a zero point calibration (
Zero point calibration, page 23
) must be performed to compensate for a zero point
offset, before the gradient is allowed to be changed with the 1 point calibration
(
4.5.3 1 point calibration, page 23
).
During the calibration only mE values are displayed. The setpoint adjustment is
also referred to the unit of measure mE. This setpoint is noted on the filter for the
verification, liquid standards must be measured with an external spectral
photometer and the measured values converted to the sensor layer thickness.
4.5.1 Verifying
1. Open the MAIN MENU.
2. Press SENSOR SETUP and confirm.
3. Press SELECT SENSOR (if there is more than one sensor) and confirm.
4. Press CALIBRATION and confirm.
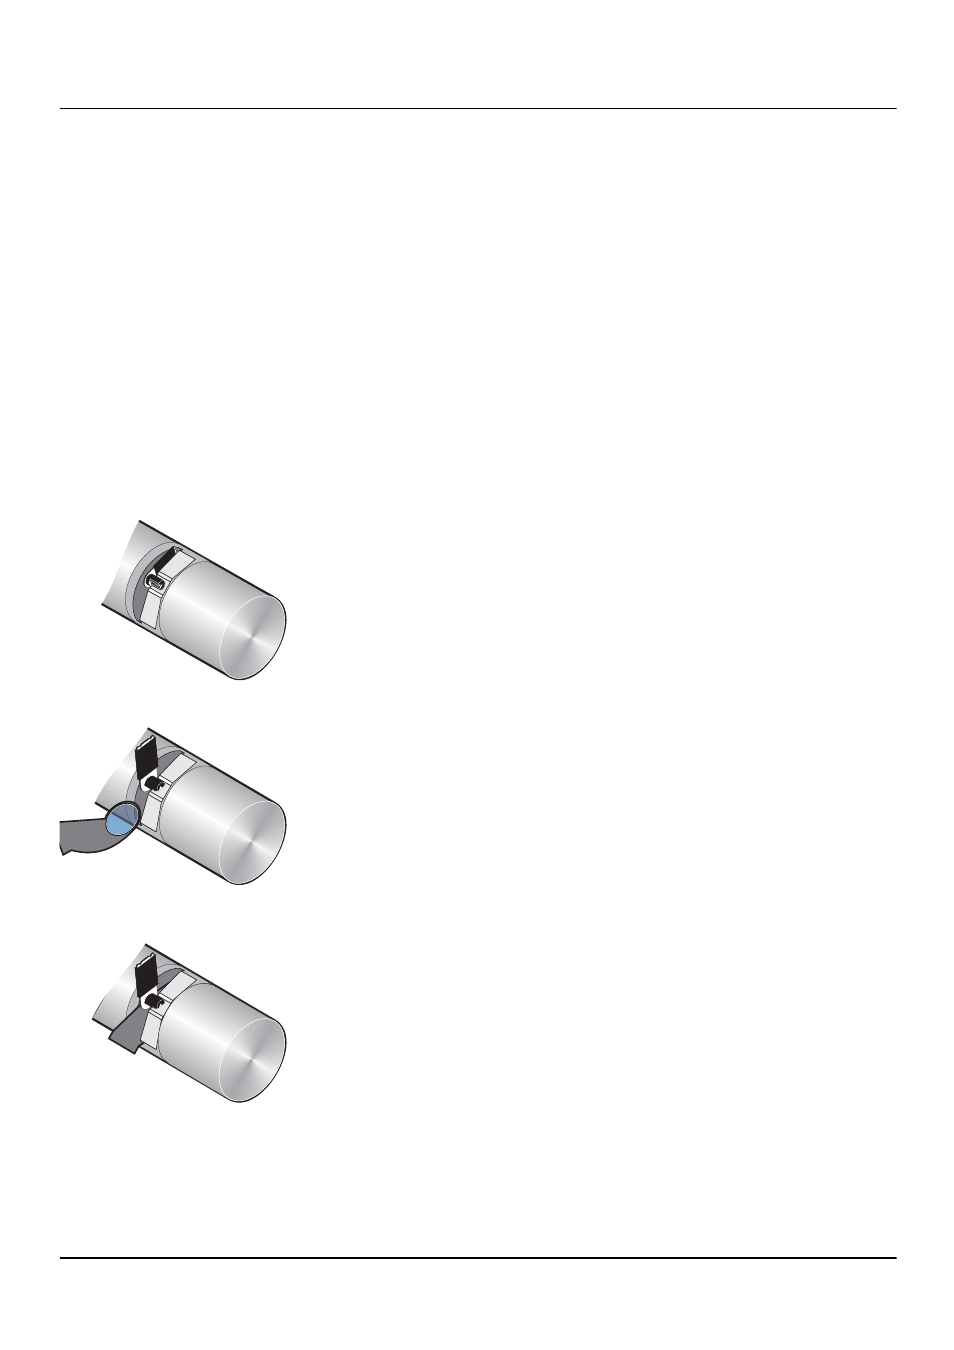
5. Remove sensor from the tank and rinse measuring path with water.
6. Press VERIFY and confirm. The wiper will come out.
7. Confirm INSERT FILTER PRESS ENTER TO CONTINUE...
8. Confirm WHEN STABLE PRESS ENTER X.X
9. Press CALIBRATION and confirm.
10. Edit in 1 SAMPLE-CAL. (+x.x) the setpoint adjustment according to the test
glass and confirm.
11. Confirm FACTOR: X.XX.
12. The corrected measured value is displayed. Confirm WHEN STABLE PRESS
ENTER X.X.
13. Press FINISH and confirm.
14. Confirm REMOVE FILTER PRESS ENTER.
Then the wiper moves out . Immerse sensor at the measuring location.
15. Press the back-button to leave the menu CALIBRATE.
16. Confirm RETURN PROBE TO PROCESS.
17. Confirm READY. Automatic wiping action and back to measurements.
