Attention installer – Hellwig Air 6307 User Manual
Page 10
559-734-7451 800-367-5480 FAX 559-734-7460
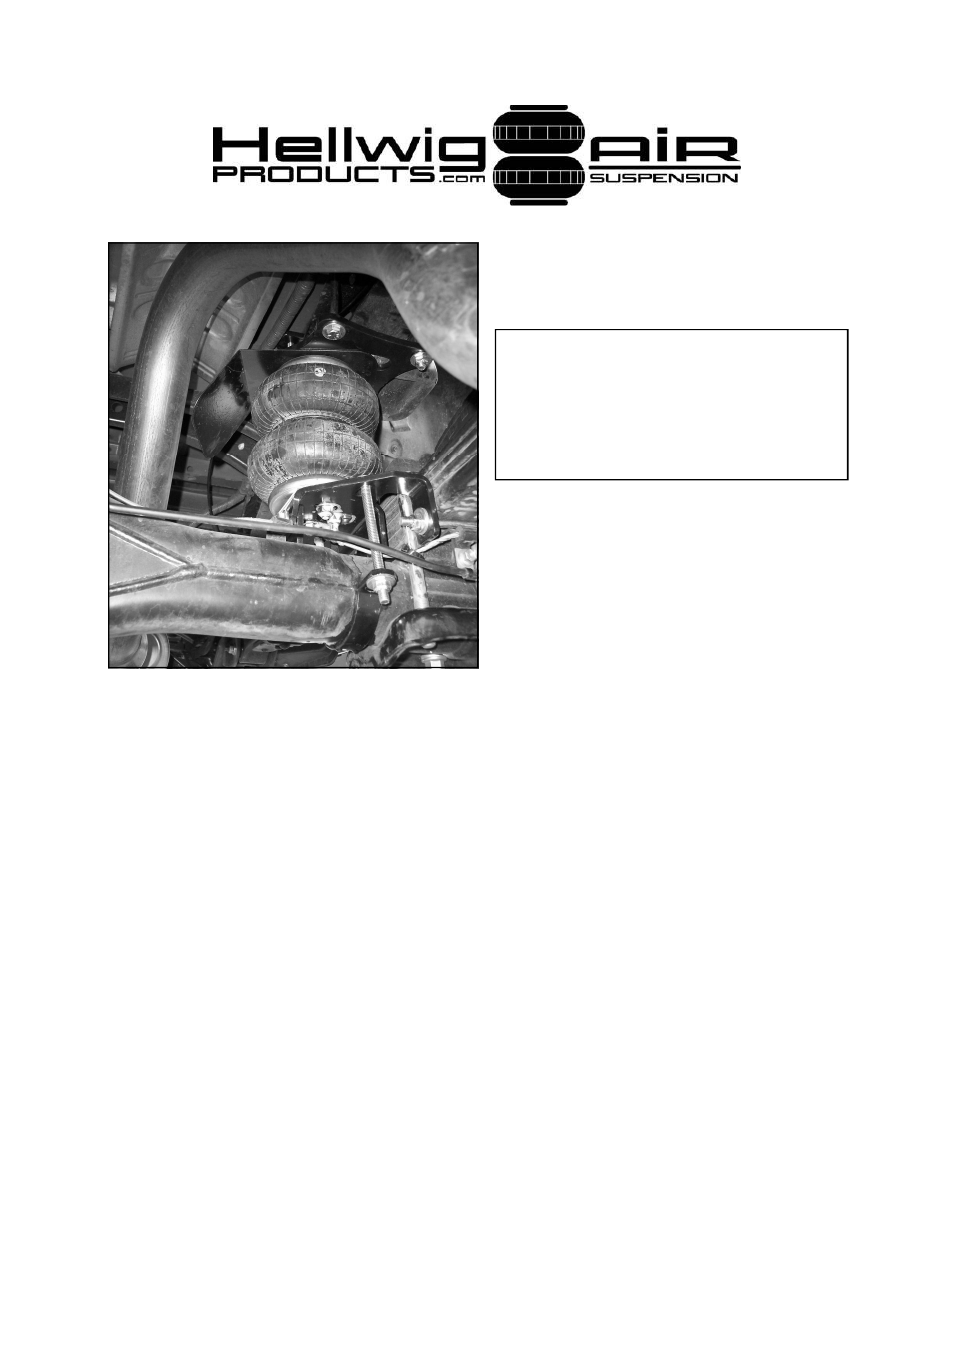
17. Check your installation to ensure
that all fasteners are tight and that the
assembly and all fasteners clear brake
and fuel lines, emergency brake ca-
bles, fuel tanks, wiring harnesses, etc.
18.Select a location for the air inflation valves. The location can be on the bumper or body
of the vehicle where an air chuck can be used to inflate the air springs. Select a location
where the valve will not be damaged or interfere with the operation of other compo-
nents.
19.Inflate air springs to 40 psi and check for leaks. A soapy water solution can be used to
find slow leaks.
20.When satisfied with integrity of the system, adjust air pressure to desired level. The air
springs can be inflated to any level between 10 and 100 psi. DO NOT run the air
springs empty or warranty will be void. MINIMUM air spring pressure is 5 psi. Failure
to keep air in the air springs will void the warranty.
For best RIDE use only enough air
pressure as required to level the vehicle. If a firmer ride is desired, more pressure can be
used.
21.Check air pressure in the system regularly to ensure system performance and mainte-
nance of warranty. Just like tires, the air pressure in the system will vary due to tem-
perature changes. For your air spring system to function properly it must be checked on
a regular basis.
ATTENTION INSTALLER
: BE SURE THAT THE CUSTOMER
RECEIVES
THIS INSTRUCTION SHEET, ALL IMORTANT NOTE CARDS AND THE WAR-
RANTY FORM.
6307 ( R-6307 )
12/06/07