Getting started step 1 - power up the radio - 1, Time set up, Step 2 - scan for a wireless network connection – Grace Digital GDI-IRBM20 Business Music System User Manual
Page 14
-
13 -
Steps for Connecting Your Radio to Your Wireless Network
Getting Started
Step 1 - Power up the radio - 1
st
time set up
Connect one end of the AC Power cord to the back of your GDI-IRBM20 and the other end to the available wall plug. The radio can be switched
on or off with the STANDBY/ON button. The STANDBY/On button is marked on your radio with this symbol
.
If only the clock is displayed on
the top of the display, the unit is in standby mode. Please turn the radio on before going to the next step.
CAUTION: Use only the power adapter supplied with GDI-IRBM20. Connecting a power supply with a different rating will cause permanent
damage and may be hazardous and will void the warranty.
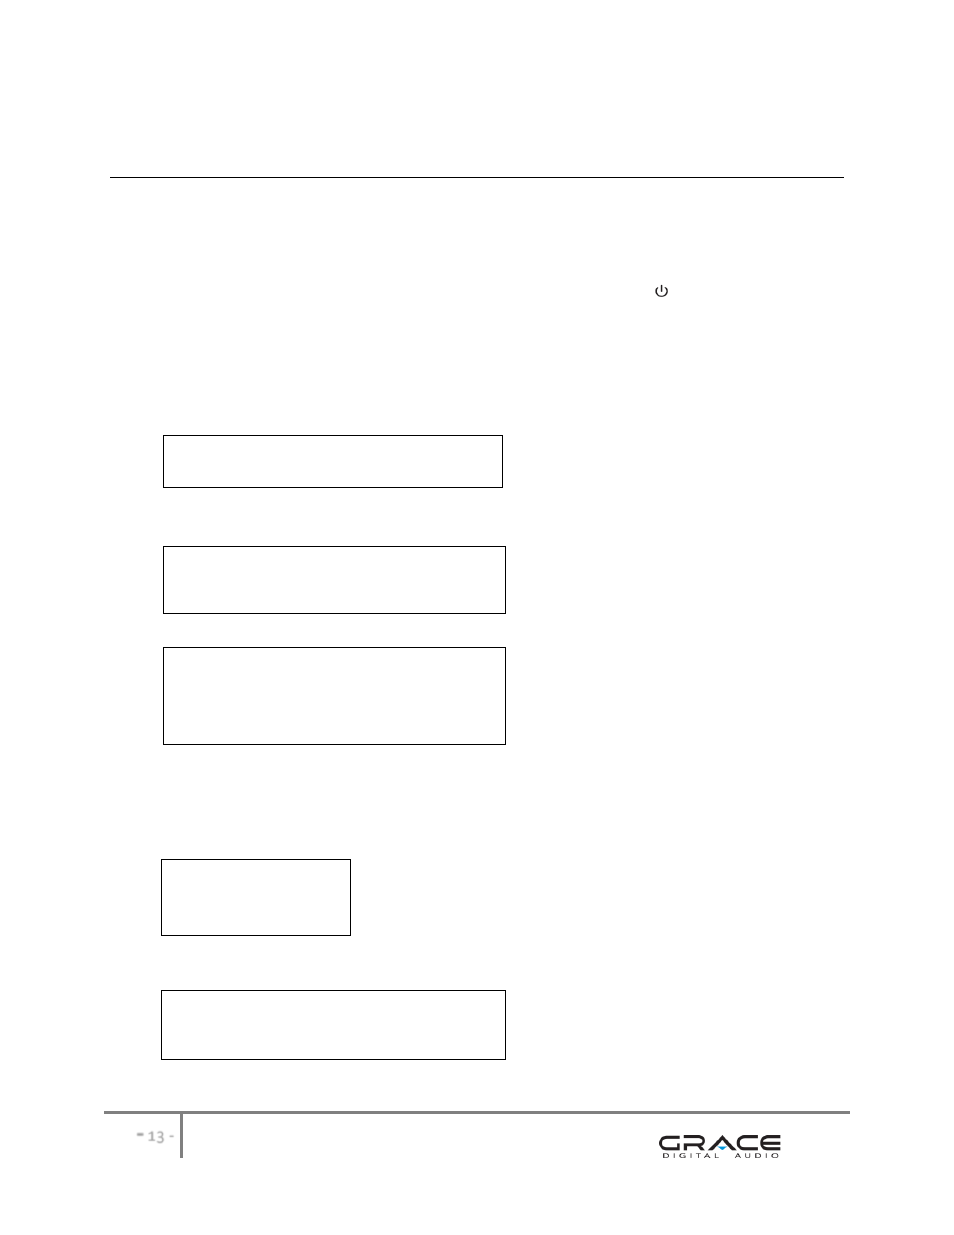
After you turn the radio on it will briefly display the following:
Grace Digital Radio
After a few seconds, the screen will change to show:
Initializing
Network
After a few seconds, the screen will change to show:
Scan for networks
Enter network
View Config
Edit Config
Step 2 - Scan for a wireless network connection
When the display shows brackets next to the words
press the ‘Back’ button to return the previous screen)
The GDI-IRBM20 will now scan for all available wireless networks and will display:
Scanning
IIIIIIIIIIIIIIIIIII
IF the radio does not find a wireless network router, the display will show:
No networks
Found
If this happens after subsequent attempts you should check the status of your Wi-Fi router - see the instructions supplied with your wireless
router / modem or contact the person who set up your home computer network.