Connecting to a networked system – Biamp AudiaVOIP User Manual
Page 10
10
CONNECTING TO A NETWORKED SYSTEM
Connecting via Ethernet switch:
Attach a “straight-through” Ethernet cable from the PC’s 10/100 Base-T network card to a 10/100 Base-T
Ethernet switch. “Straight-through” Ethernet cables connect transmit pins directly to receive pins (pin 1
to pin 1, pin 2 to pin2, pin 3 to pin3, etc.). You can easily determine if an Ethernet cable is “straight-
through” by looking at the conductors on the RJ-45 connectors. If the wiring is identical on both ends, it
is a “straight-through” Ethernet cable.
5 . Power up Audia devices .
Connect the supplied power cord to a grounded AC mains voltage of 100-240VAC @50/60Hz. Connect the
other end of the power cord to the power entrance located on the rear of the Audia unit. Note the status of
the front panel LED’s. Under normal conditions, all LED’s will remain green once power-up sequence has
completed.
6. Connect the Audia device to the network.
Direct connection:
Attach a “crossover” Ethernet cable from the PC’s 10/100 Base-T network card to the AudiaVOIP Ethernet
port. You can easily determine if an Ethernet cable is a “crossover” by looking at the conductors on the
RJ-45 connectors. If the wiring of pins 1,2, 3 and 6 is different on both ends, it is a “crossover” Ethernet
cable.
Connecting via Ethernet switch:
Attach a “straight-through” Ethernet cable from the PC’s 10/100 Base-T network card to a 10/100 Base-T
Ethernet switch. “Straight-through” Ethernet cables connect transmit pins directly to receive pins (pin 1
to pin 1, pin 2 to pin2, pin 3 to pin3, etc.). You can easily determine if an Ethernet cable is “straight-
through” by looking at the conductors on the RJ-45 connectors. If the wiring is identical on both ends, it
is a “straight-through” Ethernet cable.
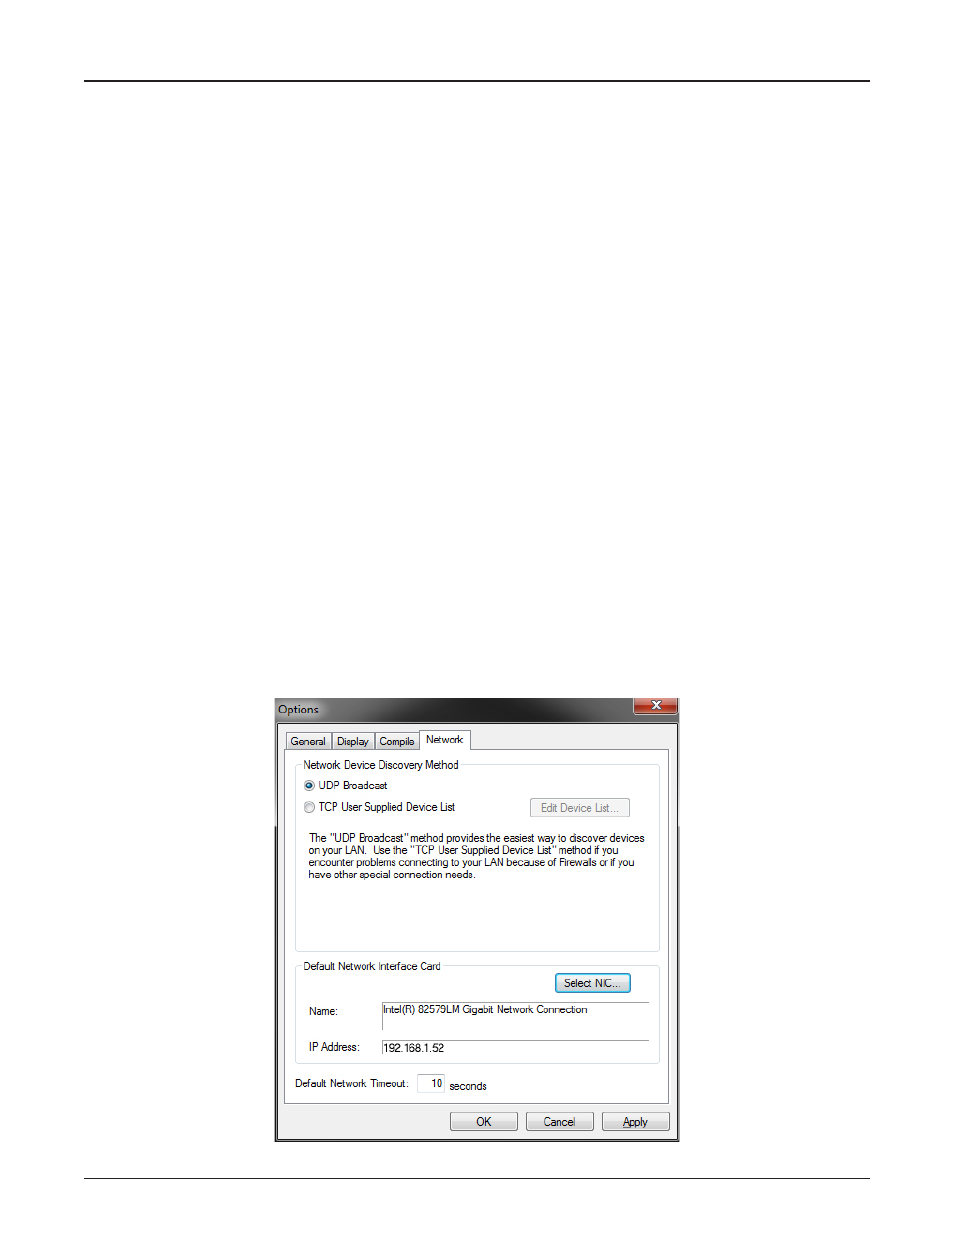
7. Configure NIC in the Audia software.
Open Audia software and select the correct network interface card. From the Audia menu go to
Tools > Options. Click on the Network tab, then press Select NIC.