Datamax-O'Neil PrintPAD Handstrap Kit User Manual
Replacing a handstrap
PrintPAD Handstrap Kit
(220265-000)
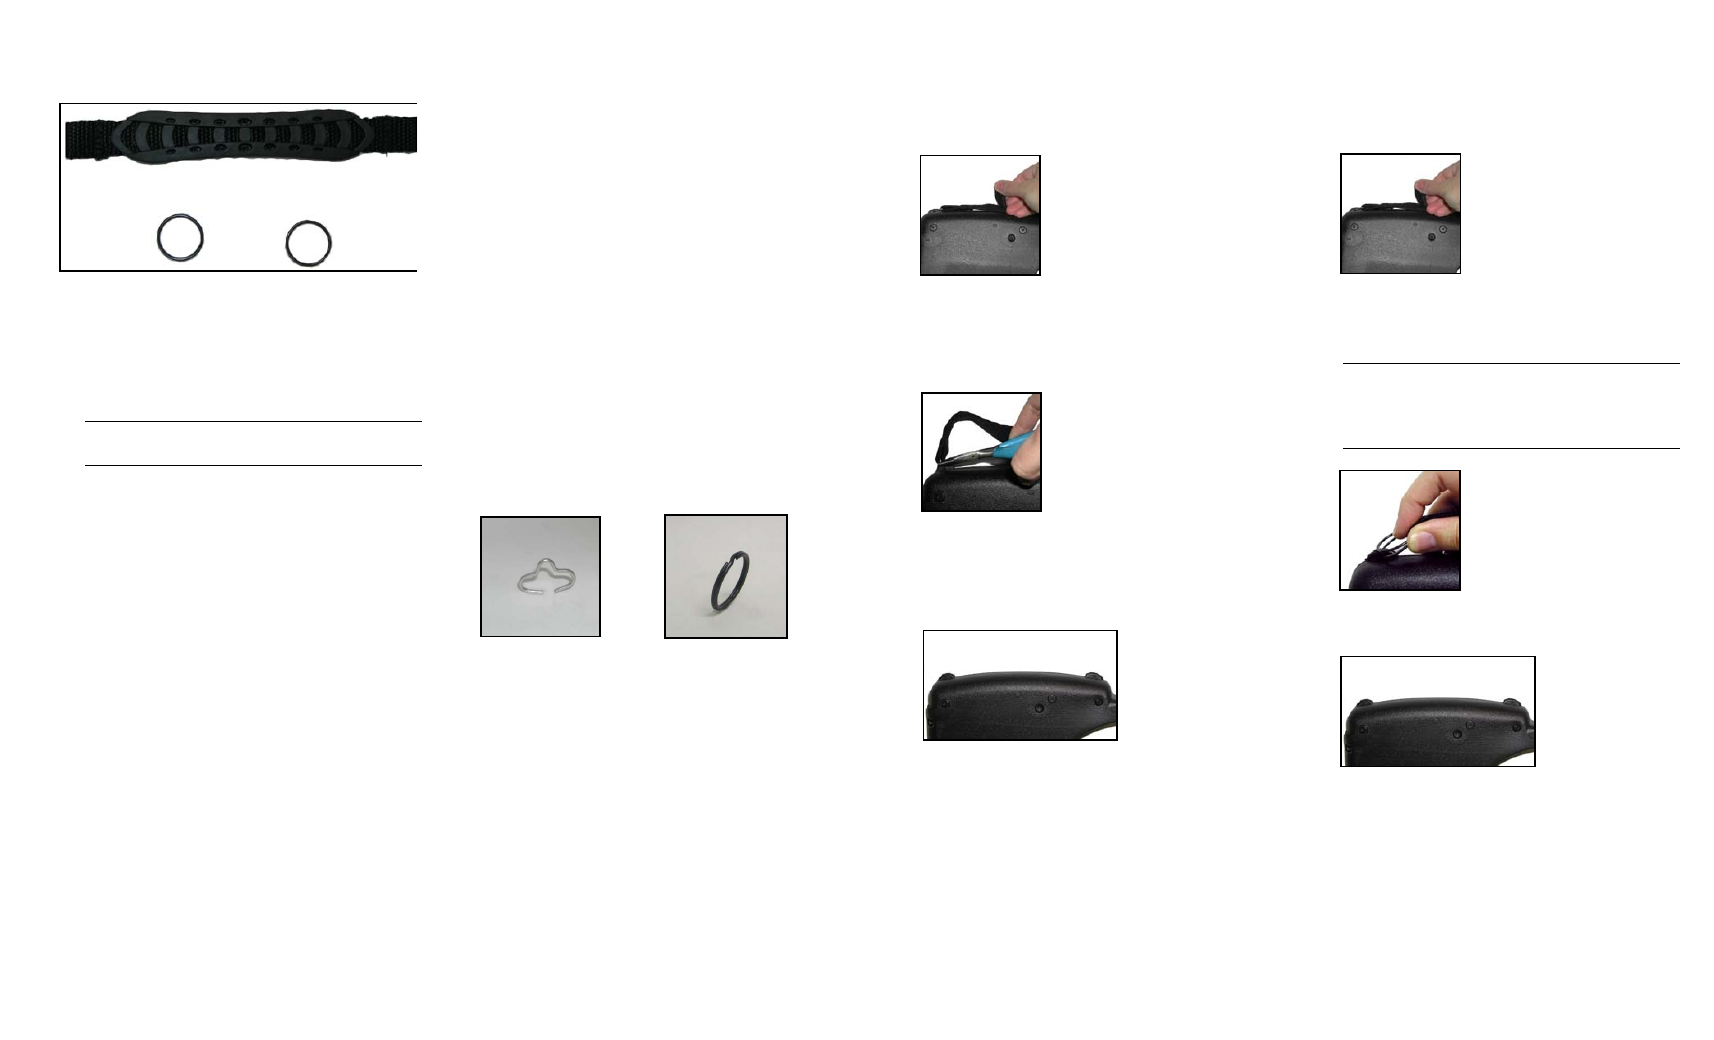
Parts list (Figure 1)
•
(2) Split rings
•
(1) Instruction sheet (not shown)
•
(1) Reinforced handstrap
Hardware (not included)
•
(1) Plier (if you are removing clasps)
Optional Hardware (not included)
•
(1) Small, flat head, screwdriver
Replacing a Handstrap
Use the following process to remove the
existing handstrap and attach the reinforced
handstrap:
1. Identify your handstrap attachment (this
page).
2. Remove your handstrap (following pages).
3. Attach the reinforced handstrap (last page).
To Identify Your Handstrap
Handstraps shipped before 01/01/2004 were
attached with clasps. Handstraps shipped after
01/01/2004 were attached with split rings.
Depending on the type of attachment used to
install the handstrap, there are two different
removal methods. You must remove either a
handstrap with clasps (Figure 2), or a
handstrap with split rings (Figure 3).
1. Your handstrap is attached with either
clasps, or with split rings. Identify your
attachment using the following graphics:
2. If your handstrap is attached with clasps,
proceed to To Remove the handstrap with
Clasps (next page).
If your handstrap is attached with split rings,
proceed to To Remove the handstrap with
Split Rings (following page).
To Remove a Handstrap with Clasps
If your handstrap is attached with clasps
(shipped before 01/01/2004), perform the
following:
1. Unclasp the velcro strap (Figure 4).
2. Remove the handstrap clasps from the
holes in the strap posts using pliers
(Figure 5).
3. Remove the entire handstrap assembly,
including the handstrap clasps and the
handstrap (Figure 6).
4. Proceed to Attaching the Handstrap.
To Remove a handstrap with Split Rings
If your handstrap is attached with split rings
(shipped after 01/01/2004), perform the
following:
1. Unclasp the velcro strap (Figure 7).
2. Remove both split rings, with the handstrap
attached, from the printer case (Figure 8).
The entire handstrap is removed (Figure 9).
3. Proceed to Attaching the Handstrap.
Note: The reinforced PrintPAD handstrap
included in this kit is not adjustable.
Figure 1
Split ring (2)
Reinforced handstrap
Figure 2: Clasp
(shipped before
01/01/04)
Figure 3: Split ring
(shipped after
01/01/04)
Figure 4
Figure 5
Figure 6
Tip: Carefully wedge a small, flat head,
screwdriver between the rings to separate
the split rings. Use caution when inserting
the screwdriver.
Figure 7
Figure 8
Figure 9