Datamax-O'Neil H-Class HD Cutter Option User Manual
Page 6
4
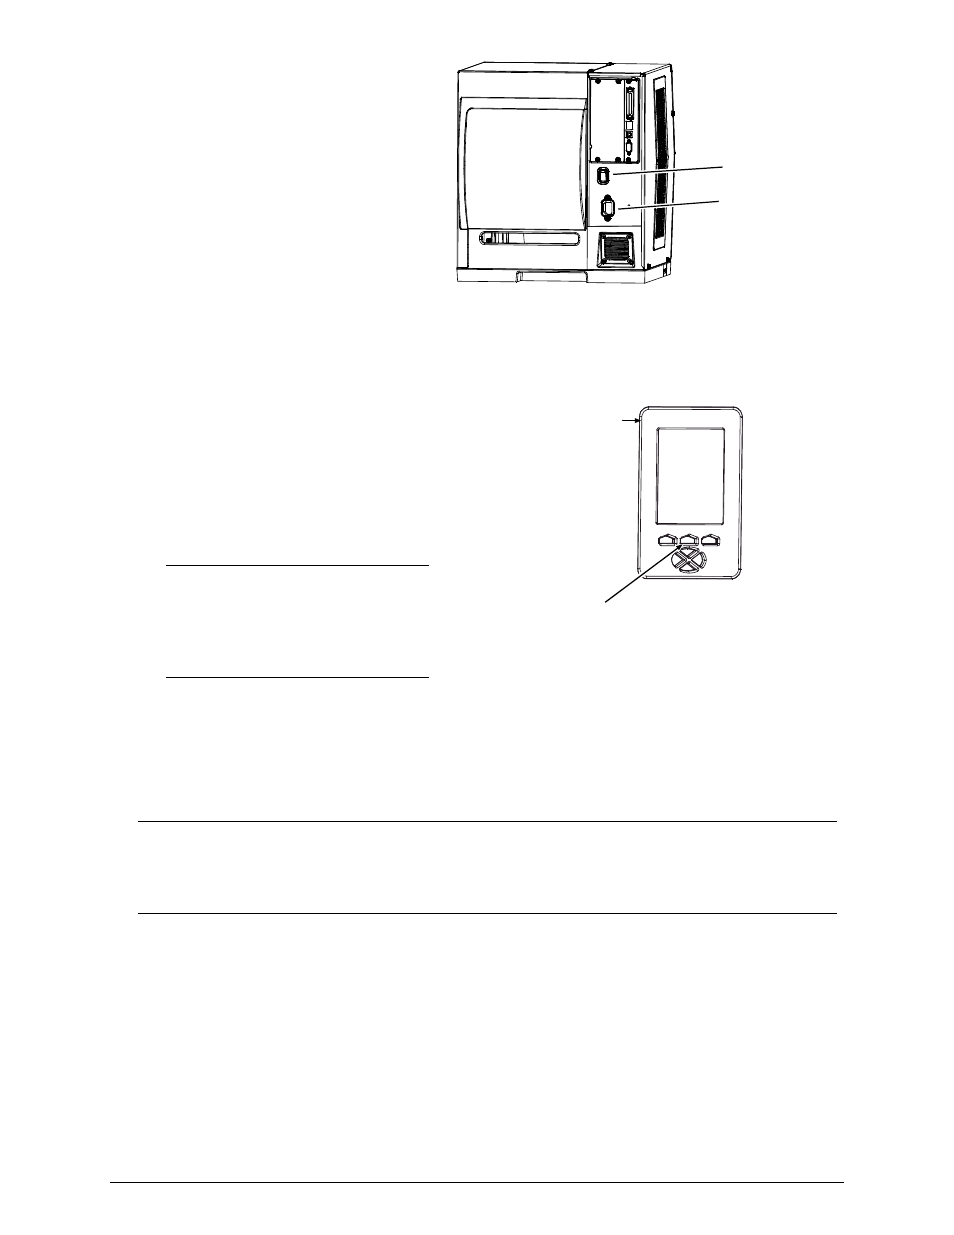
2) Close the cover then plug the power cord
into the AC Receptacle and turn ON the
Power Switch.
AC Receptacle
Power Switch
3) Press the FEED Key on the Front
Panel, and then proceed accordingly:
If cutting standard size labels and a
cut was performed, this completes
installation; or,
If a cut was not performed, see
“Configuring the Printer,” below.
Note: If cutting small labels,
performance may be increased; see
“Increasing Small Label Throughput,”
below.
FEED
Key
Front Panel
Configuring the Printer
The Cutter, a plug and play option, may require configuration if the default setup has changed:
Note: The Cutter can also be controlled by host software commands. Ensure that your labeling
program is properly set to cut, including the desired label size. To test the Cutter, see
“Testing the Cutter”; or, if problems occur, see “Troubleshooting” (below).
a)
Press the MENU Key on the printer’s front panel. (See the Operator’s Manual for menu details.)
b)
Using the DOWN ARROW Key, scroll to PRINTER OPTIONS then press the ENTER Key.
c)
Using the DOWN ARROW Key, scroll to CUTTER then press the ENTER Key.
d)
Using the DOWN ARROW Key, scroll to AUTO then press the ENTER Key.
e)
Press the ESCAPE Key and then, at the SAVE CHANGES? prompt, select YES.
f)
Turn the Power Switch OFF and ON to complete configuration.