Contemporary Research QMOD-HD TV One Integration User Manual
Page 3
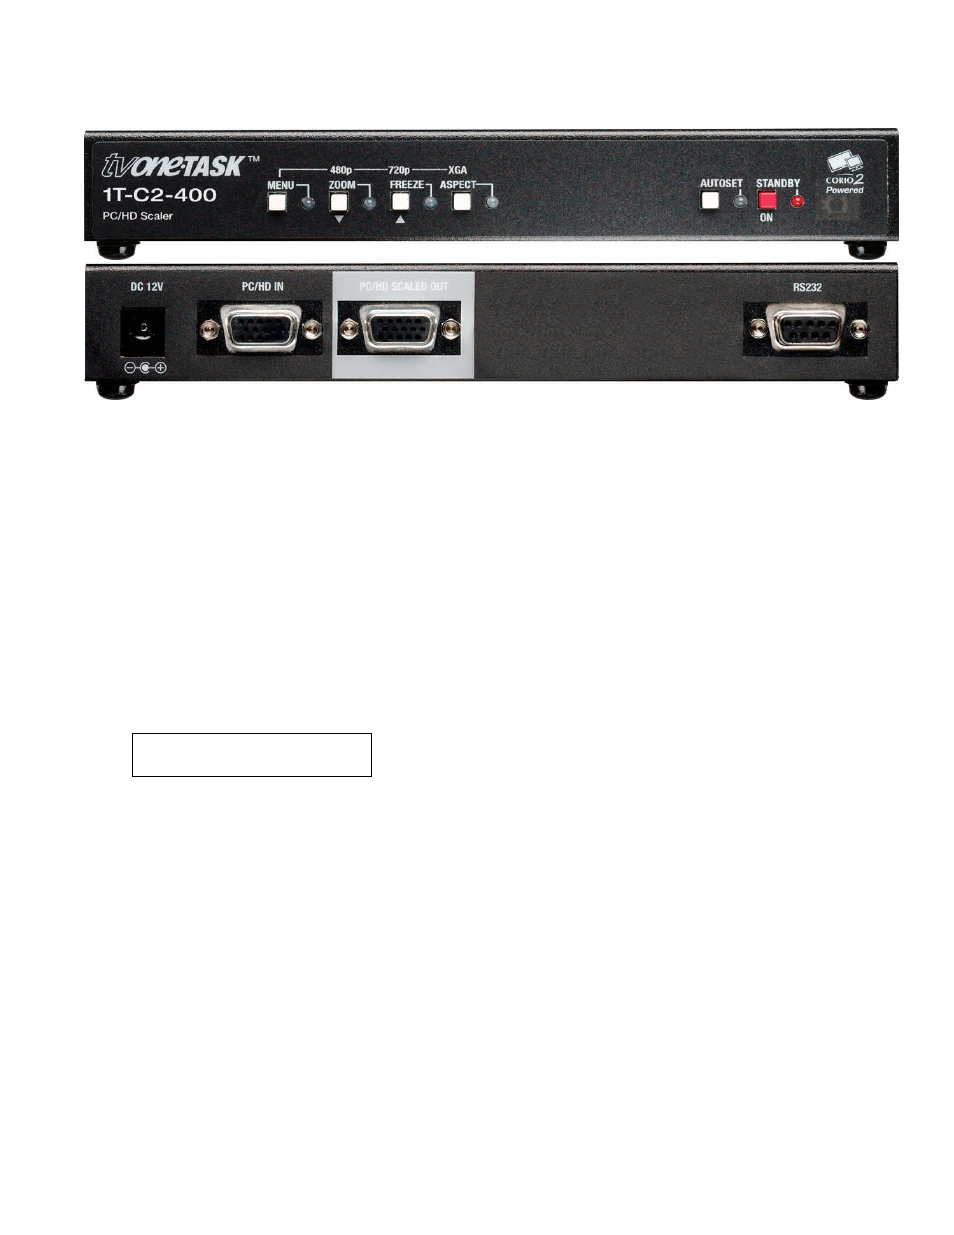
TV ONE Setup
First, a word about how the Menus work in the TV One.
Press the MENU key once to see an on-screen menu
Press the Down Arrow Key (ZOOM) to move forward through the menus
Press the Up Arrow Key (FREEZE) to move back
When you see each menu, one of the options will appear in square brackets. Press the MENU key to
select that option, or use the arrow keys to step to other options.
When the option brackets are flashing, use the Up and Down arrow keys to step through values, then
press MENU to enter the change. The brackets will then stop flashing.
To start the process, turn on the PC and start the signage running. To confirm everything is running, connect the
HD15 cable to a monitor
Set Resolution (Skip if you already see video at the 720p QMOD setting)
1280 x 720 59.95 Hz
Output Res
[45]
Normally, we will have set this to 720p at our CR shop. Use the process below if you want to change the
output to 1080i [set the QMOD resolution to 1080i to match].
Connect TV One to a widescreen display via VGA [you can’t see the menu functions through the QMOD
until you set the TV one to an HDTV resolution)
Press Menu, then Down arrow to Adjust Outputs
Press Menu, then press Down to Output Res, then press Menu to flash [xx] brackets
Press Up or Down to select 1289 x 720, 59.94 [45]. You can also continue to 1920 x 1080, 59.94 [88].
Press Menu to enter value
If the TV One was inadvertently set to Component (YUV), the colors will have a purple tone.
Arrow back and use Menu to select Output Type, arrow to RGBHV, then press Menu to select. Or if
you’re using the TV One to scale a PC to the Component input of a QMOD-SDI, set to Component.