Installation, Operation – Schreiber Chillers 30AC User Manual
Page 6
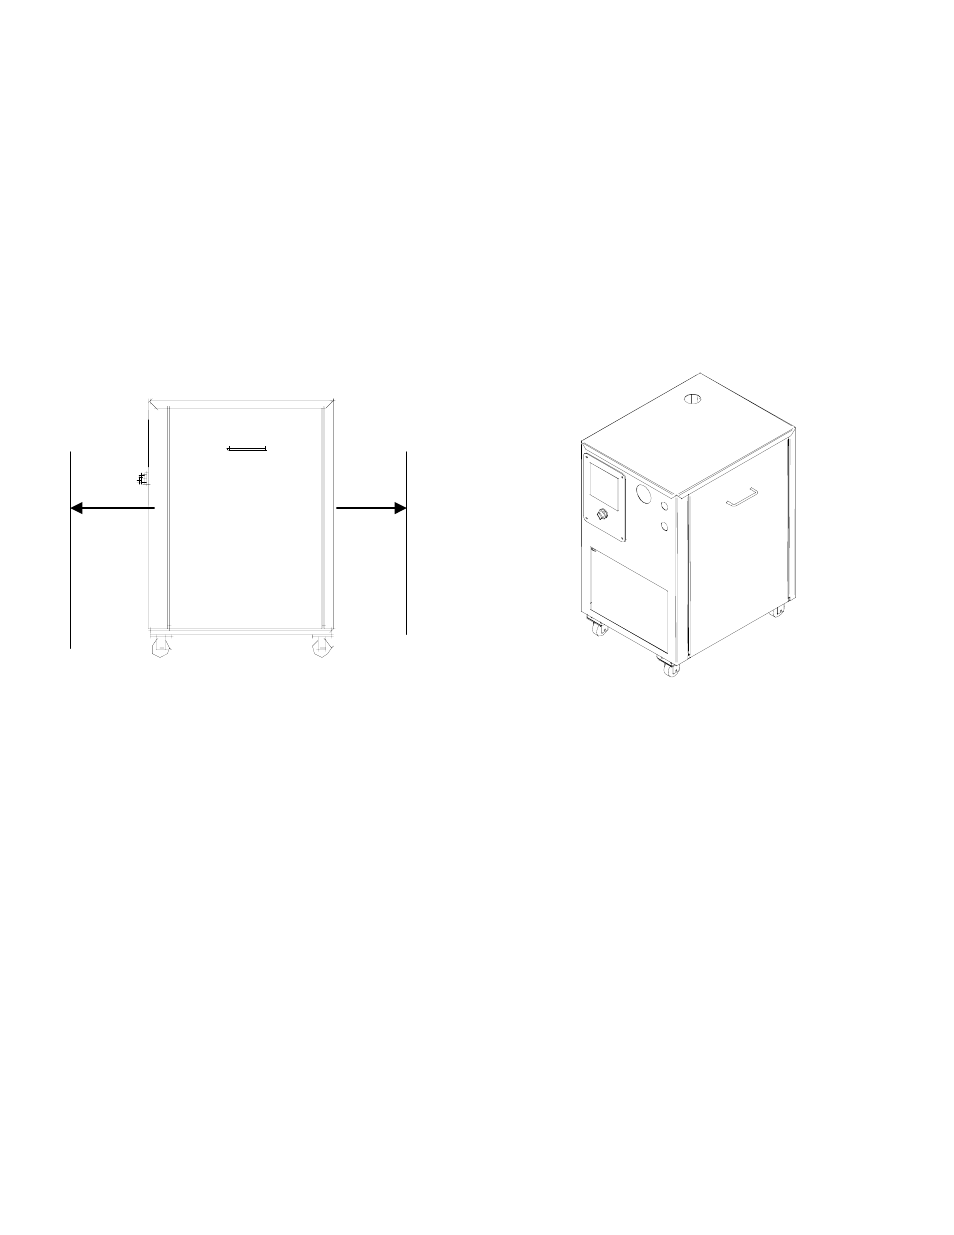
INSTALLATION
1. Place chiller on level ground.
2. Allow 3 of clearance in front of the air inlet and outlet. If the airflow in and out
of the chiller is restricted the chiller’s cooling capacity is reduced.
3. Connect chiller to power supply. Refer to the nameplate for electrical circuit
requirements.
4. Connect chilled water piping.
5. Fill tank to proper level. Note the when the chiller is started the water level will
drop slightly as the pipes are filled. Add more water after the unit is started.
3’
3’
OPERATION
1. After all electrical and plumbing connections are made, and the reservoir is filled,
you are ready to start the unit..
2. Turn the main power switch to the “ON” position.
3. The temperature displayed is the chiller discharge temperature. To adjust the
chiller set point, push the black set point button that is below the display. With a
small slotted screwdriver turn the setscrew until it reads the desired chilled water
temperature. Do not set the temperature less than 45
°F. You will damage the
unit.
7