Asus P5MT-C User Manual
Page 103
ASUS P5MT-C
5-9
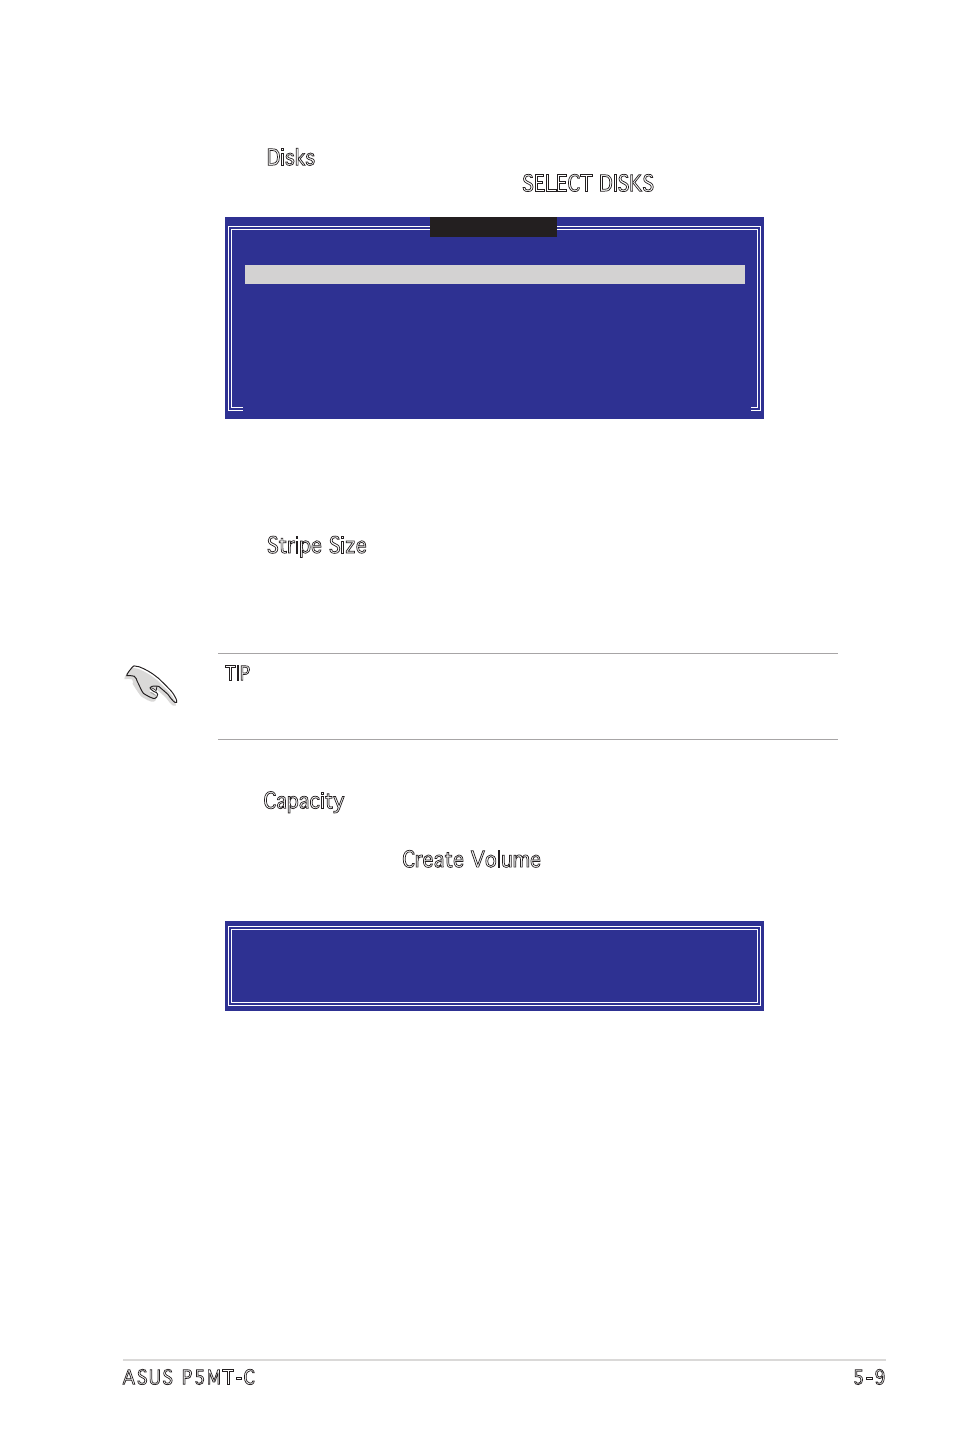
4. When the Disks item is highlighted, press
disk drives to configure as RAID. The SELECT DISKS screen appears.
[
SELECT DISKS
]
[↑↓]-Previous/Next [SPACE]-Selects [ENTER]-Selection Complete
Port Drive Model Serial # Size Status
0 XXXXXXXXXXXX XXXXXXXX XX.XGB Non-RAID Disk
1 XXXXXXXXXXXX XXXXXXXX XX.XGB Non-RAID Disk
2 XXXXXXXXXXXX XXXXXXXX XX.XGB Non-RAID Disk
3 XXXXXXXXXXXX XXXXXXXX XX.XGB Non-RAID Disk
Select 2 to 4 disks to use in creating the volume.
5. Use the up/down arrow key to highlight the drive you want to set,
then press
drive. Press
6. When the Stripe Size item is highlighted, press the up/down arrow key
to select the stripe size for the RAID 5 array, then press
The available stripe size values range from 8 KB to 128 KB. The
default stripe size is 64 KB.
WARNING: ALL DATA ON SELECTED DISKS WILL BE LOST.
Are you sure you want to create this volume? (Y/N):
9. Press
TIP: We recommend a lower stripe size for server systems, and a higher
stripe size for multimedia computer systems used mainly for audio and
video editing.
7. Key in the RAID volume capacity that you want, then press
when the Capacity item is highlighted. The default value indicates the
maximum allowed capacity.
8. Press
warning message appears.