Factory Direct Hardware Delta 51551 Classic User Manual
Page 4
FINISH AND CHECK FOR
LEAKS
Note: Any distrtion the hose may
have assumed in packaging will relax
soon after warm water has run through
the hose.
Hang your hand shower on its mount.
Slowly turn on the cold water and
look for leaks. If leaks occur re-tighten
connections in small steps being careful
not to over tighten and strip threads.
Operation and Maintenance
Your shower operation is designed for
optimum performance and still meet
ANSI code A112.18.1M requirements
of 2.5 gallon per minute (9.5 LPM)
maximum flow rate at 20 to 80 PSI for the
preservation of water and energy. The
flow restricter that performs this function
is located in the end of the hand shower.
Removal of this device will increase your
water and energy consumption.
Impurities in any water system will over
time generally accumulate at the shower
orifice, slowly closing then off.
Cleaning these deposits is best achieved
by washing with a soap solution and
simply adjusting the mechanism which
will flush them out. For calcium deposits,
soaking them in vinegar and then
flushing them usually works.
Clean your shower’s finish with warm
sudsy water to avoid destroying your
products finish.
Models with
Pause Controls incorporate
a pause in the flow to allow time for other
bathing activities.
This is not a shut off
position. A small drip is designed into
the unit to reduce temperature build up
and remind you that the shower is just
paused, not off.
To shut it off, use your
shower valve.
OPTIONS TO CONSIDER
Add a hand shower unit -
to a shower head
Keep your existing shower head and ADD
the CONVENIENCE of a hand held shower
unit by inserting a shower arm diverter,
Delta
®
Model U4923, between the shower
head and the
shower arm.
The diverter
gives you
the choice of
either the hand
shower or the
shower head.
Just a pull on
a knob ot the turn of a lever and your water
diverts where you want it. The shower arm
diverter installs easily onto the shower arm
with a gasket and plumber tape the shower
head installs on to the diverter, again with
plumber tape and a gasket. The hand
shower unit’s hose attaches to the lower
outlet of the diverter. Only wall mounted
hand shower units will provide a place for
mounting the hand shower.
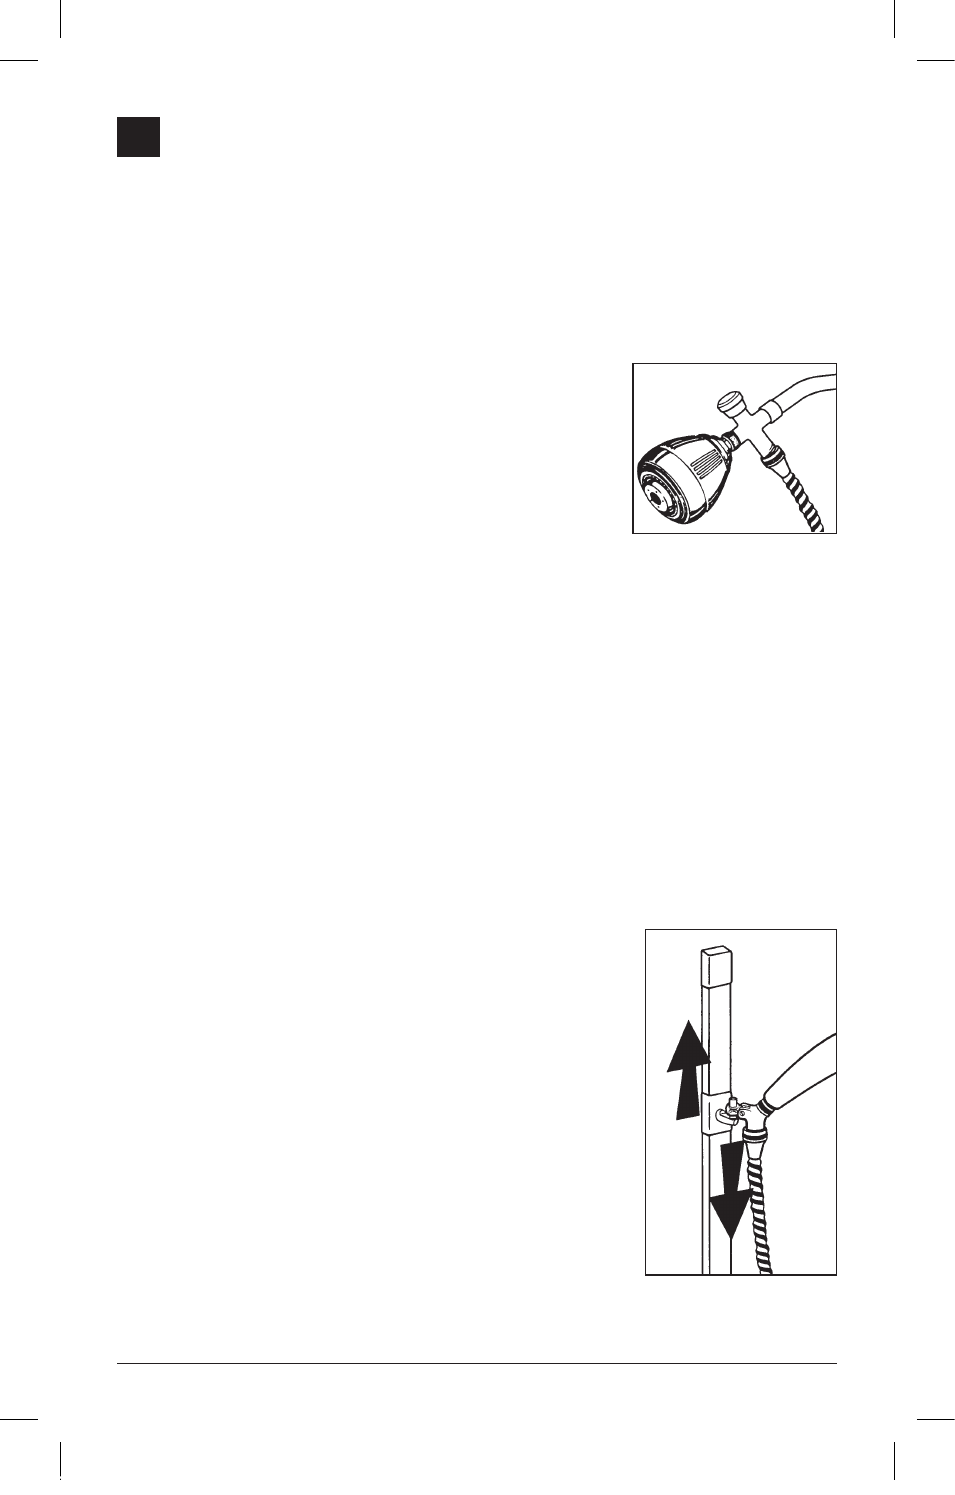
Adjustable height mounting -
Glide Rail accessory
Your Glide Rail adjustable shower mount is
designed for easy installation using the special
adhesive tape and screws supplied. However,
before you
proceed, we
recommend you
carefully read
these instructions
to help determine
the best
mounting method
and assure a
satisfactory
installation.
1. SELECT
LOCATION
Select wall
position at
convenient
location suitable for height of bathers. Hold
the Glide Rail against the wall to check height
and make sure it is located to permit full height
5.
4
72634 Rev A.indd 4
11/15/11 4:47 PM