American Car Craft Corvette Exhaust Filler Panel GHL Quad 4.0 Tips Polished 2005-2013 C6 User Manual
Page 2
adjustment must be made follow the special adjustment instructions at the end of these
instructions.
3. With the exhaust in a symmetrical position remove the red release liner from the
attachment tape on the back of the part and position it so that the bend in the part lines up
with the back edge of the valence as well as the left and right end edges. Press firmly to
set. The panel will remain in position by itself allowing you to install the four screws at
the four locations. Simply self tap them in place then carefully install the four flat nuts
over the screw tips and twist them down with your fingers then tighten the screw again.
At this time remove the protective liner to the lower section only. Swipe the top part of
the lower section you just installed with the remaining adhesive promoter provided
(where the smaller panel will be attached to the larger panel).
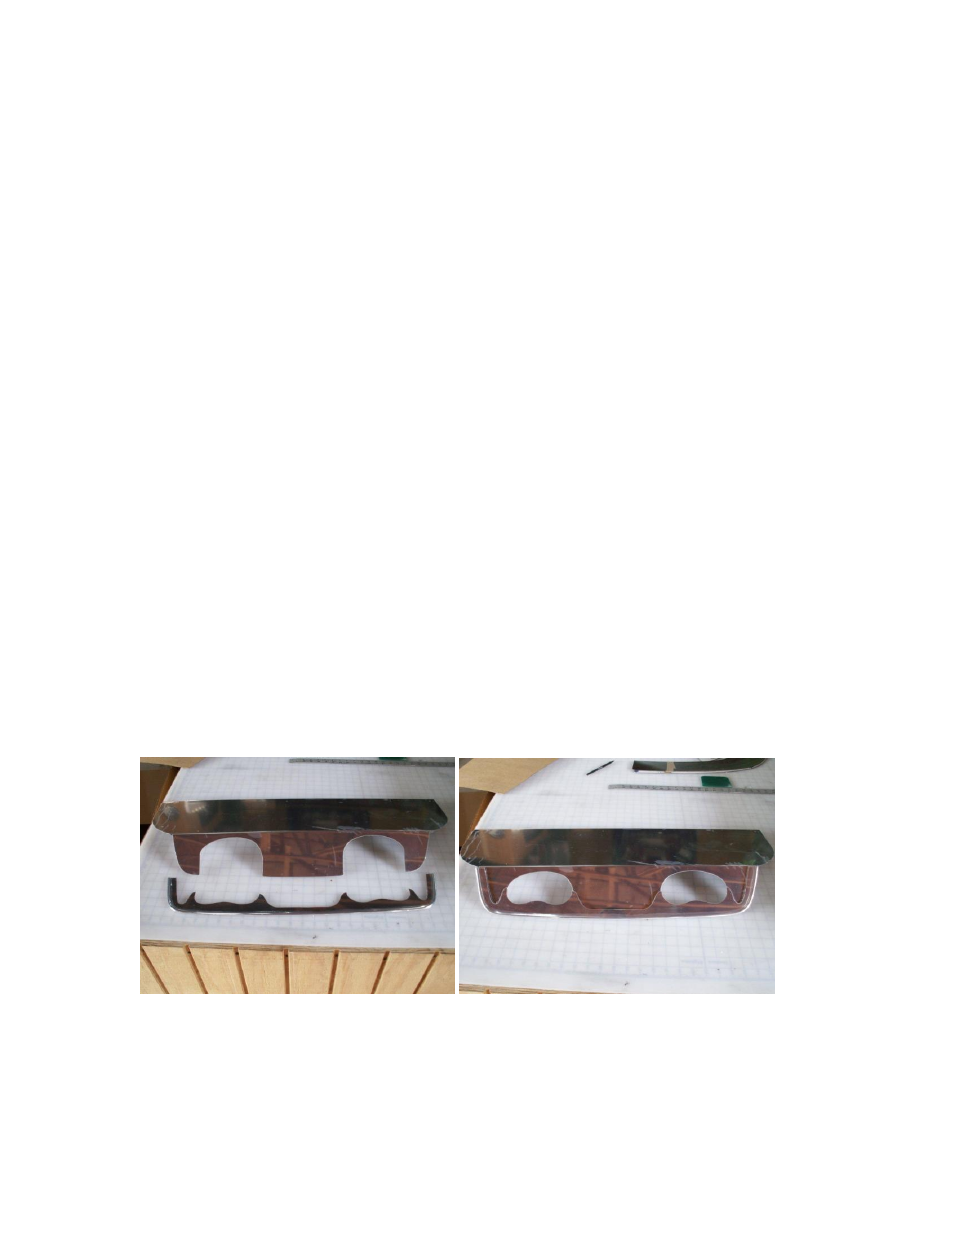
4. Carefully place the smaller top section in place so that the left and right bottom edges
line up with the bottom edge of the filler. At this time you will want to take a look at the
fitment to see how and where it will attach to each other and also to teach yourself how
you will place the section in position. The trickiest part of this placement will be to not
allow the smaller panel to stick until you have gotten it in place. In order to do this you
will need to spray a little alcohol to the exposed attachment tape prior to placement.
A small spray bottle will be the best tool for this however it can be done by just swiping
the alcohol to the tape with you finger making sure it is completely covered.
5. Now that you have a good idea about how to place the smaller section remove the red
release liner from the attachment tape and spray the alcohol directly to the adhesive. The
alcohol will start to evaporate quickly so try to get the section in position within a few
seconds and line it all up. Once you have gotten it in position leave it alone for five or ten
minutes to allow the alcohol to completely evaporate away. Then press the two sections
together firmly to produce the bond. Remove the remaining protective liner to finish the
installation.