Water-methanol tank – Banks Power Universal Car & Truck: (Gas or Diesel ’50 - 14 Universal) Water-Methanol: Straight-Shot and Double Shot, Vehicle specific applications User Manual
Page 5
97651 v.1.0
5
3.
Remove windshield washer fluid reser-
voir from vehicle for better access when
drilling and tapping.
4.
Use a center punch to mark the hole
location and keep the drill bit from wan-
dering. Use 7/16” drill bit to drill a hole
at marked location. Drill perpendicular to
reservoir surface to avoid leaks.
5.
Use 1/4”-18 NPT tap to thread wind-
shield washer fluid reservoir. Ensure tap
is perpendicular to reservoir surface to
avoid leaks. Check the thread depth as
you tap by periodically removing the tap
and screwing the 90º male push-lock (P/N
45121) fitting into the tapped hole. The fit-
ting should thread in 3 to 3
1
⁄
2
turns hand
tight. Do not install the fitting in place at
this time.
: Running the tap
too deeply can prevent fitting from
properly sealing.
6.
Thoroughly clean inside of reservoir to
remove all debris.
7.
Thread 90-degree male Push-Lock
fitting into reservoir. Tighten 2-3 turns
past hand tight. Do not over tighten.
See Figure 2
8.
Add enough water in reservoir to
check for leaks around fitting. Drain water
and reinstall windshield washer fluid res-
ervoir.
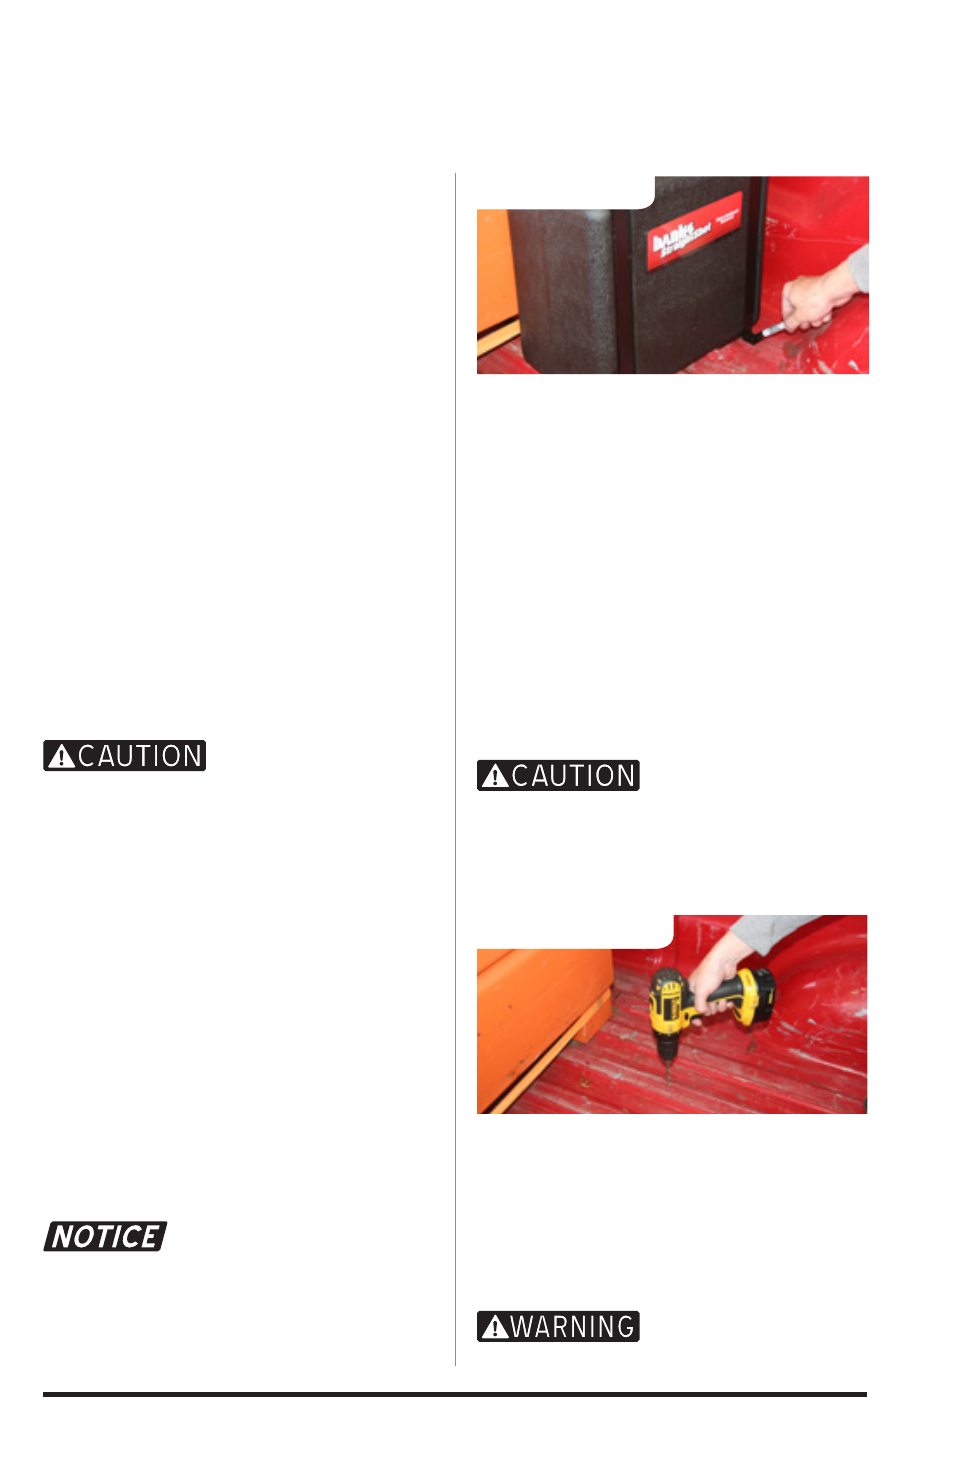
Water-Methanol Tank
: A large capacity tank
(P/N 45095-45098) is only provided
in the Double-Shot system. Proceed
to the Injection Pump section if you
purchased the Straight-Shot system.
1.
Determine where tank will be mounted
so that it will not interfere with mov-
ing or hot engine components. DO
NOT mount tank inside vehicle where
there are passengers. Test fit tank (P/N
45095-45098) with mounting straps
(P/N 91590-91592) at desired location.
Use a permanent marker to mark where
straps will be mounted. Ensure that the
desired location will not interfere with
vehicle operation and that drilling at
this location for mounting will be safe.
See Figure 3
: Take care while
drilling and know what is behind
the piece you are drilling through.
Note the location of the fuel tank,
fuel lines, wiring, etc.
2.
Use a center punch to mark the hole
location and keep the drill bit from wan-
dering. Use 1/4” drill bit to drill necessary
holes where marked to mount the tank
mounting straps. Deburr sharp edges.
See Figure 4
: Use eye and ear
protection while drilling.
Figure 3
Figure 4