Plumbing (straight-shot) – Banks Power Universal Car & Truck: (Gas or Diesel ’50 - 14 Universal) Water-Methanol: Straight-Shot and Double Shot, Vehicle specific applications User Manual
Page 12
12
97651 v.1.0
6.
Thread Injection Nozzle assembly into
the air intake duct. Cover open end of the
90-degree Push-Lock fitting to avoid debris
entering intake duct. See Figure 27
Plumbing (Straight-Shot)
: If you purchased the
Double-Shot system proceed to the
Plumbing (Double-Shot) section.
: Route and secure
tubing where it will not interfere
with moving or hot engine compo-
nents. Avoid sharp turns that may
kink tubing and sharp edges that
may damage tubing.
: Cut tubing using
a Pocket or X-Acto knife to avoid
pinching the tubing. Pinching the
tubing will cause it to not seat
properly.
1.
Secure one end of 1/4” Nylon tub-
ing (P/N 45140) into Push-Lock fitting on
windshield washer fluid reservoir by firmly
pushing tubing into Push-Lock fitting.
Carefully pull on tubing to ensure tubing is
secured properly.
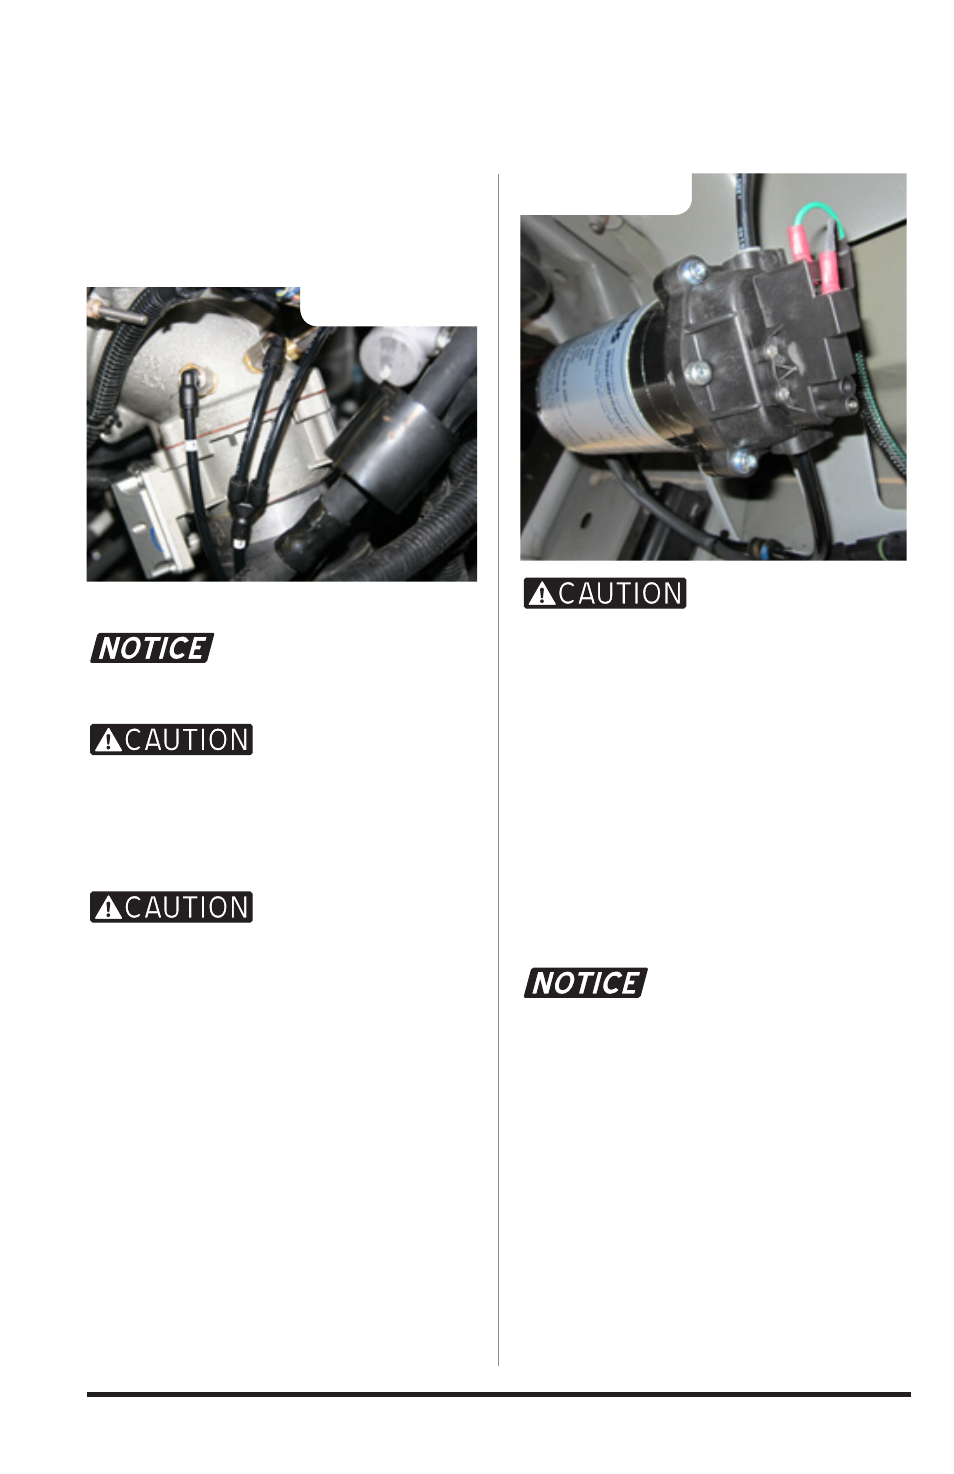
2.
Route tubing to injection pump inlet.
Cut tubing, allowing approximately 1/2”
for securing into injection pump. Properly
secure tubing into injection pump inlet.
See Figure 28
: Make all cuts as
square as possible to avoid leaks.
3.
For a single injection nozzle, secure
and route tubing from pump outlet to
injection nozzle assembly in intake duct.
Properly cut tubing and secure into injec-
tion nozzle assembly.
4.
For two injection nozzles, secure and
route tubing from pump outlet to port
#1 of “Y” fitting (P/N 45123). Properly
cut tubing and secure into “Y” fitting.
See Figure 29
: Determine where you
want Push-Lock “Y” fitting located and
route tubing appropriately. Choose a
location that is easily accessible and
can be checked for leaks.
4a.
Secure tubing in port #2 of “Y” fitting
and route tubing to first injection nozzle
assembly. Properly cut tubing and secure
into injection nozzle assembly.
4b.
Repeat step 4a for second injection
nozzle assembly using port #3 on the
“Y” fitting.
5.
Use tie wraps to secure all tubing.
Figure 28
Figure 27