VEGA VEGABAR 86 Profibus PA - Operating Instructions User Manual
Page 33

33
6 Set up with the display and adjustment module
VEGABAR 86 • Profibus PA
45042-EN-131107
Save your settings with [OK] and move with [ESC] and [->] to the
next menu item.
After the position correction is carried out, the actual measured value
is corrected to 0. The corrective value appears with an inverse sign as
offset value in the display.
The position correction can be repeated as often as necessary. How-
ever, if the sum of the corrective values exceeds 20 % of the nominal
measuring range, then no position correction is possible.
VEGABAR 86 always measures pressure independently of the pro-
cess variable selected in the menu item "Application". To output the
selected process variable correctly, an allocation to 0 % and 100 % of
the output signal must be carried out (adjustment).
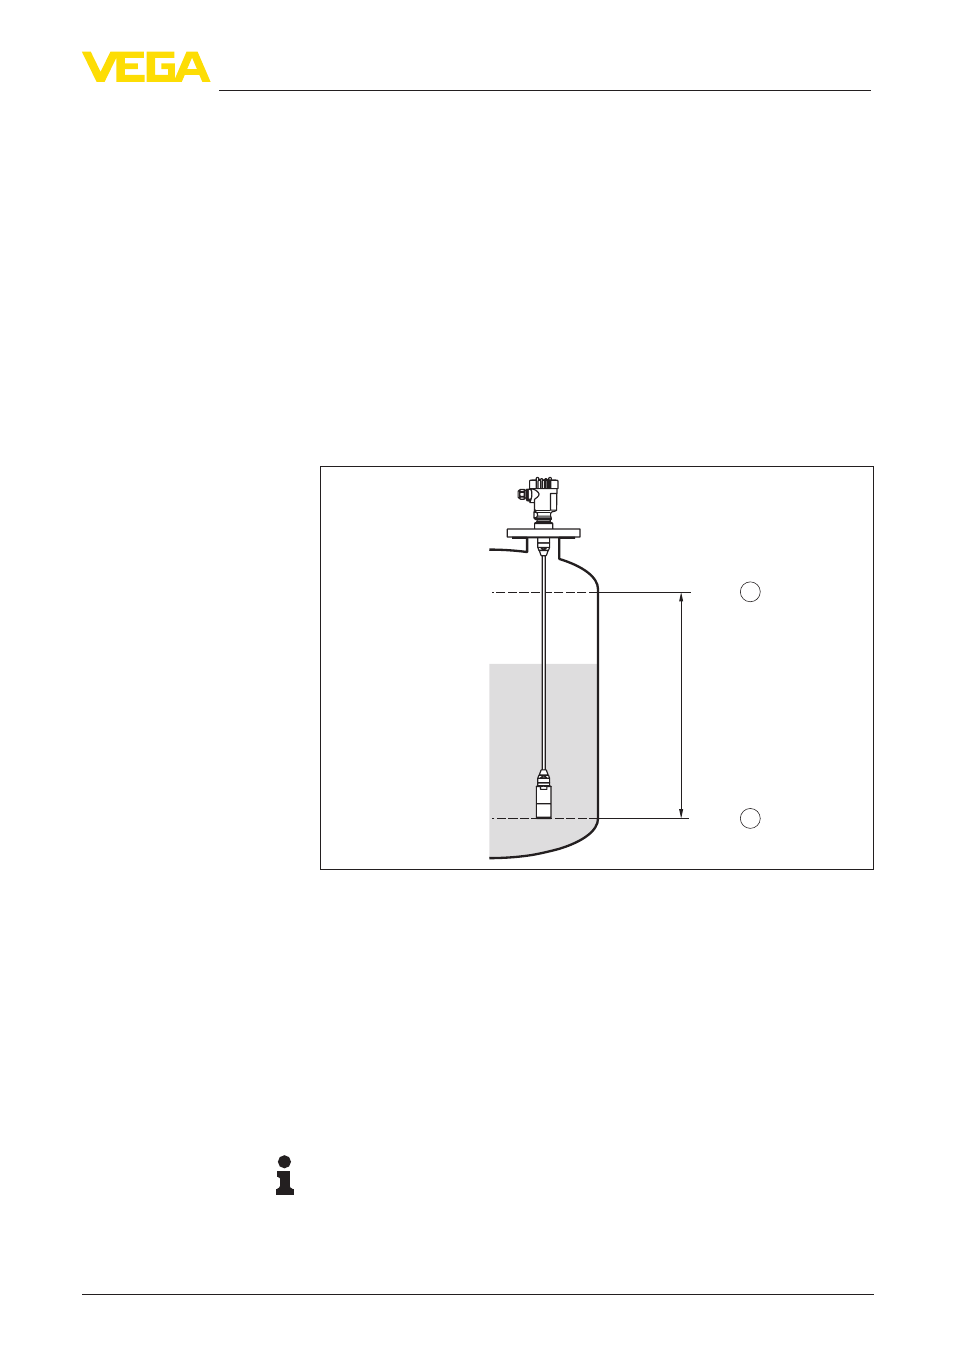
During adjustment, the pressure is entered e.g. for the level with full
and empty vessel, see following example:
2
1
100%
0%
2
m
(78.74
")
Fig. 27: Parameter adjustment example "Min./max. adjustment, level measure-
ment"
1 Min. level = 0 % corresponds to 0.0 mbar
2 Max. level = 100 % corresponds to 196.2 mbar
If these values are not known, an adjustment with levels of for exam-
ple 10 % and 90 % is also possible. By means of these settings, the
real filling height is then calculated.
The real product level during the adjustment is not important, because
the min./max. adjustment is always carried out without changing the
product level. These settings can be made ahead of time without the
instrument having to be installed.
Note:
If the adjustment ranges are exceeded, the entered value will not be
accepted. Editing can be interrupted with [ESC] or corrected to a
value within the adjustment ranges.
Parameterization example
