Defining zones – Velleman VMB1TCW User Manual
Page 35
7. Repeat step 6 until all characters are entered.
8. Exit the menu with the
button.
9. Press the ‘Location’ button to select the next sensor.
10. Repeat steps 1 through 9 until every sensor has a
meaningful name.
Defining zones
It could be interesting to group different sensors in a zone. When that zone is selected, all operations on the controller will
be applicable for all sensors that belong to that zone. This way operating the system can be greatly facilitated.
It is possible to define up to 7 zones e.g. ground floor, second floor, bedrooms …
Default temperature sensors are not assigned to a zone. To assign them to a zone the procedure below should be
followed.
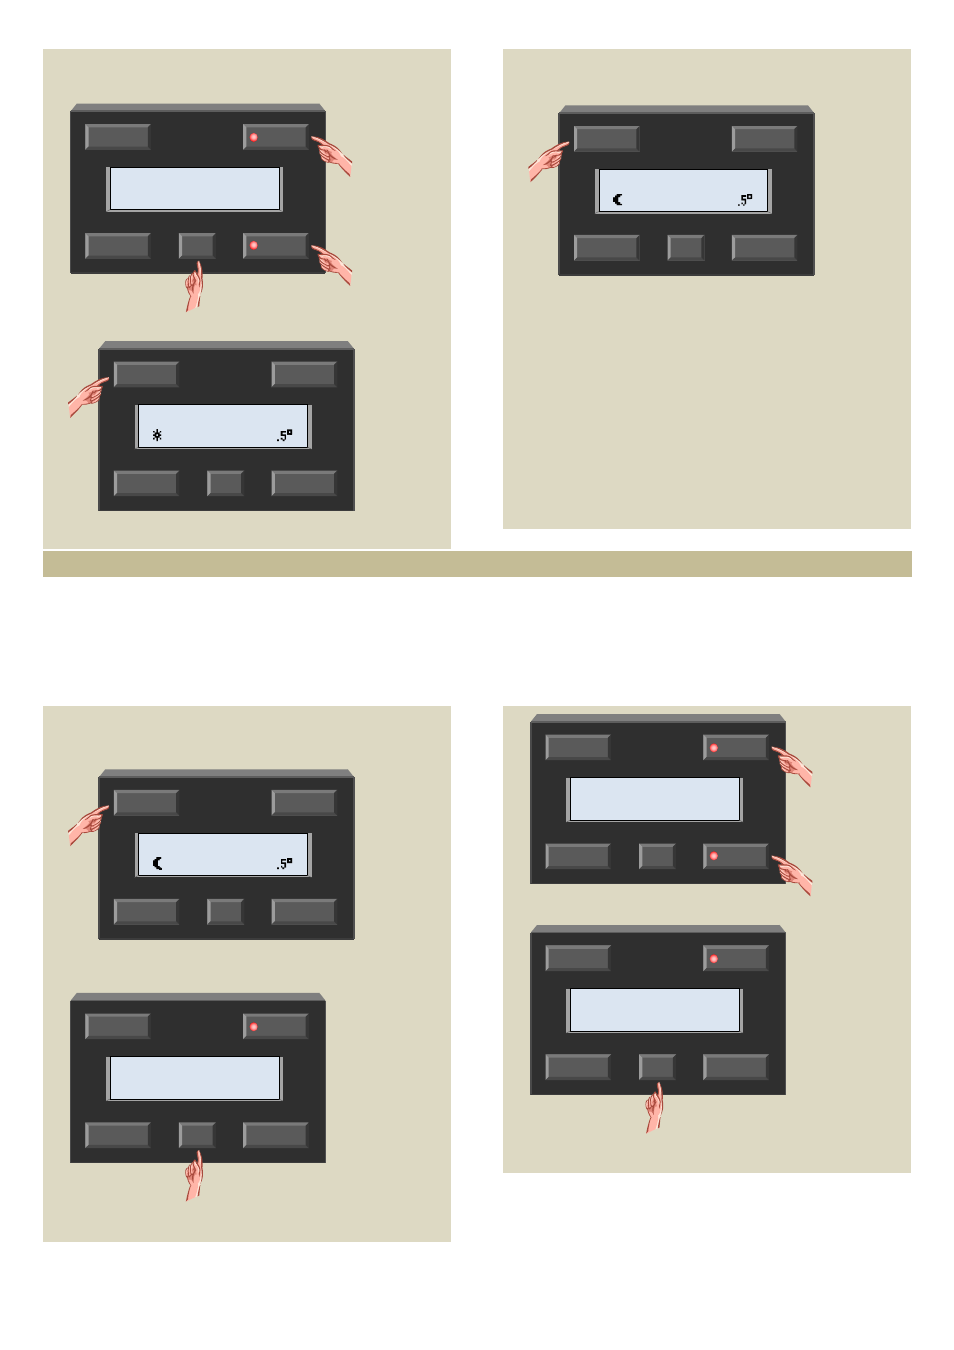
1. Press the ‘Location’ button repeatedly until the
sensor that will to be added to a zone is displayed.
2. Press and hold the ‘Menu’ button for ±4 seconds to
open the extended menu.
3. Scroll through the extended menu using the
↑ or ↓
button until the ‘Sensor settings’ item appears.
4. Select the sensor settings menu with the
→ button.
Location
↑
↓
Menu
→
Mode
←
Kitchen
Ma 14:31 20
Location
↑
↓
Menu
→
Mode
←
Temp sensor 02
Mo 14:31 18
Location
↑
↓
Menu
→
Mode
←
Kitchen
01 Change name
Location
↑
↓
Menu
→
Mode
←
Bedroom 1
Mo 14:32 16
Location
↑
↓
Menu
→
Mode
←
Bedroom 1
Program
Location
↑
↓
Menu
→
Mode
←
Bedroom 1
Sensor settings
Location
↑
↓
Menu
→
Mode
←
Bedroom 1
Operating mode