Zero adjustment – Ohaus C 305 ELECTRONIC BALANCE User Manual
Page 60
15
supplied with the balance.
Zero Adjustment
Zero Adjustment
Zero Adjustment
Zero Adjustment
Zero Adjustment
The zero setting has been adjusted before shipment. If the setting has been
disturbed (due to rough handling), use
the following procedure to adjust it. A
small screwdriver will be required.
1.
Make sure the balance is on a level
work surface, turned OFF and the
platform is installed.
2.
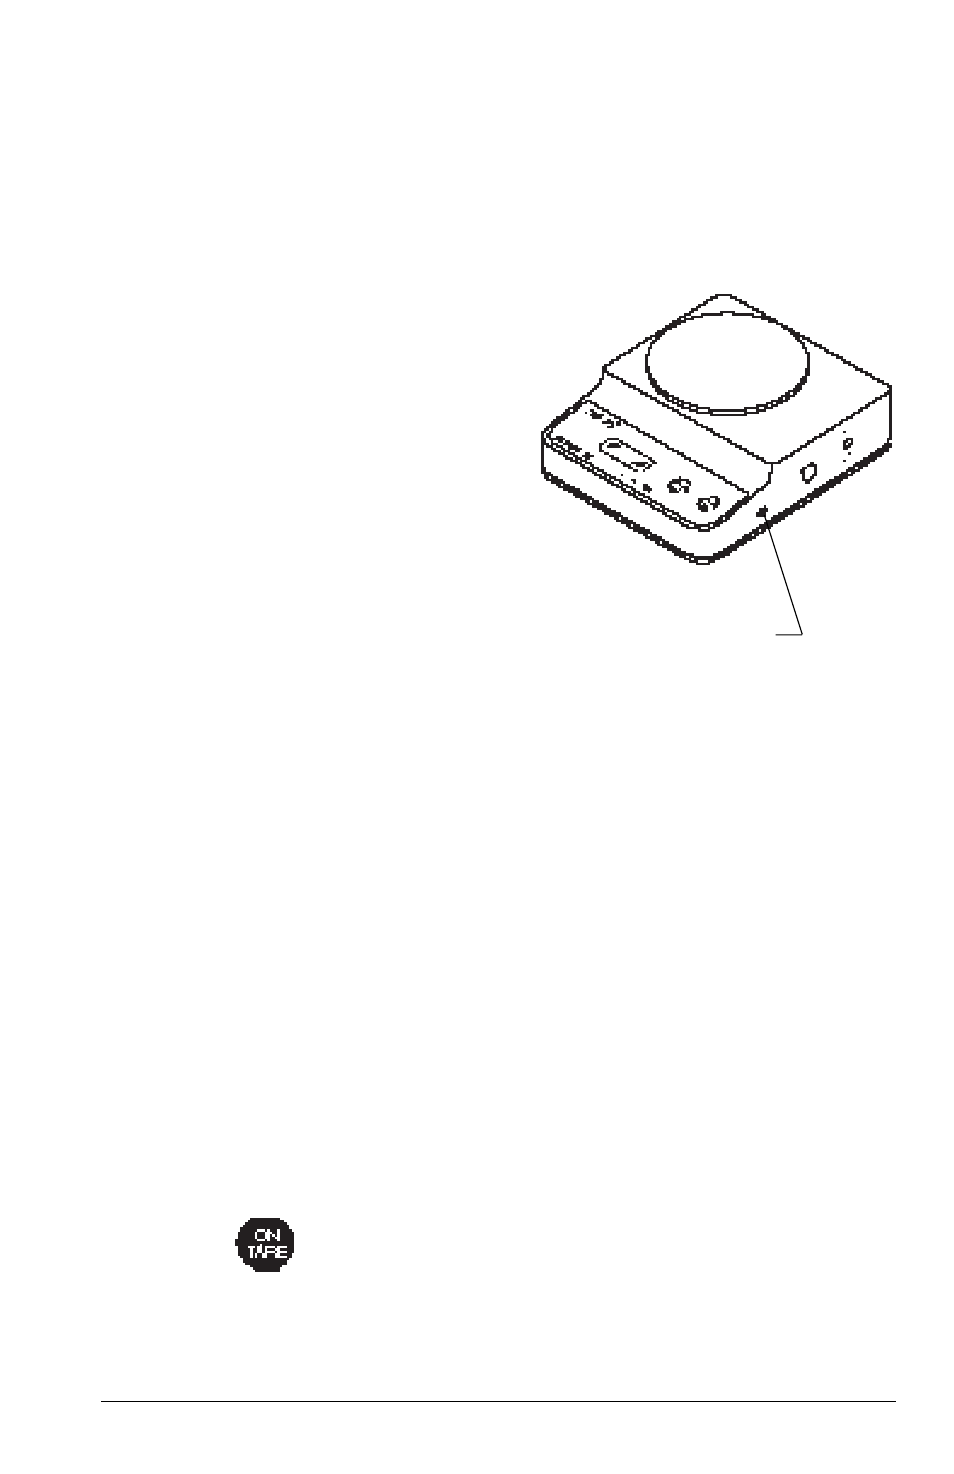
On the right side of the balance,
remove the button cover which pro-
tects the zero adjustment screw.
3.
Turn the balance ON. If zero, num-
bers or Err
Err
Err
Err
Err is displayed, continue
with step 4. If - - -
- - -
- - -
- - -
- - - is displayed,
proceed to step 5.
4.
Slowly
Slowly
Slowly
Slowly
Slowly turn the screw counterclock-
wise until - - -
- - -
- - -
- - -
- - - is displayed.
5.
Slowly
Slowly
Slowly
Slowly
Slowly turn the screw clockwise
until numbers are displayed.
6.
Repeat steps 4 and 5 until the exact
position where numbers first ap-
pear is determined. This position
must be accurately determined oth-
erwise the balance may become
erratic during operation.
7.
Once the position is determined,
turn the screw an additional ½ turn
in the same clockwise direction.
8.
Remove the screwdriver and
press
.
9.
Recalibrate the balance.
10. Replace the protective button cover
after adjustment is made.
Zero Adjustment
Screw