Camera ports, Installation procedure – Edimax Technology IC-1500 User Manual
Page 4
2
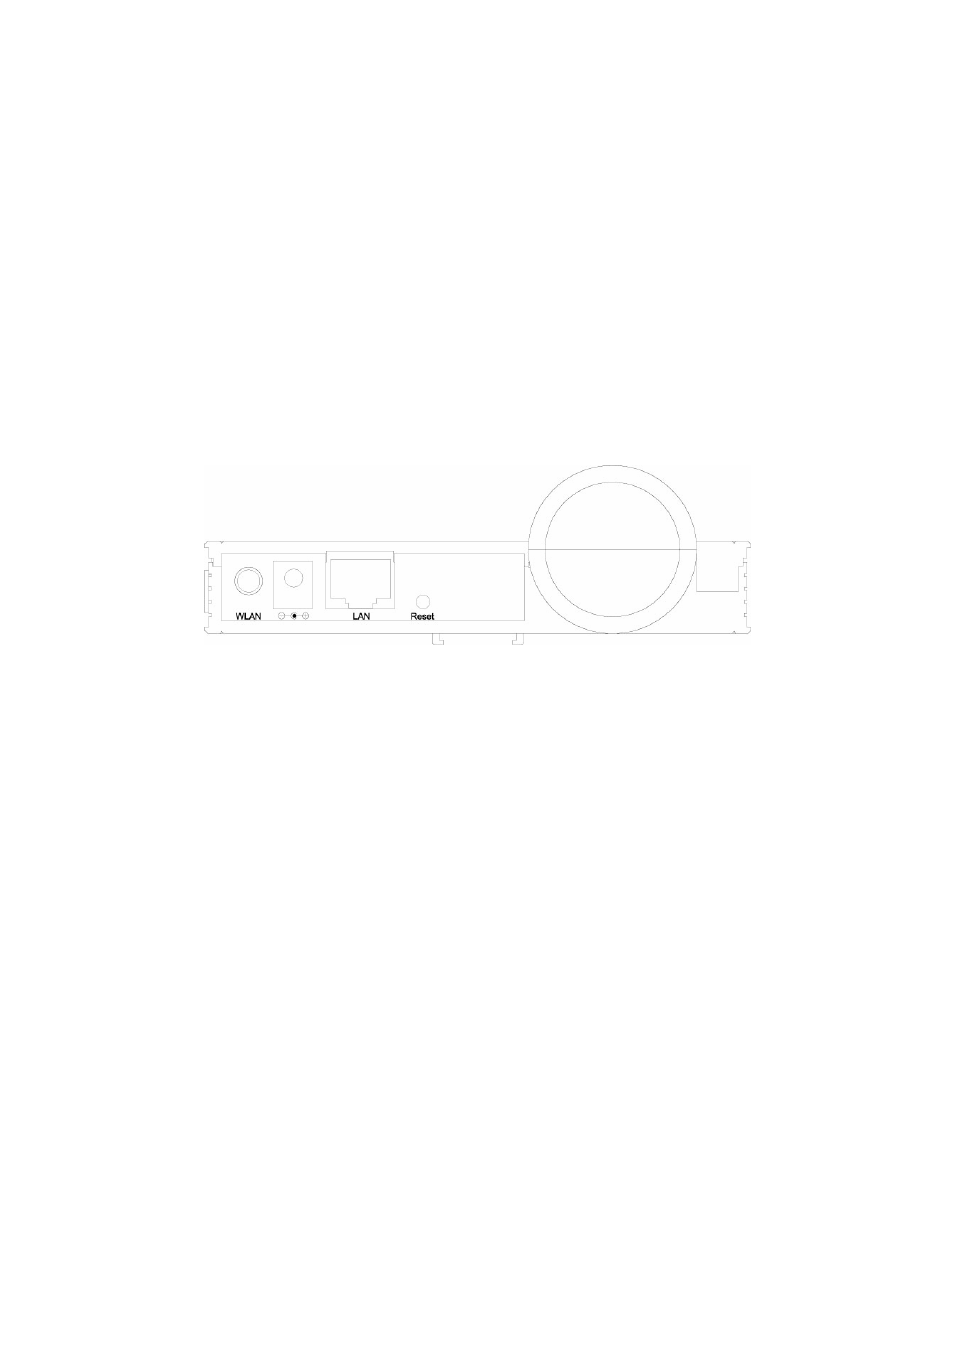
Camera Ports
The Camera features three ports and a Reset button.
y
Power
The Power port is where you can connect the power adapter.
y
LAN
The LAN port is where you can connect the Ethernet network cable.
y
WLAN (for IC-1500Wg only) (Antenna Connector)
This round connection is standard Reverse SMA connector where any antennas with Reverse SMA connector can
connect
to the Internet Camera..
y
Reset
1.
If problems occur with your Internet Camera, press the reset button with a pencil tip (for less than 2 seconds) and
the Internet Camera will re-boot itself, keeping your original configurations.
2.
If problems persist or you experience extreme problems or you forgot your password, press the reset button for
longer than 5 seconds and the Internet Camera will reset itself to the factory default settings (warning: your original
configurations will be replaced with the factory default settings).
Installation Procedure
1. Unpack the Internet Camera package and verify that all the items listed in the Chapter 2 are provided.
2. Connect the Internet Camera to your network by attached the network cable from the switch/router to the UTP port
of the Internet Camera.
3. Connect the power adapter to the Internet Camera and plug the power adapter to power outlet. The Internet
Camera will be powered on. When the Internet Camera is ready, the Ready LED will show orange color.
4. Make sure that you have installed correct VGA driver and DirectX 7.0 or above.
Note: It is highly recommended to use the power adapter shipped with the Internet Camera, do NOT use any other power
adapter from any sources