Measure insert, Apc to smf convert, Select the function – Technics sx-PR604/M User Manual
Page 82: Part iv sequencer
MEASURE INSERT
Insert specified measures at a specified point.
• The length of the performance accordingly increases by
the number of inserted measures.
1.
Specify the measures you wish to copy from
the source track.
• On the FROM side, specify the settings with the corre-
sponding buttons.
TRACK: Specify the track number you wish to copy the
measures from.
• This function does not work for the CHORD or
RHYTHM track in which the repeat function has been
stored.
• If ALL is selected, the measures are inserted in all
tracks at the same time.
FIRST MEAS: Specify the first measure to copy.
LAST MEAS: Specify the last measure to copy.
2.
Specify where you wish to insert the selected
measures.
• On the TO side, specify the settings with the correspond-
ing buttons.
TRACK: Specify the track number.
• Measures from the CHORD, RHYTHM or CONTROL
track can only be inserted in the same track.
START MEAS: Specify the start point to insert the selected
measures.
REPEAT: Specify the number of times the selected meas-
ures are to be repeated.
3.
Press the OK button.
• The confirmation display appears. Press the YES button
to execute the function, or press the NO button to cancel
the function.
• Note that if the END command is included in the source
data, it is also inserted. Any data following the END
command is not inserted.
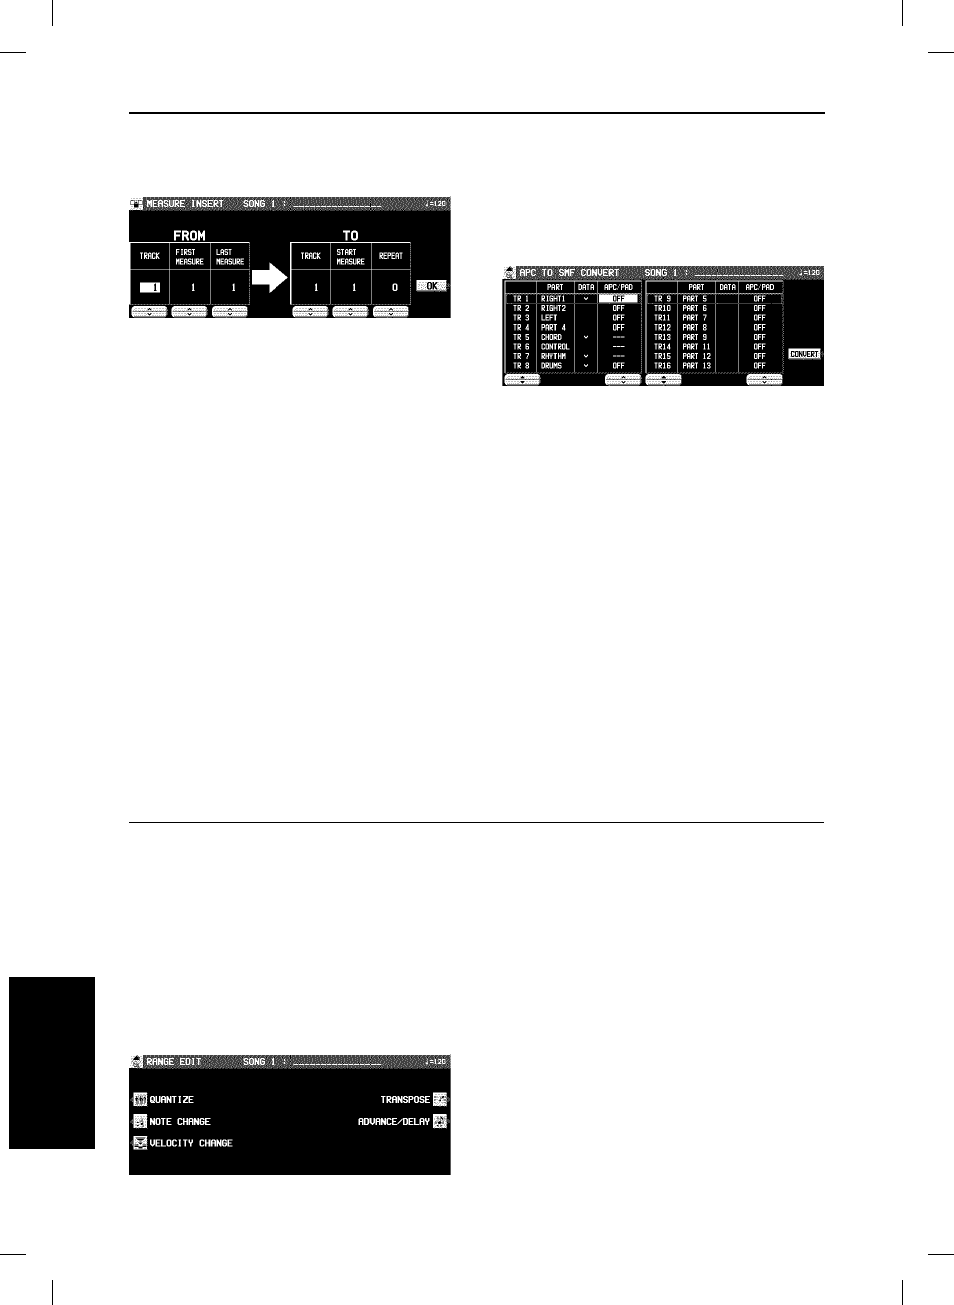
APC TO SMF CONVERT
When a sequence is recorded using AUTO PLAY CHORD,
the SEQUENCER data just contains a chord sequence on
one track. APC TO SMF CONVERT creates a sequencer file
in which the APC/CHORD/RHYTHM/CONTROL parts and
PIANO PERFORMANCE PADS (PR804) phrases are each
recorded on a separate track, allowing you to save the
sequence in standard MIDI File format for playback on other
instruments.
1.
Use the TR
▲ and ▼ buttons to select the
track you wish to convert.
• In the PART column, the part name currently assigned is
shown.
• In the DATA column, a check mark (√) indicates a track
in which data is stored.
• Tracks in which RHYTHM, CONTROL, APC and CHORD
parts are stored cannot be selected (– – – is shown).
2.
Use the APC/PAD
∧
and
∨
buttons to select
the parts you wish to convert.
• Parts that are set to OFF will not be converted.
3.
Press the CONVERT button.
• Note that after the conversion, the automatic accompa-
niment part data is cleared; if necessary, save this data
beforehand.
• A confirmation display appears.
4.
Press EXECUTE to continue with the conver-
sion, or press the CANCEL button is you wish
to discontinue.
• After the EXECUTE button is pressed, the conversion
begins. Conversion takes the same length of time as
playback.
• If you wish to discontinue the conversion process midway,
press the ABORT button.
Changing the note position etc. of the re-
corded data
You can change the note pitch and position etc. of recorded data.
Select the function
1.
On the SEQ MENU display, use the SONG
∧
and
∨
buttons to select the number of the
song. Then select RANGE EDIT.
• The display looks similar to the following.
2.
On the RANGE EDIT display, select a function.
3.
Perform the editing procedures. (See below.)
• During the editing procedure, if the indicator for the
TEMPO/PROGRAM is lit, you can use the TEMPO/PRO-
GRAM for the editing function.
Se
q
u
e
n
c
e
r
Part IV
Sequencer
82
QQTG0665