Display time out, Data protection, Part xi customize – Technics sx-PR604/M User Manual
Page 123
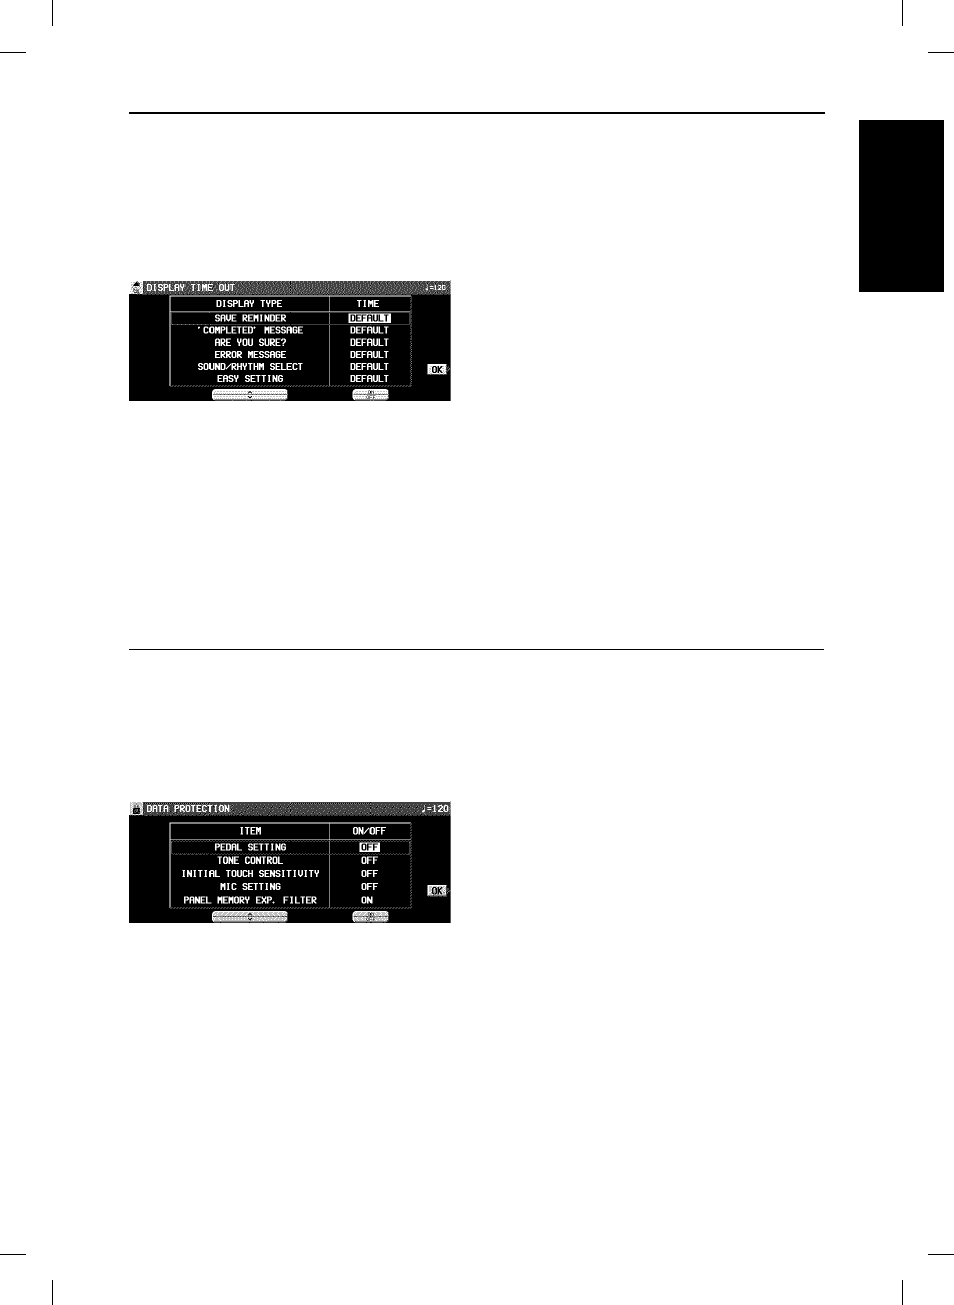
Display Time Out
Numerous message displays and setting displays conveniently guide you through the operation steps of this instrument. Once
you become familiar with the operation of your instrument, however, you may wish to shorten or even suspend the display time
of the message displays.
1.
On the CUSTOMIZE MENU display, select
DISPLAY TIME OUT.
• The display looks similar to the following.
2.
Use the DISPLAY TYPE
▲ and ▼ buttons to
select the function.
SAVE REMINDER:
Reminder display (OFF, DEFAULT, HOLD, 1 to 10 sec)
‘COMPLETED’ MESSAGE:
Operation successfully completed (OFF, DEFAULT,
HOLD, 1 to 10 sec)
ARE YOU SURE?:
Display requires user action for confirmation (OFF, DE-
FAULT, HOLD)
ERROR MESSAGE:
Error notification display (DEFAULT, HOLD, 1 to 10 sec)
SOUND/RHYTHM SELECT:
Sound/rhythm and PIANO PERFORMANCE PADS
(PR804) BANK selection display (DEFAULT, HOLD, 1 to
10 sec)
EASY SETTING:
Display time when the setting display was accessed
pressing and holding a panel button (DEFAULT, HOLD,
1 to 10 sec)
• When set the OFF, the display will not appear.
• When set to DEFAULT, the display time returns to the
initialized setting.
• You can specify 1 to 10 seconds for the display time.
• When set to HOLD, the DISPLAY HOLD automatically
turns on.
3.
Use the TIME
∧
and
∨
buttons to change the
setting.
4.
Press the OK button.
• Some messages may be displayed even if they are set
to OFF.
Data Protection
Data which you don’t want to change but which is normally overwritten during disk load, song change, or the automatic setting
functions, etc. can be protected from accidental overwriting.
1.
In the CUSTOMIZE MENU display, select
DATA PROTECTION.
• The display looks similar to the following.
2.
Use the ITEM
∧
and
∨
buttons to select an
item.
3.
Use the ON/OFF button to select ON or OFF.
ON: The data is protected and will not be changed.
OFF: The data is not retained.
4.
Repeat steps 2 and 3 for each item.
5.
Press the OK button.
Cu
s
to
m
iz
e
Part XI
Customize
123
QQTG0665