Connecting to a computer, Formatting the hard drive – Transcend Information StoreJetTM OTG User Manual
Page 9
Connecting to a Computer
If you want to use the StoreJet
™
OTG as a Peripheral device to upload/download data to, or from your
computer you will need to connect it using the provided USB cable.
If the computer’s operating system is Windows
®
98SE, please install the necessary drivers first.
1. Connect the Mini USB end-connector of the cable to the Mini USB port on the StoreJet
™
OTG.
2. Connect the normal USB end-connector of the cable to an available USB port on the computer.
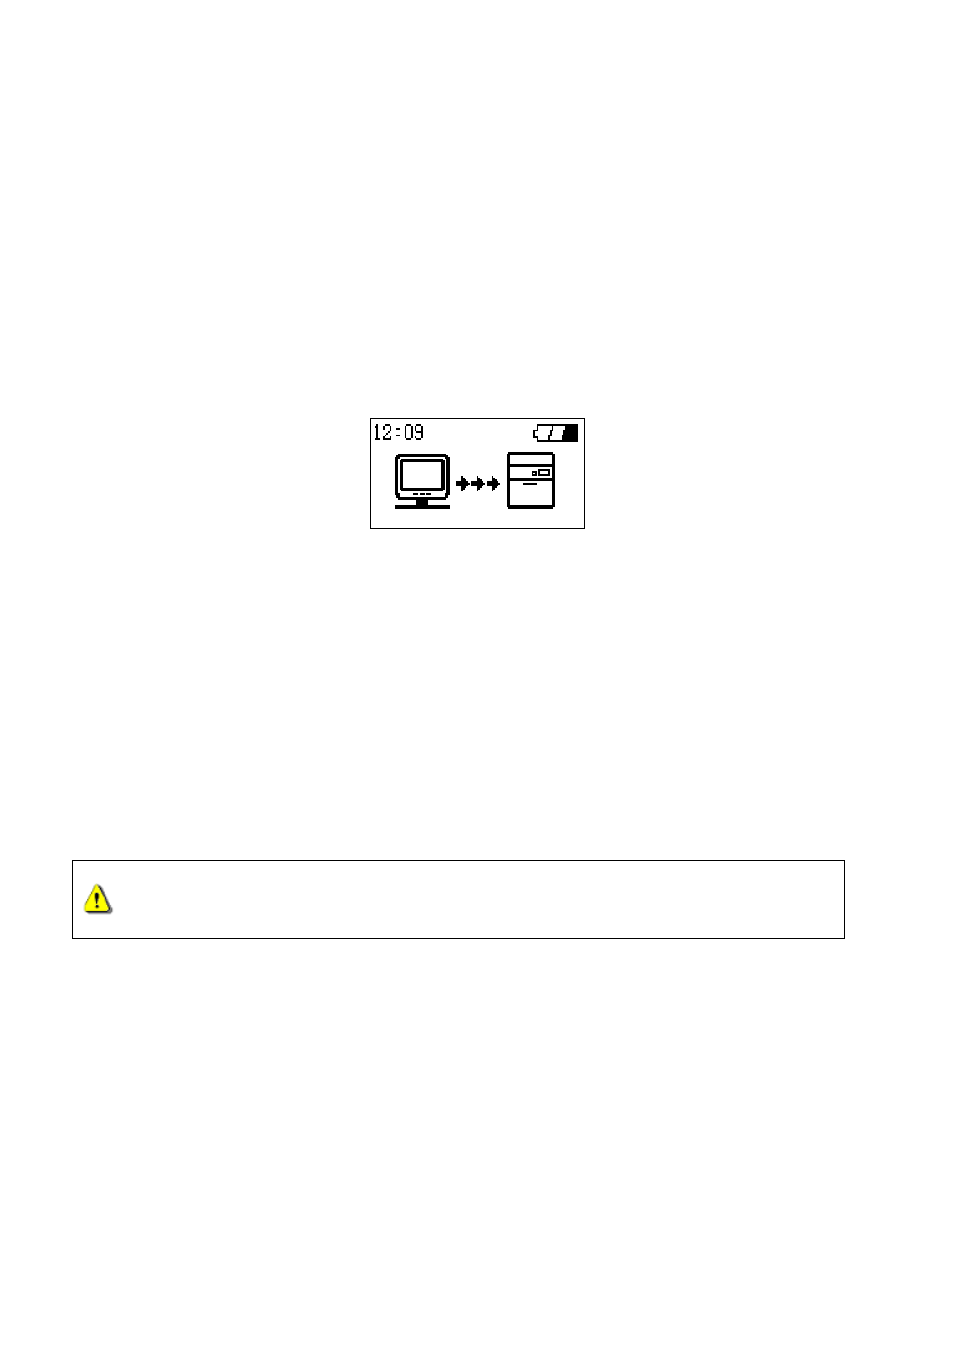
3. When the StoreJet
™
OTG is successfully connected to the computer the following screen will appear
on the StoreJet
™
OTG’s display and a new Removable Disk drive with a newly assigned drive letter
will appear in the My Computer window. As long as the StoreJet
™
OTG is connected to a computer
the unit’s keys will remain inactive.
4. At this stage the StoreJet
™
OTG is a Peripheral device and is charged via the computer’s USB port.
You can use the StoreJet
™
OTG as an external hard drive in conjunction with your computer and
upload/download data.
5. On occasion the power supplied from the computer’s USB port may not be sufficient, or if using the
StoreJet
™
OTG with a notebook computer you may want to conserve the notebook’s battery power,
in these instances please use the StoreJet
™
OTG’s power adapter in addition to the USB
connection.
Formatting the Hard Drive
As the StoreJet
™
OTG contains a hard disk drive it is capable of being formatted.
Formatting a disk removes all information from the disk.
1. To format the disk the StoreJet
™
OTG must be connected to a computer.
2. Open My Computer, and click on the new Removable Disk that corresponds to the StoreJet
™
OTG.
3. On the File menu, click Format.
4. Select or specify any of the options that you want, but ensure that you choose the FAT32 format for
the StoreJet
™
OTG.
The StoreJet
™
OTG must be formatted using the FAT32 format.
5. Click Start.
7