Adjust the image, Optimizing the image, Adjust the image optimizing the image – Toshiba TDP-MT700 User Manual
Page 21: P.21, Adjusting the angle height, Auto-adjusting the image, Fine-tuning the image size and clarity
Using the projector and remote control
21
English
Adjust the image
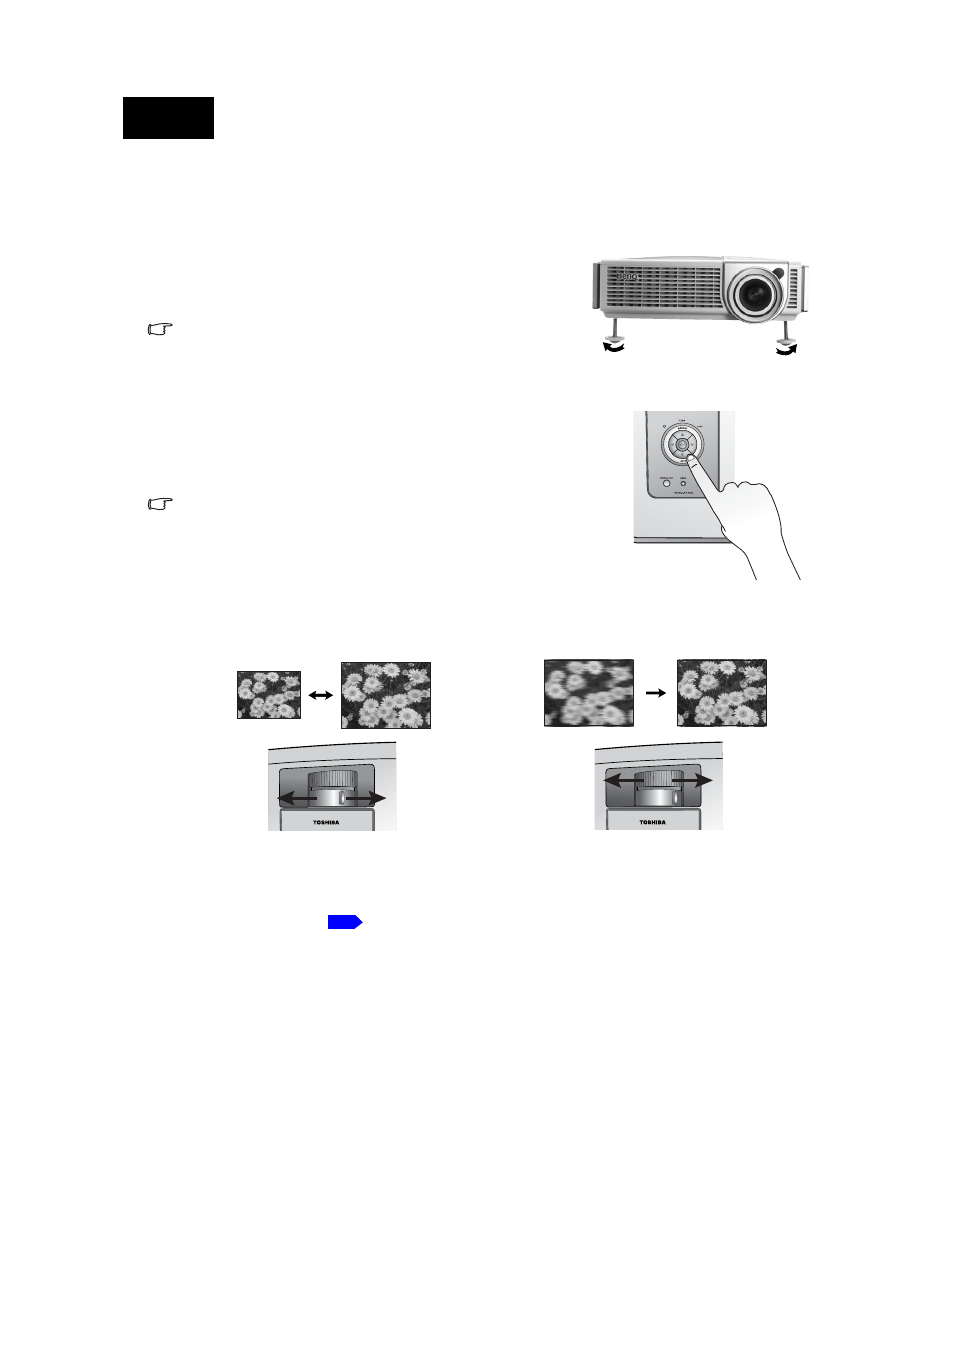
Adjusting the angle height
There are two adjuster feet on the bottom of the projector. These
adjuster feet change the image height and projection angle. To
adjust the projector, you can screw the height adjuster feet to
fine-tune the projection angle.
If the screen and the projector are not perpendicular to each other,
the projected image becomes vertical trapezoidal. To correct this
problem, adjust the value of Keystone in the Setup menu.
Auto-adjusting the image
With one press of the Auto button on the projector, the built-in intelli-
gent auto-adjustment function will re-adjust the values of Frequency
and Clock to provide the best image quality.
The current source information will be displayed at the bottom right of
the screen for 3 seconds.
The screen will be blank while Auto adjustment is functioning.
Fine-tuning the image size and clarity
Optimizing the image
To optimize the image, use the remote control or on-screen menus. For the operation of on-screen
menus, please refer to
.
The following steps are optional. You do not need to follow every step. It depends on the image qual-
ity you desire.
1. Adjust the projected image to the size that
you need using the zoom ring.
2. Then sharpen the image by rotating the
focus ring.